A Step-by-Step Guide to wash a beauty blender
To deep clean, soak your beauty blender in lukewarm water with a few drops of cleanser for 5-10 minutes, then squeeze and rinse it until the water runs clear. This helps remove deep stains and any hidden bacteria.
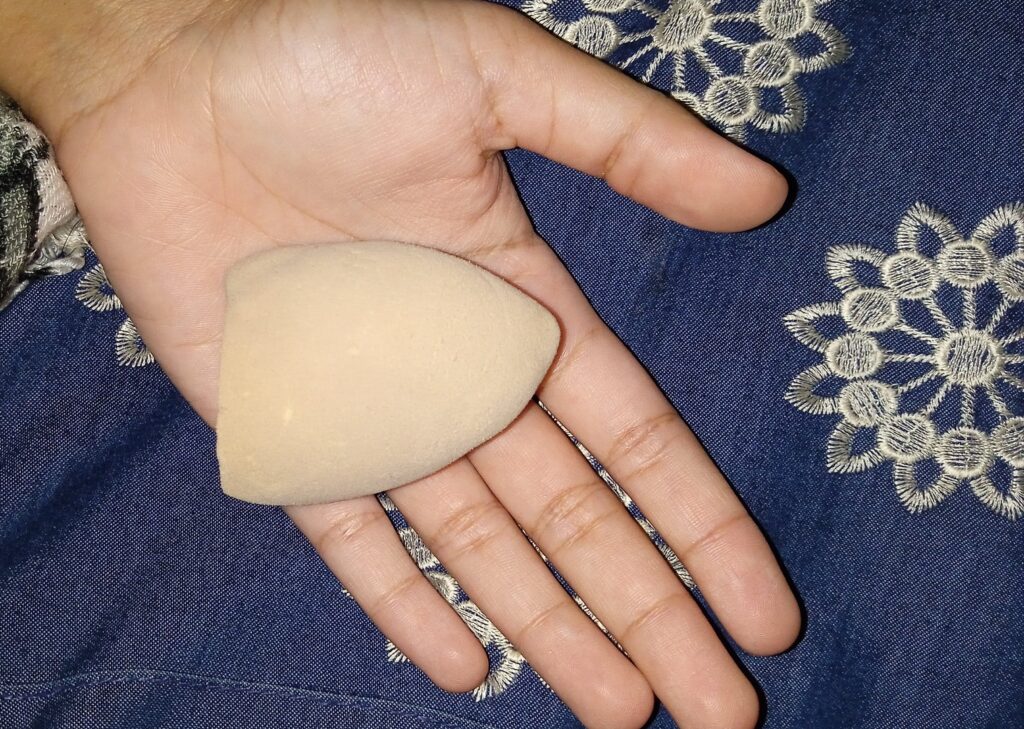
We reach for the beauty blenders almost every day. They’re the key to that flawless, dewy makeup finish we love. But to keep your makeup looking fresh and your skin feeling clean, prioritize washing your beauty blender regularly.
Disclosure: This article contains Amazon affiliate links. As an Amazon Associate, I earn from qualifying purchases. If you click on a link and make a purchase, I may earn a small commission at no extra cost to you.

Here’s a detailed step-by-step guide to help you keep your make-up sponges in top shape, so they’re always ready to deliver a perfect blend!
What if you don’t clean your Beauty Blender?
You’re pressing the same sponge into your skin every day, sometimes multiple times a day. It picks up oils, dead skin cells, and leftover makeup with each use. If left unwashed, the beauty blender can cause breakouts, various skin issues, and also affect the quality of your makeup application.
Step-by-Step: How to Wash a Beauty Blender
Before we get into the details, gather these three things, and follow along with me.
- A Soap or Cleanser (a liquid dish soap, baby shampoo, or a dedicated beauty blender cleanser)
- Lukewarm Water
- A Bowl
Step 1: Wet the Sponge
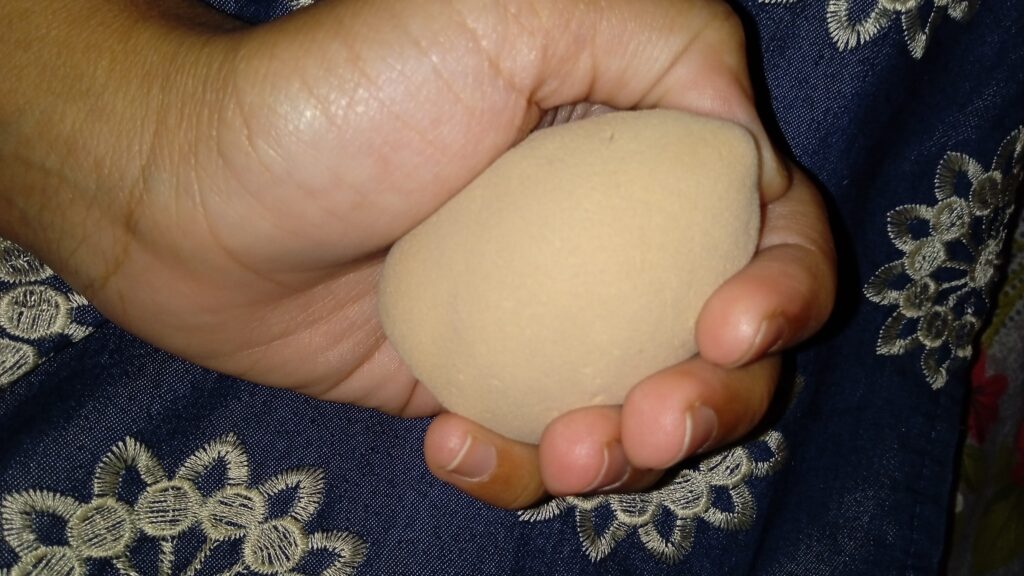
Start by holding your beauty blender under lukewarm running water. Hot water can ruin the sponge, so we don’t want that. Give your sponge 5-10 squeezes as it gets wet. Then, allow it to expand and fully soak up the water.
In my experience, it takes 3-5 minutes for a sponge to completely saturate. A damp sponge helps the cleanser to spread more easily, breaking down makeup and oils lodged inside.
Pro Tip: If you’re washing multiple beauty blenders or want to do a deeper clean, let the sponges soak in soap-diluted water for 10 minutes.
Step 2: Apply the Cleanser
Anything used for washing the face, like regular soap, can help with the cleansing process of a beauty blender. The best practice is to stick with gentle soaps that won’t damage the sponge. You can also use liquid dish soap, baby shampoo, or cleansers made specifically for beauty blenders. All of these options work fine.
Whatever cleansing agent you use, add a small amount of it directly to the sponge. Yes, a small amount is enough!
Step 3: Massage and Lather

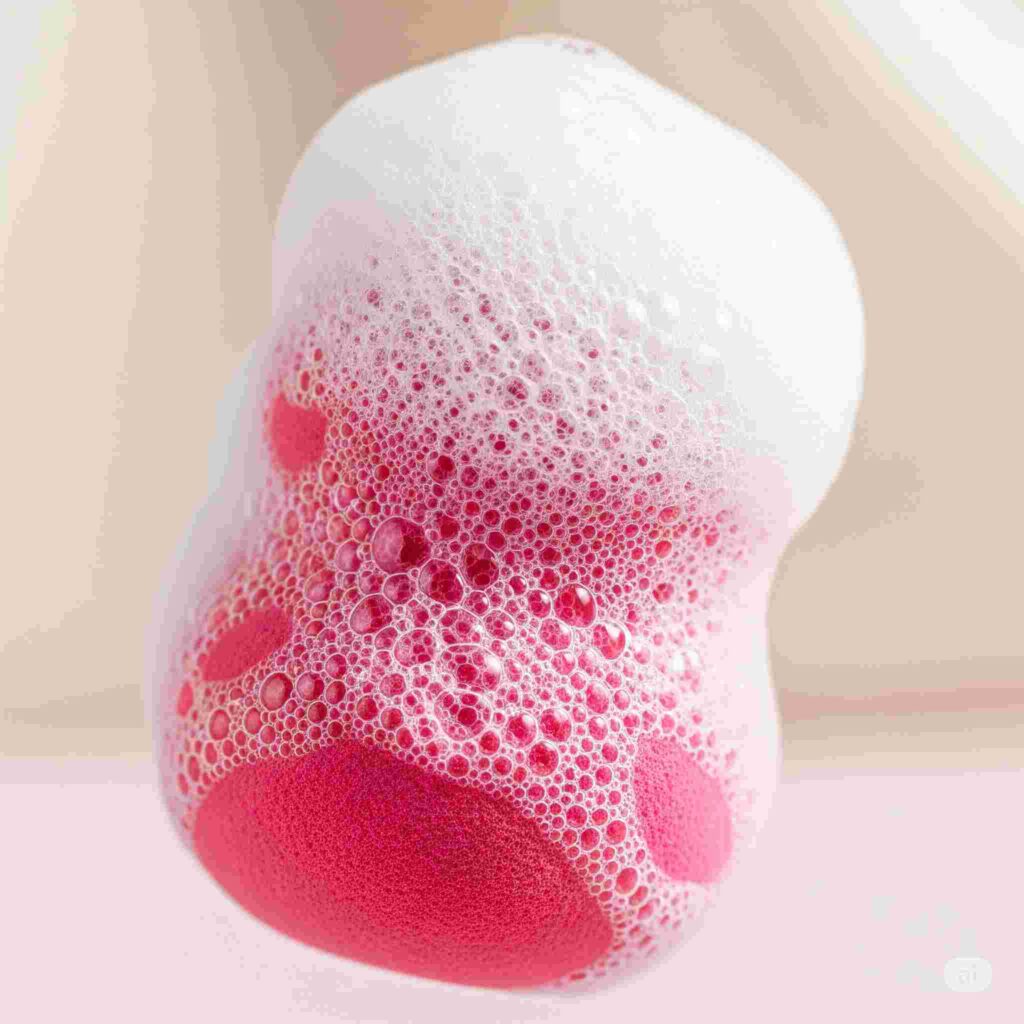
Take your time with this step. Work the soap into the sponge with your fingers, creating a lather. If your sponge is heavily used, chances are that you will notice a lot of foundation or concealer coming out.
If that’s the case, consider squeezing the sponge and kneading it in different directions until you see a rich, soapy lather forming. This is where most of the deep cleaning happens.
Pro Tip: Be gentle! Pressing too hard or pulling on the sponge can cause it to tear. Use your fingertips to massage the cleanser rather than your nails.
Step 4: Rinse Thoroughly
Once your makeup blending sponge is nice and sudsy, it’s time to rinse. Hold the sponge under running water and continue squeezing until all the soap and makeup residue is gone, and the water runs clear. You may need to repeat the lather and rinse cycle a couple of times if the sponge is particularly dirty.
Step 5: Squeeze Out Excess Water
After rinsing, gently press the beauty blender to remove excess water. Or, to speed up the drying process, wrap it in a clean towel, and press to absorb more water. When you are squeezing out any remaining water, never ever twist or wring the sponge; instead, press down on it lightly.
Step 6: Dry Completely

Let your beauty blender air dry in a well-ventilated space. Avoid putting it in an enclosed area (like a drawer or makeup bag) when it’s damp, as moisture encourages bacterial growth. Ideally, place it on a clean surface or stand to air dry completely before its next use.
Pro tip: Never use a hairdryer or any other direct heat source, as this can warp the sponge material.
Wrapping Up
Good job! It’s done. Washing keeps it in great shape, extends its lifespan, and ensures a flawless application every time. Make this a part of your daily routine, especially after those heavy makeup days. It only takes a few minutes, but the difference is worth it—your makeup will look smoother, and you’ll feel good knowing your beauty tools are as clean as they can be.
