Easy DIY: How to make marble effect on nails
Want that chic, swirly marble nail look without hitting the salon? You’re in luck! Marble nails are super easy to DIY, but with the right tools, techniques, and a few pro tips. Let’s break it down step-by-step.
Disclosure: This article contains Amazon affiliate links. As an Amazon Associate, I earn from qualifying purchases. If you click on a link and make a purchase, I may earn a small commission at no extra cost to you.
What You’ll Need to DIY Marble Nails?
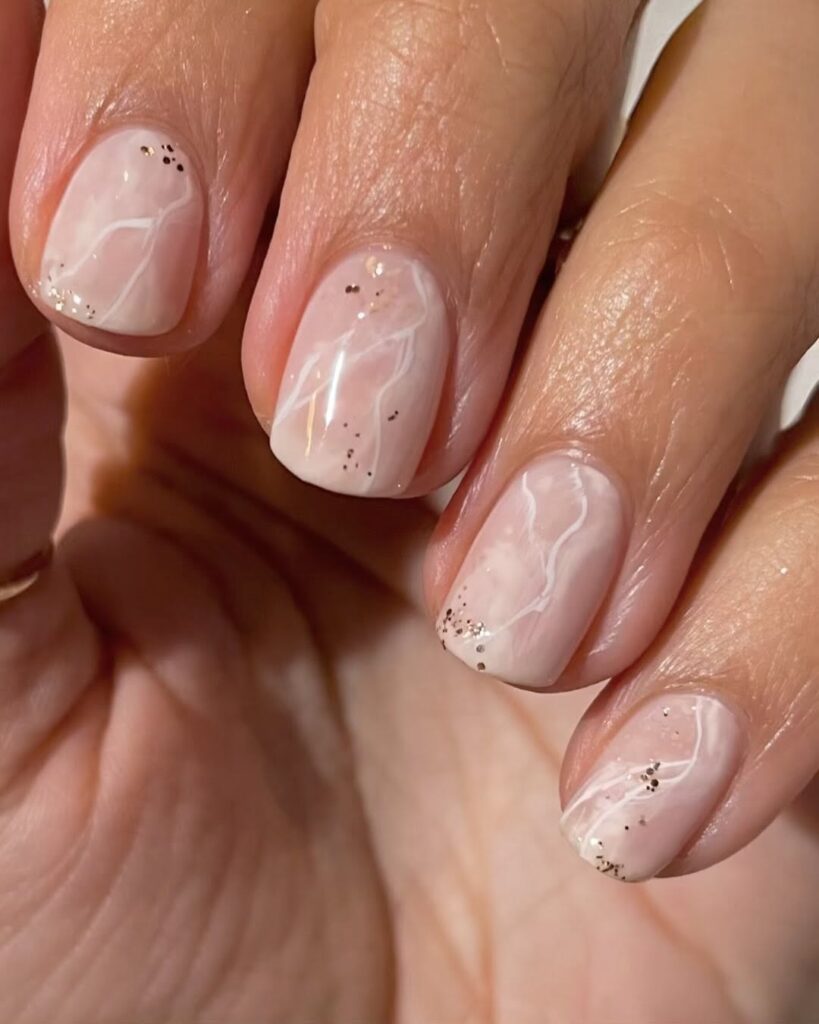
Choosing the right product makes all the difference. Here are our recommendations
1. Base Coat
The base coat is essential to protect your nails. It also prevents those stains from coloring nail polishes. If your nails are weak or brittle, try something with essential proteins like keratin or biotin.
Pro Picks: OPI Nail Envy or Essie Ridge Filling Base Coat (for a smooth finish).
2. White Nail Polish (or Any Light Base Color)
The base color sets the tone for the marble design. White is the go-to choice because it makes other colors pop, but light pastels or nudes also work if you don’t have one.
Find out: What is White Nail Theory
Just choose a polish that gives full coverage in one or two coats—streaky formulas are a no-go. Also, It should be durable to keep your design intact.
Pro Picks: Zoya “Snow White” or OPI “Alpine Snow” for a clean white base.
3. Two or Three Contrasting Nail Polish Colors
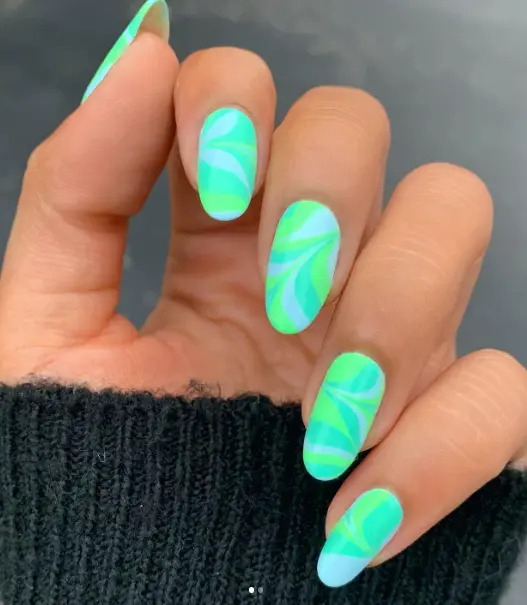
The magic of marble nails comes from the interplay of contrasting colors. Pick no more than 3 nail polish shades, as it can be messy.
Here is what to look for when choosing nail polish shades:
- It should be High-Pigment. Look for rich, vibrant colors that won’t fade into each other.
- Coordinate it Wisely. Pair light and dark shades for contrast (e.g., white, navy blue, and gold). Glittery Metallics like gold or silver can add an extra wow factor too.
- Sheer polishes work beautifully for soft marble looks
- Opaque nail polishes are a great choice for bolder manicure designs.
Pro Picks: Essie “Licorice” (black), Sally Hansen “Golden-I” (gold), or OPI “Malaga Wine” (deep red).
4. Marble effect tool
How your marble effect turns out depends on these tools. Here are a few options:
- Plastic Wrap: Creates an organic, textured design. Crumple it up to give uneven, natural swirls.
- Thin Brush: Ideal for more controlled swirling. Use a fine nail art brush or even a clean paintbrush for small, intricate details.
- Toothpick/Nail Art Tool: Perfect for dragging colors. Creating precise and wispy swirls.
Whatever you have chosen to use, keep it clean while working to avoid mixing unwanted colors.
5. Top Coat
The top coat is the finishing touch that seals in your marble design and adds shine. It will help smooth out those uneven textures when you do the marble effect.
Pro Picks: Seche Vite Dry Fast Top Coat or Essie Gel Couture Top Coat.
6. Nail Polish Remover and Cotton Swabs
Clean-up is just as important as the application!
Acetone vs. Non-Acetone nail polish removers
Acetone works faster and removes stubborn polish, but can dry out your skin—balance it with cuticle oil afterward. Non-acetone removers are gentler but slower.
Pointed Cotton Swabs/Brushes
Look for precision tools to clean up around the cuticles without messing up your design.
Pro Picks: Cutex Ultra-Powerful Remover and Precision Swabs by Q-tips.
Step-by-Step Marble Nails:
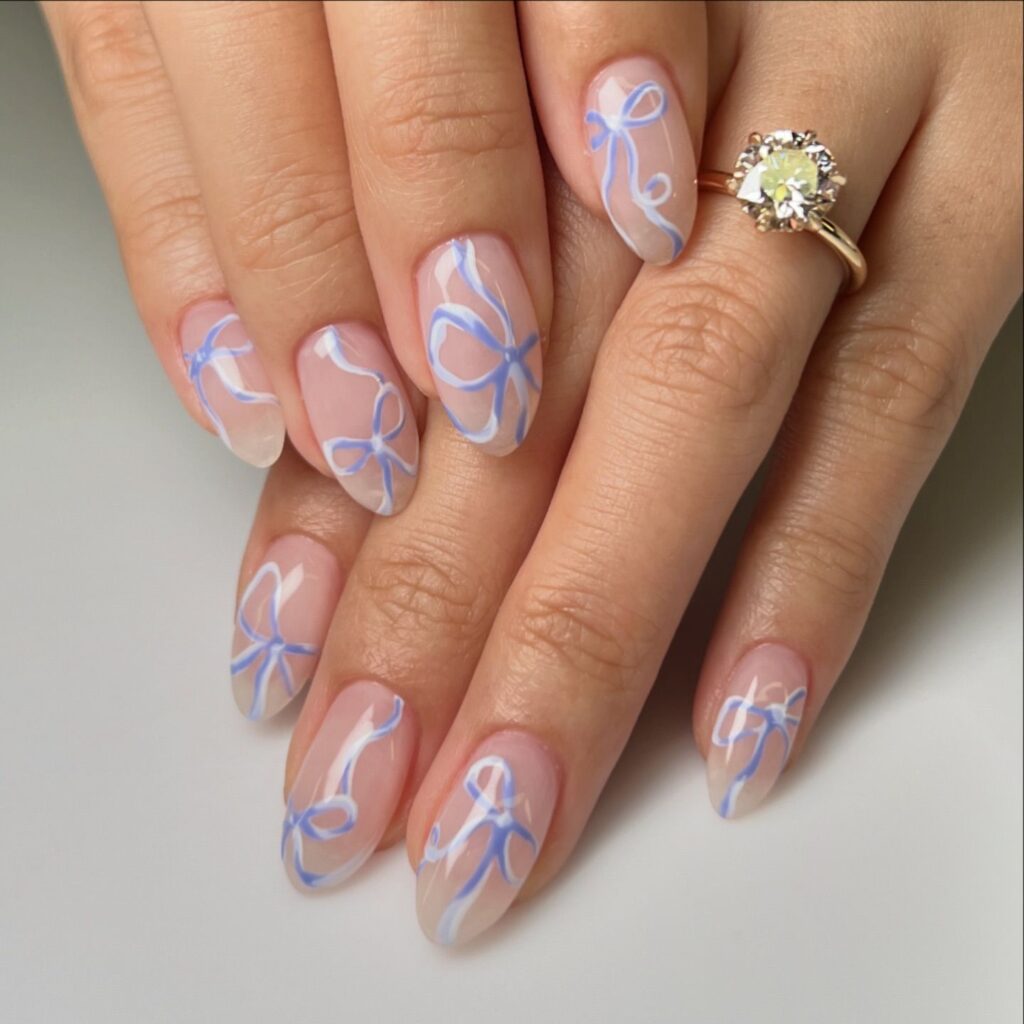
Before we go into the technique, it is important that you prep your nails. Nothing fancy, just apply a base coat and let it dry. Repeat the process with the base color.
Now that the nail stage is set, let’s get to some of the foolproof methods to create marble nails:
A. The Plastic Wrap Method
The plastic wrap method mimics the organic, fluid swirls you see in natural marble. The texture of the crumpled wrap creates those random, unpredictable patterns that are nearly impossible to replicate with brushes or tools.
If you are a beginner, this method is for you, and the good news is it DOES NOT REQUIRE ANY FANCY INSTRUMENT.
1. Prep the Plastic Wrap
Cut a small piece of plastic wrap (about 2×2 inches) for each nail. Crumple the pieces into loose balls. This will create a unique marbled texture every time.
Try crumpling the wrap tighter for smaller swirls or looser for larger, more fluid patterns.
2. Add the Contrasting Colors
Choose two or three nail polishes that contrast with your base color. Like, if your base is white, the contrasting shades could be black, gray, and shiny metallic silver.
Place a small drop of each polish on a non-porous surface like a piece of foil or a palette. That’s it with step 2.
3. Create the Marble Design
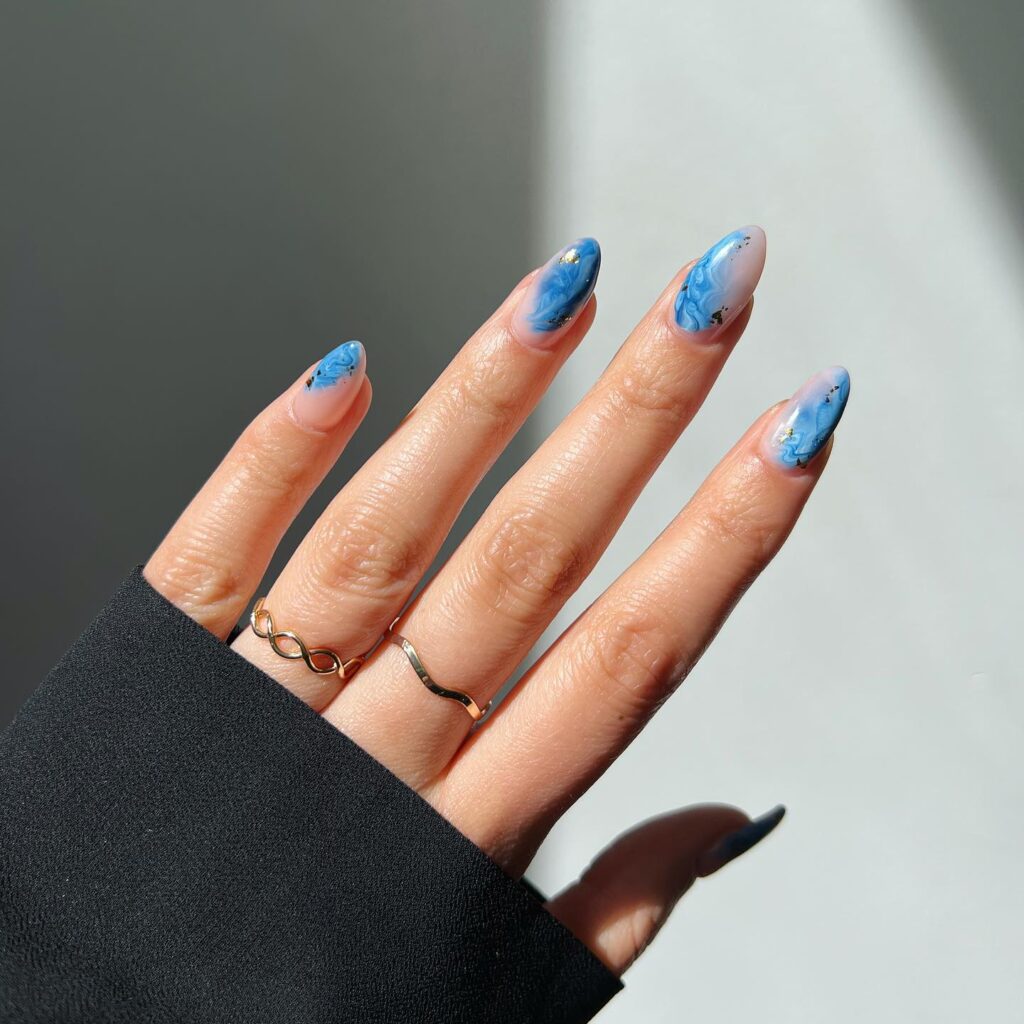
Dip the crumpled plastic wrap into one color at a time. Lightly blot it on the palette to remove excess polish. Then, dab that plastic wrap onto your nail(GENTLY!).
Start with one color and layer the others on top. The polish on your palette or wrap can dry quickly, so focus on one nail before moving to the next.
You will end up having a marble pattern over your nails. And, for sure, don’t worry about the perfection. Those overlapping and uneven patterns are what give marble nails their charm.
BONUS TIP: Dab lightly to avoid a chunky or uneven texture. You can always add more layers, but it’s harder to fix too much polish.
If a section looks too heavy, use a clean piece of plastic wrap to dab lightly over the nail and remove excess polish.
If an area looks too bare, just add more polished layers.
B. The Brush Stroke Method
The Swirl or Brush Stroke Method allows you to get a natural, swirly marble effect without needing fancy tools. Here’s a detailed breakdown to master this technique like a pro:
1. Add the Contrasting Polishes
Use a small brush, toothpick, or even a nail polish brush to place drops or small streaks of contrasting colors directly onto your nail. For optimal results, apply the drops in small, random amounts.
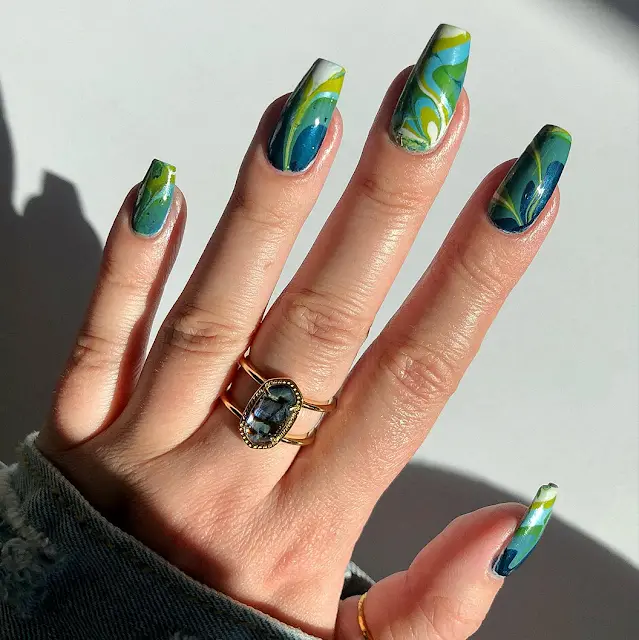
2. Create the Swirls
For creating swirls, tools like a thin nail art brush, a clean paintbrush, or a toothpick work best. Drag the tool lightly in curved lines through the wet polish drops to blend them. Use a figure-8 motion for intricate swirls. Don’t blend it too much, as it will make the design look muddy.
If you notice gaps or unevenness, you can add more drops of polish and repeat the swirling.
Pro Tips for Swirl Success
- Polishes dry fast, so place the drops and swirl them while still wet.
- Avoid thick polish layers, which can take forever to dry and may smudge.
- Work one nail at a time instead of doing all at once.
Seal the Deal:
Once you’re happy with the marble design, let it dry for a few minutes. Apply a high-shine top coat to blend everything together. Use a gel top coat for a real pro-salon-like finish.
Done with the nails? Let me know in the comments below
Did they look like those gorgeous marble nails that came straight out of a salon?
