
APPLY CHROME POWDER to GEL NAILS like a PRO
If you’ve been scrolling through Insta or TikTok lately, you’ve probably seen those insane chrome nails that look like liquid metal. They’re shiny, they’re futuristic, and honestly, they’re giving main character energy. But here’s the tea: applying chrome powder on gel nails can be tricky AF if you don’t know the hacks. Don’t sweat it—I’ve got your back. Let’s break down how to get that mirror-like finish like a total pro.
Disclosure: This article contains Amazon affiliate links. As an Amazon Associate, I earn from qualifying purchases. If you click on a link and make a purchase, I may earn a small commission at no extra cost to you.
Essential Tools and Materials for chrome finish on gel nails
Preparation is key to any successful manicure, and chrome nails are no exception. Gathering the right tools and products beforehand will save you time and frustration. Here’s everything you’ll need to get started.
- Gel Base Coat: A high-quality base coat designed for gel polish systems to ensure adhesion.
- Gel Top Coat (No-Wipe): This is non-negotiable—regular top coats leave a sticky layer that ruins the chrome effect, so opt for a no-wipe formula.
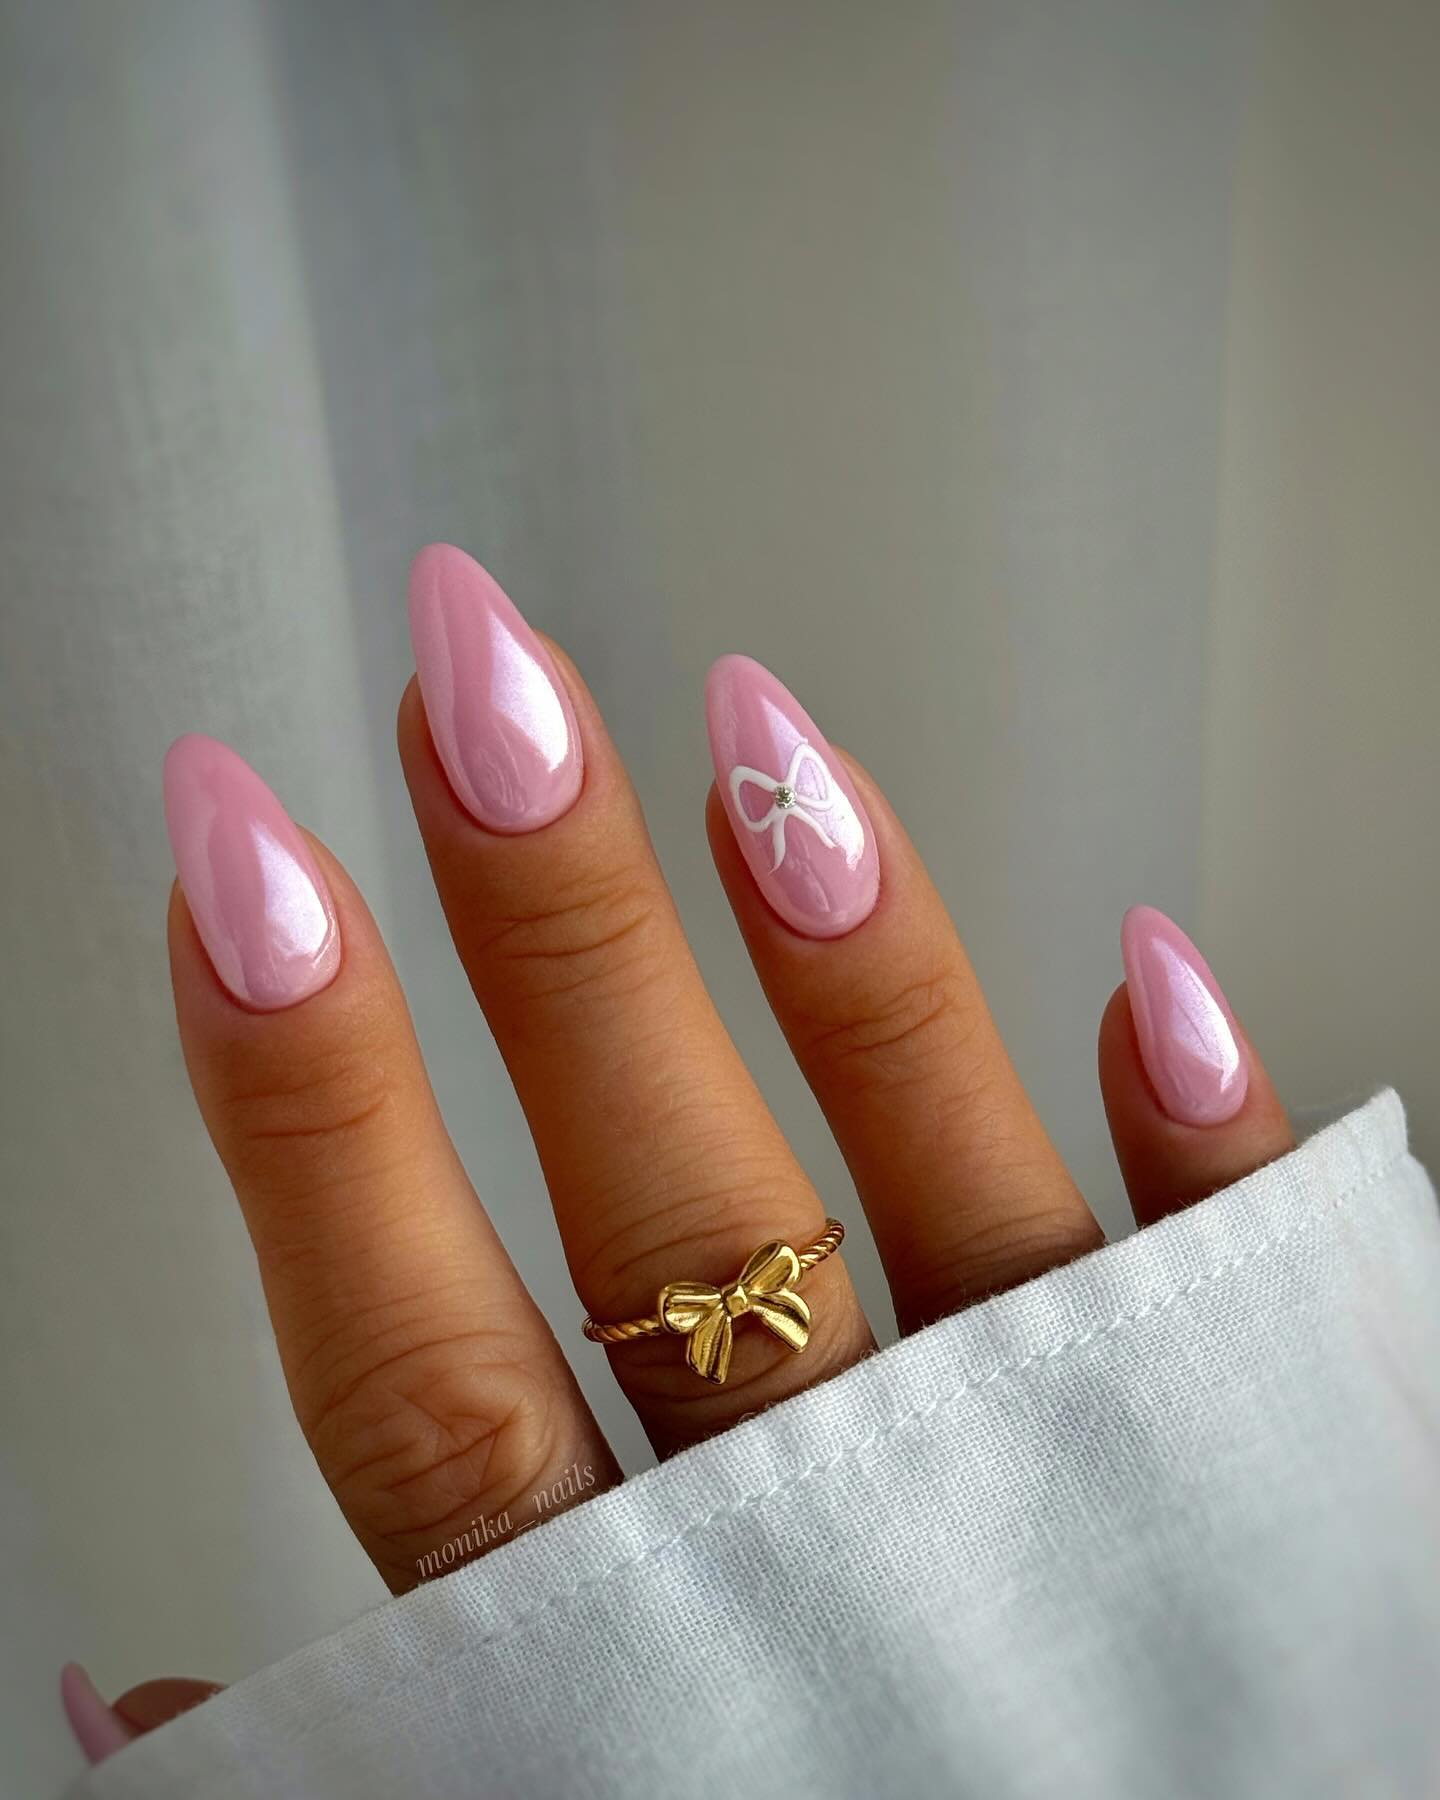
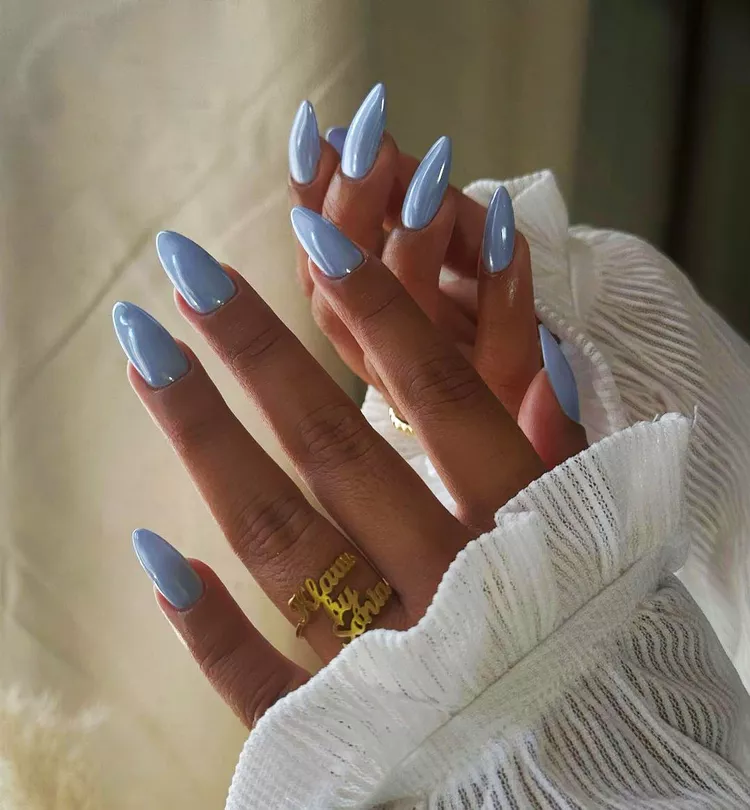
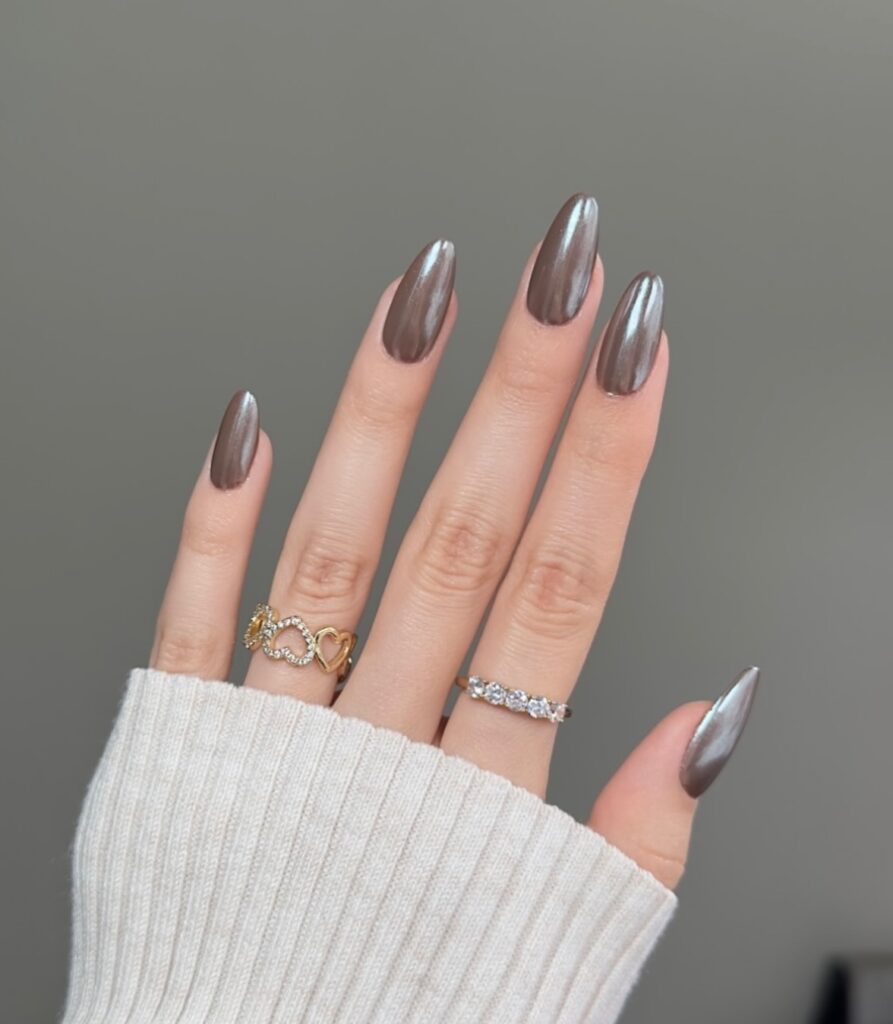
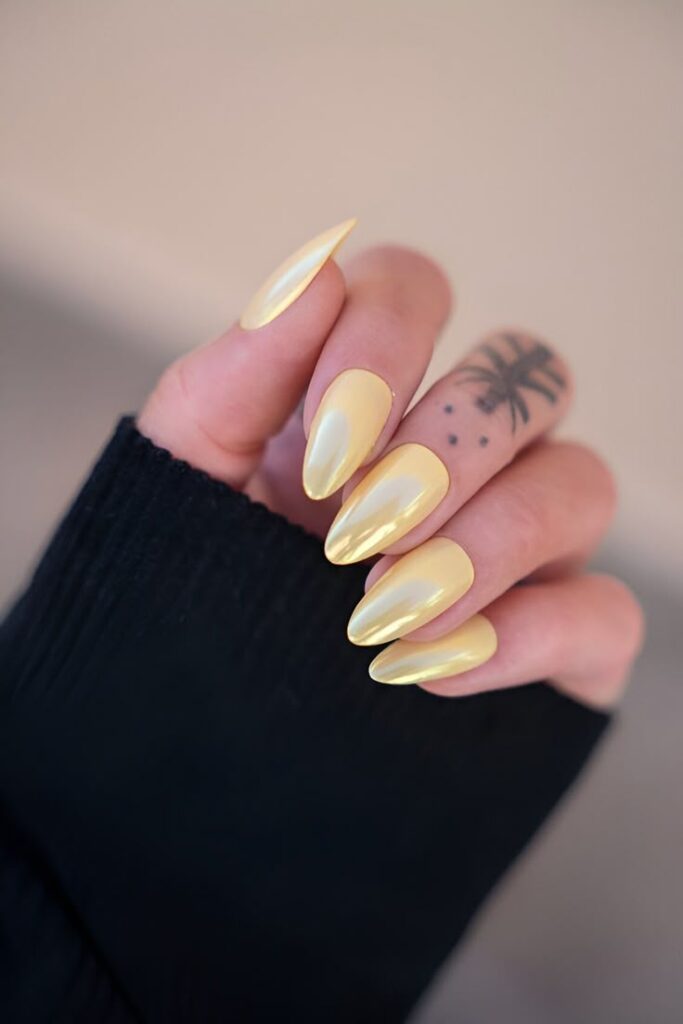
- Gel Polish Color: Your base color sets the tone. Black is a classic for a bold chrome look, but dark blues, purples, or even whites can create stunning variations.
- Chrome Powder: Available in countless shades—silver, gold, rose gold, holographic, and more. Pick one (or a few!) that suits your style.
- UV/LED Lamp: Essential for curing each layer of gel polish. Check wattage and curing times for your specific lamp.
- Applicator: A sponge-tipped eyeshadow applicator or a silicone brush works best for rubbing in the powder.
- Nail Prep Supplies: Nail file, buffer block, cuticle pusher, orangewood stick, and alcohol wipes or a nail dehydrator.
- Lint-Free Wipes: Perfect for cleaning nails and removing residue without leaving fibers behind.
- Dust Brush: A soft, fluffy brush to sweep away excess powder.
- Cuticle Oil: For post-manicure hydration and a polished finish.
- Optional Extras: A small dish for pouring chrome powder, a nail art brush for precision cleanup, and gloves to keep your hands clean.
Pro Tip: Invest in a good chrome powder—cheap ones can look patchy. My faves are from Born Pretty or What’s Up Nails.
How to apply chrome powder to gel nails?
Follow these 7 simple steps to get a metallic, chrome finish on gel nails.
- Apply a base coat and cure it under a UV/LED lamp.
- Apply gel polish color as the base layer and cure it completely.
- Wipe the tacky layer off the cured gel polish with a lint-free wipe and rubbing alcohol.
- Scoop a small amount of chrome powder using an applicator or sponge-tipped tool.
- Rub it gently onto the nail surface until you achieve a smooth, metallic finish.
- Dust off any excess powder with a soft brush.
- Seal the design with a no-wipe gel top coat.
Step 1: Nail Preparation
Start with clean, dry nails. Push back cuticles, file/shape your nails, and gently buff the surface to remove shine. Wipe each nail with a lint-free wipe soaked in 91% isopropyl alcohol or a nail dehydrator.
This step is non-negotiable—chrome won’t stick to oily or uneven nails.
Step 2: Apply the Gel Base Coat
The base coat is the glue that holds your manicure together, so don’t rush this step.
How to Apply Like a Pro
- Thin and Even: Brush on a thin, even layer of gel base coat, covering the entire nail but avoiding the cuticles and skin.
- Cap the Free Edge: Lightly swipe the brush along the tip of your nail to seal it—this helps prevent chipping.
- Cure It: Place your hand under the UV/LED lamp and cure for 30-60 seconds (check your product’s instructions). Repeat for the other hand.
Step 3: Layer on Your Gel Color
If you’re going for classic silver chrome, skip to the next step.
The base color is where you can get creative. While black is the go-to for a classic chrome effect, experimenting with other shades can yield jaw-dropping results. Try red for a ruby chrome, purple for an amethyst vibe, or white for a pearlescent glow.
Application Tips for Success
You have to follow three simple steps here;
- First Layer: Apply a thin layer of your chosen gel polish color. Thin layers prevent pooling and ensure even curing.
- Cure: Cure under the lamp for 30-60 seconds.
- Second Layer: For full opacity, apply a second thin layer. Smooth out any streaks or uneven spots, then cure again.
After curing, run your finger over the nail (don’t touch the sticky layer!). It should feel smooth—if not, your layers might be too thick.
Step 4: Add the No-Wipe Top Coat
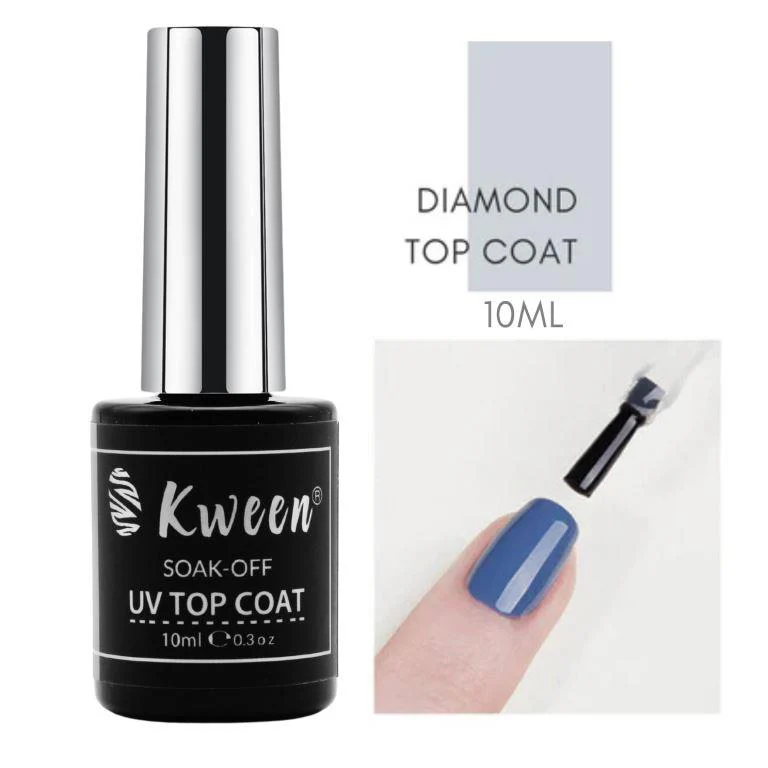
Here’s where magic happens. Apply a thin, even layer of no-wipe top coat. Cure it for half the recommended time (e.g., if it says 60 seconds, do 30). This creates a tacky layer for the powder to cling to.
The surface should be shiny and dry to the touch (no stickiness allowed). Hold your nail under light to check for smoothness. Any bumps or ridges will show through the chrome, so fix them now if needed.
Step 5: Rub in the Chrome Powder
This is the fun part—transforming your nails into a reflective masterpiece! Work quickly after curing the top coat while the surface is still warm. This helps the powder adhere better.
Note: Wear gloves during application to avoid fingerprints on your shiny nails.
- Prep the Powder: Pour a small amount of chrome powder into a dish or use the jar’s lid to avoid waste.
- Pick It Up: Dip your sponge applicator or silicone brush into the powder. Tap off excess; you only need a little.
- Rub It On: Starting at the cuticle, gently rub the powder onto the nail in small, circular motions. Use light pressure and work your way to the tip.
- Build the Shine: Keep rubbing until the entire nail has a uniform, mirror-like finish. Add more powder to sparse areas if needed.
- Clean Up: Use a dust brush to sweep away excess powder from the nail and skin. For stubborn bits, use a lint-free wipe with alcohol.
Step 6: Seal the Chrome Finish
To lock in that stunning shine and protect your hard work, sealing the chrome powder is a must. Apply a thin layer of no-wipe top coat over the chrome finish. Cure under the lamp for 30-60 seconds. Too much pressure can dull the effect, so be gentle.
Check the Shine: After curing, the chrome should still gleam. If it looks dull, your top coat might be too thick—practice makes perfect!
Step 7: Final Touches and Cleanup
Your chrome nails are almost ready to show off—let’s polish them up.
- Clean the Edges: Use a lint-free wipe with alcohol to remove any powder or gel from the skin around your nails.
- Hydrate: Massage cuticle oil into your cuticles and the skin around your nails for a healthy, polished look.
Hold your nails under different lights to see the full reflective effect—congrats, you’re a pro!
Troubleshooting: Fixing Common Chrome Nail Problems
Even with the best technique, things can go awry. Here’s how to handle the most common issues.
Issue: Chrome Powder Won’t Stick
- Cause: You might be using a regular top coat with a sticky layer.
- Fix: Switch to a no-wipe top coat and apply the powder immediately after curing.
Issue: Patchy or Uneven Finish
- Cause: Uneven base layers or insufficient powder application.
- Fix: Ensure your color and top coat layers are smooth, and rub the powder in thoroughly with extra attention to sparse spots.
Issue: Shine Fades After Sealing
- Cause: Too much top coat or a low-quality formula.
- Fix: Use a thin layer of a high-quality no-wipe top coat, and avoid pressing too hard with the brush.
Issue: Nails Chip Quickly
- Cause: Skipping the free-edge cap or poor prep.
- Fix: Cap the edges of each layer and double-check your nail prep process.
How Long Do Chrome Gel Nails Last?
When applied correctly, chrome gel nails can last 2-4 weeks without chipping or dulling. To maximize wear time:
- Avoid soaking your hands in water for long periods (e.g., dishwashing without gloves).
- Reapply cuticle oil daily to keep your nails and skin hydrated.
- Be mindful of rough activities that could scratch the surface.
Final Thoughts
Mastering chrome powder on gel nails is all about precision, practice, and a little creativity. With this detailed guide, you’ve got everything you need to create a jaw-dropping, professional-quality manicure right at home.
From prepping your nails to sealing that mirror finish, each step builds toward a result that’s as durable as it is beautiful. So grab your tools, pick your favorite chrome powder, and let your nails shine brighter than ever before. You’ve got this—happy nailing!