
What to Use for 3D Nail Art: Your Ultimate Guide
Quick answer
You’ll need something strong to anchor your 3D designs. Builder gel (cured under a UV/LED lamp) or acrylic (mixed with monomer liquid) are go-tos. Gel is beginner-friendly; acrylic dries faster but requires practice.
If you’re tired of flat designs and want to take your manicures to literally another dimension, 3D nail art is where it’s at. Think tiny gems, delicate flowers, metallic charms, and even sculpted designs that pop off your nails. But where do you start? And what to use for 3d nail art? Don’t stress—I’ve got the lowdown on everything you need to create jaw-dropping 3D nails at home. Let’s dive in!
Disclosure: This article contains Amazon affiliate links. As an Amazon Associate, I earn from qualifying purchases. If you click on a link and make a purchase, I may earn a small commission at no extra cost to you.
Essential Tools and Materials for 3D Nail Art
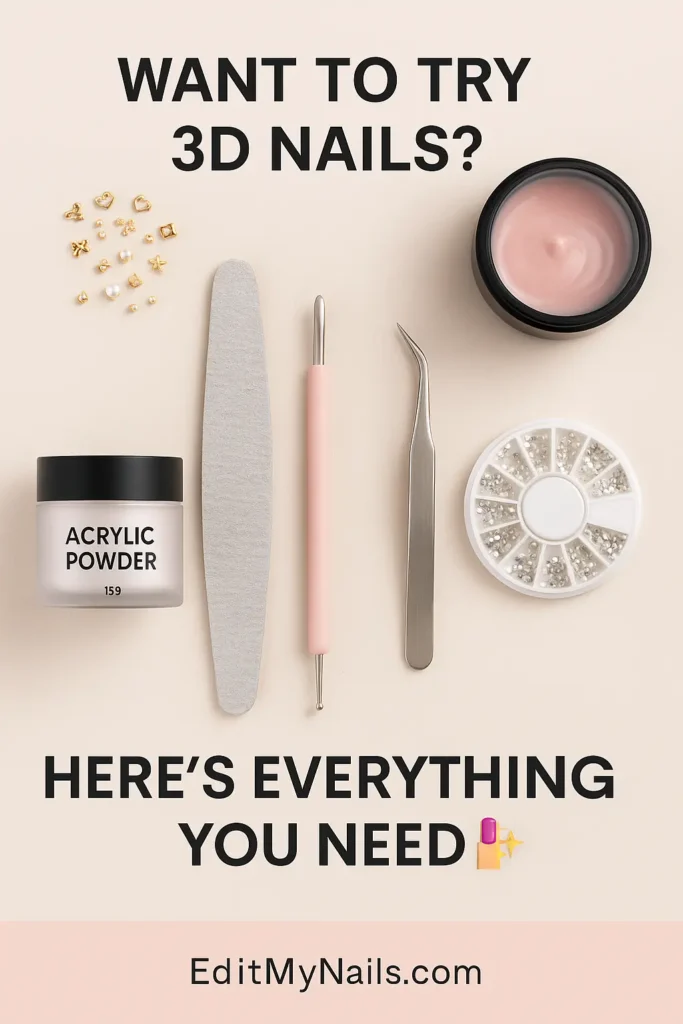
To create 3D nail art, you’ll need a mix of basic nail tools and specialized supplies. Here’s a comprehensive list:
1. Base Prep Essentials
Before we get into the fun 3D stuff, you’ve gotta start with a solid foundation. No skipping this part, it’s what keeps your art looking fresh and lasting longer.
- Nail File and Buffer: Shape your nails (almond, stiletto, square—whatever vibe you’re feeling) and smooth out the surface with a buffer. A smooth base helps the 3D elements stick better.
- Cuticle Pusher and Nipper: Clean up those cuticles so your nails look neat and polished. Messy cuticles can throw off the whole look.
- Base Coat: This is non-negotiable. A good base coat protects your natural nails and gives your 3D design something to grip onto.
- Polish (Optional): If you want a colored background for your 3D art, grab your favorite nail polish. Go bold or keep it neutral—your call.
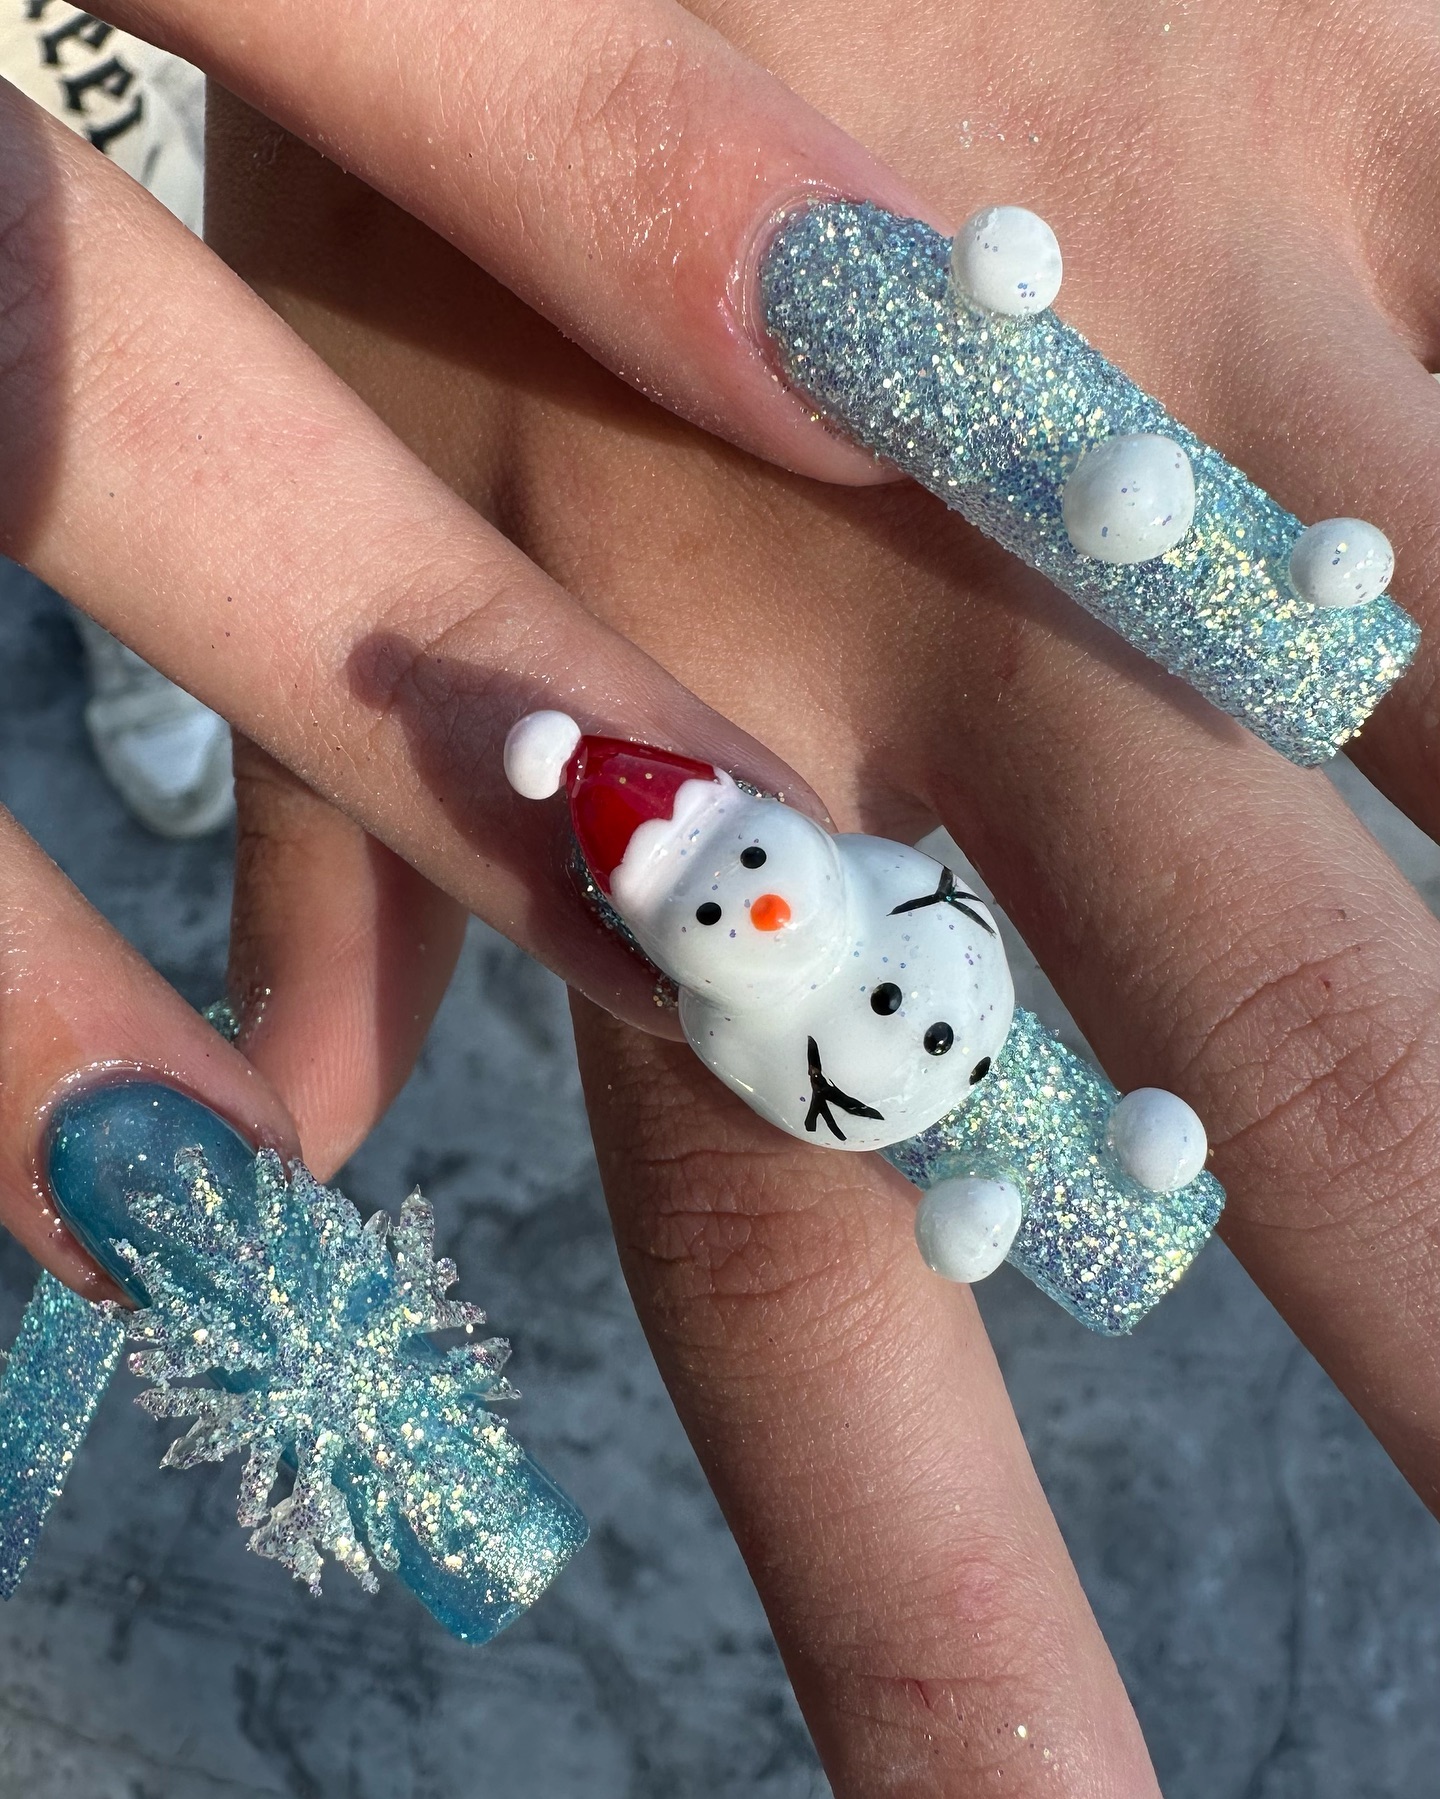
2. 3D Building Materials
Now, let’s talk about the stuff that actually makes your nails 3D. There are a few different routes you can take depending on the vibe you’re going for.
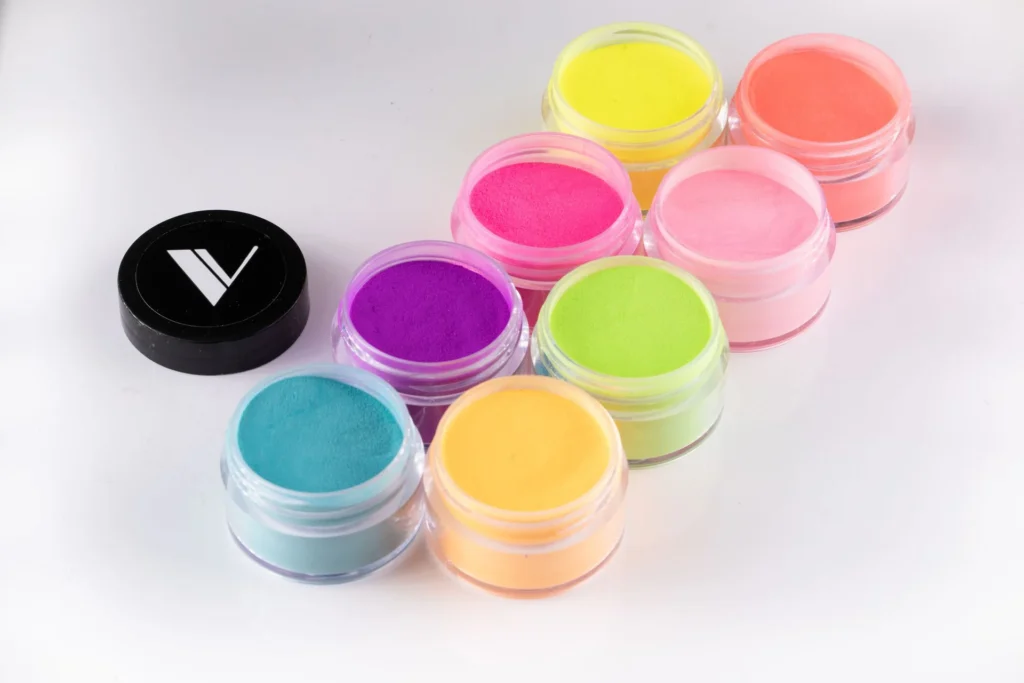
a. Acrylic Powder and Liquid Monomer
This is the OG of 3D nail art. You mix the powder and liquid to create a moldable paste, then sculpt it into shapes like flowers, bows, or whatever else you’re dreaming up.
What You’ll Need: A small dish for mixing, a good acrylic brush (size 8 or 10 works great), and some patience.
Pro Tip: Work fast—this stuff dries quickly, and you don’t want it hardening before you’re done shaping.
b. Builder Gel
If acrylic feels too intense, builder gel is your BFF. It’s thick, easy to control, and cures under a UV/LED lamp. Builder gel is Perfect for raised designs like swirls or chunky gems.
What You’ll Need: A dotting tool or silicone brush to shape it, plus a UV/LED lamp to set it.
Pro Tip: Layer it up for extra height—just cure between layers.
Invest in Quality. Cheap materials can crack or peel. Brands like Kiara Sky, Young Nails, or Mia Secret offer reliable acrylics and gels.
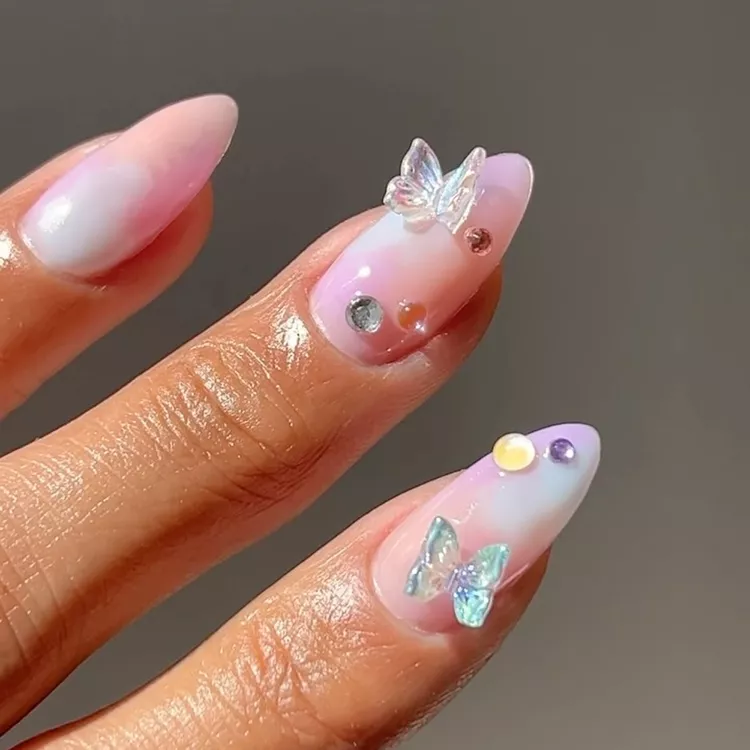
c. Pre-Made 3D Decorations
Not into sculpting? No stress. You can buy ready-made 3D nail charms—like tiny bows, hearts, or rhinestones—and just stick ‘em on.
Pro Tip: Press them down gently so they don’t pop off mid-day.
3. Embellishments
3D nail art isn’t complete without some extra pizzazz. Here’s what you can toss into the mix:
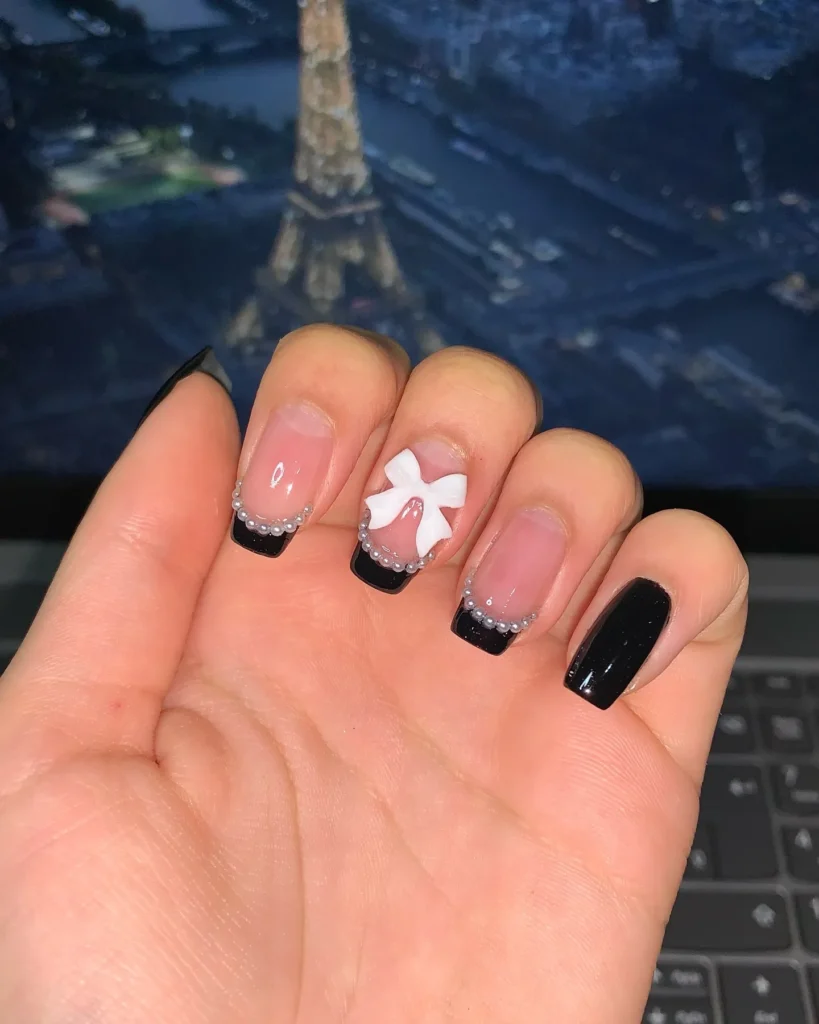
- Rhinestones and Crystals: From tiny sparkles to big statement stones, these add that luxe vibe.
- Glitter: Mix it into your acrylic or gel for a subtle shimmer, or sprinkle it on top for max sparkle.
- Caviar Beads: These tiny micro-beads give a cool textured look—perfect for accents.
- Foil Flakes: For a metallic pop, press some foil into your design while it’s still tacky.
4. Application Tools
You’ve got your materials. Now, you need the right tools to make it all come together.
- Sculpting Brushes: Fine-tipped brushes (sizes 4-8) for shaping acrylic or gel into 3D designs. Silicone-tipped brushes work well with gel, too.
- Dotting Tools: Perfect for placing small embellishments or creating raised dots.
- Tweezers: Precision tools for picking up and positioning rhinestones, charms, or beads.
- Mixing Dish or Palette: For blending acrylic or gel before application.
- UV/LED Lamp: Essential for curing gel-based 3D designs.
- Wax Pencil: If you’re working with rhinestones, this makes picking them up and placing them a breeze.
5. Finishing Touches
Once your design is complete, it’s time to lock everything in with the perfect finishing touches that ensure your nail art lasts and looks salon-fresh.
- Top Coat: A glossy or matte top coat seals your design and protects 3D elements. Use a non-wipe top coat for gel nails.
- Nail Glue: For attaching larger charms or gems that need extra hold.
Choosing the Right 3D Nail Art Materials for Your Skill Level
Of course, not everyone can do acrylic sculpting. Here’s what will work for you according to your expertise and experience:
Important!
Clean Your Tools. Sticky brushes or clogged dotting tools are a nightmare. Wipe them down with acetone or monomer after each use.
Beginners
If you’re new to 3D nail art, start simple:
- Pre-Made Embellishments: Rhinestones, studs, and charms are easy to apply with nail glue or a gel base—no sculpting required.
- Builder Gel: Easier to control than acrylic, as it doesn’t harden until cured under a lamp.
- Basic Designs: Try raised dots, lines, or small gem clusters before tackling intricate shapes.
Intermediate
Once you’re comfortable, experiment with:
- 3D Nail Gel: Sculpt simple flowers or swirls using a fine brush and cure them for durability.
- Caviar Beads: Create textured patterns by pressing beads into wet gel or polish.
Advanced
For pros or ambitious DIYers:
- Acrylic Sculpting: Master detailed designs like roses, leaves, or characters using acrylic powder and monomer.
- Mixed Media: Combine acrylic, gel, and embellishments for complex, multi-layered looks.
Save it on Pinterest:
Where to Get Your Supplies
You don’t need to break the bank for this. Hit up your local beauty supply store (Sally Beauty is a solid bet), or order online from places like Amazon, Etsy, or nail-specific shops like Madam Glam or Young Nails. Starter kits are a great way to dip your toes in if you’re just beginning—they usually come with the basics like acrylic, a brush, and some charms.
FAQs
Can you do 3D nail art with regular nail polish?
Not really. Regular nail polish doesn’t have the thickness or hold needed for 3D elements. You’ll need builder gel or acrylic for raised designs and strong adhesion.
What is the easiest way to start doing 3D nail art at home?
Start with pre-made embellishments like rhinestones, bows, or studs. Apply them using nail glue or gel, and seal with a top coat. It’s beginner-friendly and requires minimal tools.
Is acrylic or gel better for 3D nail art?
It depends on your skill level. Acrylic is great for detailed sculpting and dries quickly, but it takes practice. Gel is slower to work with but more forgiving and beginner-friendly.
Can you put 3D nail art on natural nails?
Yes, but keep it lightweight. Use builder gel or gel glue to attach small embellishments. Avoid heavy charms unless your nails are strong or have extensions.
Do I need a UV/LED lamp for 3D gel nail art?
Yes. Builder gels and 3D nail gels need to be cured under a UV or LED lamp to harden and set properly.
Final Thoughts
So, there you go—everything you need to dive into 3D nail art! Whether you’re sculpting with acrylic, layering builder gel, or just sticking on some cute charms, the key is to have fun and let your creativity run wild. Got a design in mind already? Start small, play around, and soon you’ll be flexing those 3D nails like a pro. Happy creating! 💅✨