
How to buff nails without a buffer? 10 Easy At-Home Tricks
You don’t need a professional nail buffer—or even fancy tools—to get smooth, shiny nails. Whether you’re traveling, on a budget, or just trying to give your nails a break, there are simple ways to buff nails at home without a buffer using everyday items you probably already have.
The key? Gentle techniques that enhance your natural nail shine without thinning or damaging your nail plate.
Let’s break it all down 👇
Can You Buff Nails Without a Buffer?
Yes—absolutely.
Buffing is all about smoothing the nail surface and increasing natural shine. While traditional nail buffers are designed for this, you can safely recreate the effect using soft materials and mild abrasives. In fact, some of these methods are less damaging than aggressive buffing blocks.
Perfect if you love:
- The clean-girl manicure
- Polish-free nails
- Minimal nail routines
- Buff manicures at home
1. The Denim Method (Best for Shine)
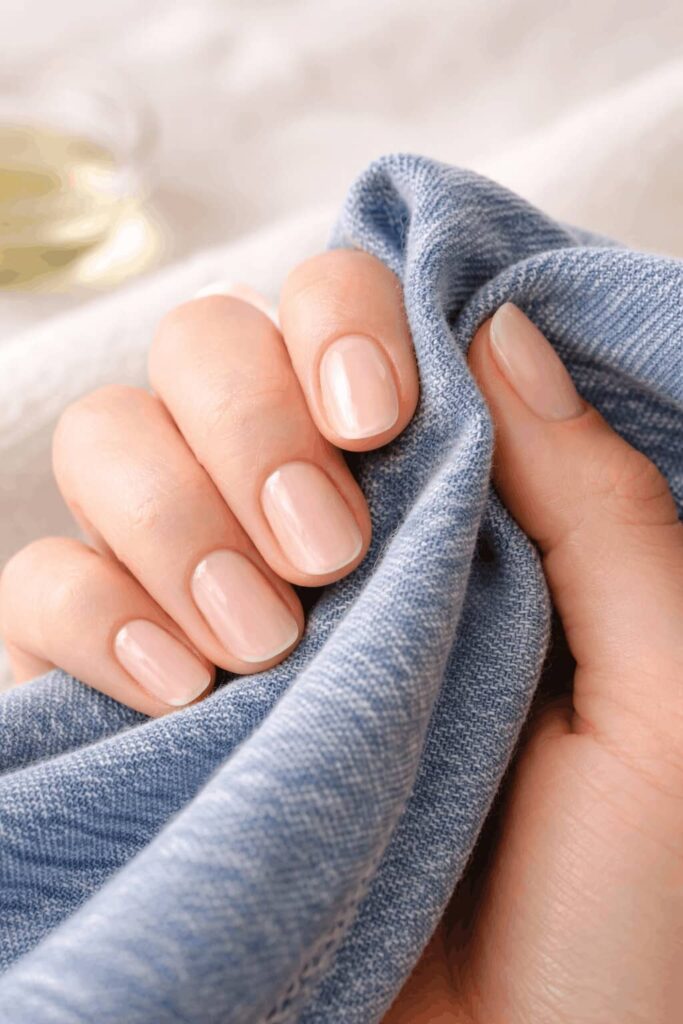
This is the gold standard of MacGyver-style nail care. The texture of denim is just abrasive enough to smooth the nail surface and create heat through friction, which coaxes out the natural oils in your nails.
- How to do it? Find a pair of clean jeans (not the ones you’re currently wearing, for ease of use). Pull a section of the fabric taut over your finger and rub your nail against it rapidly in one direction.
- The Result: A surprisingly high-gloss finish.
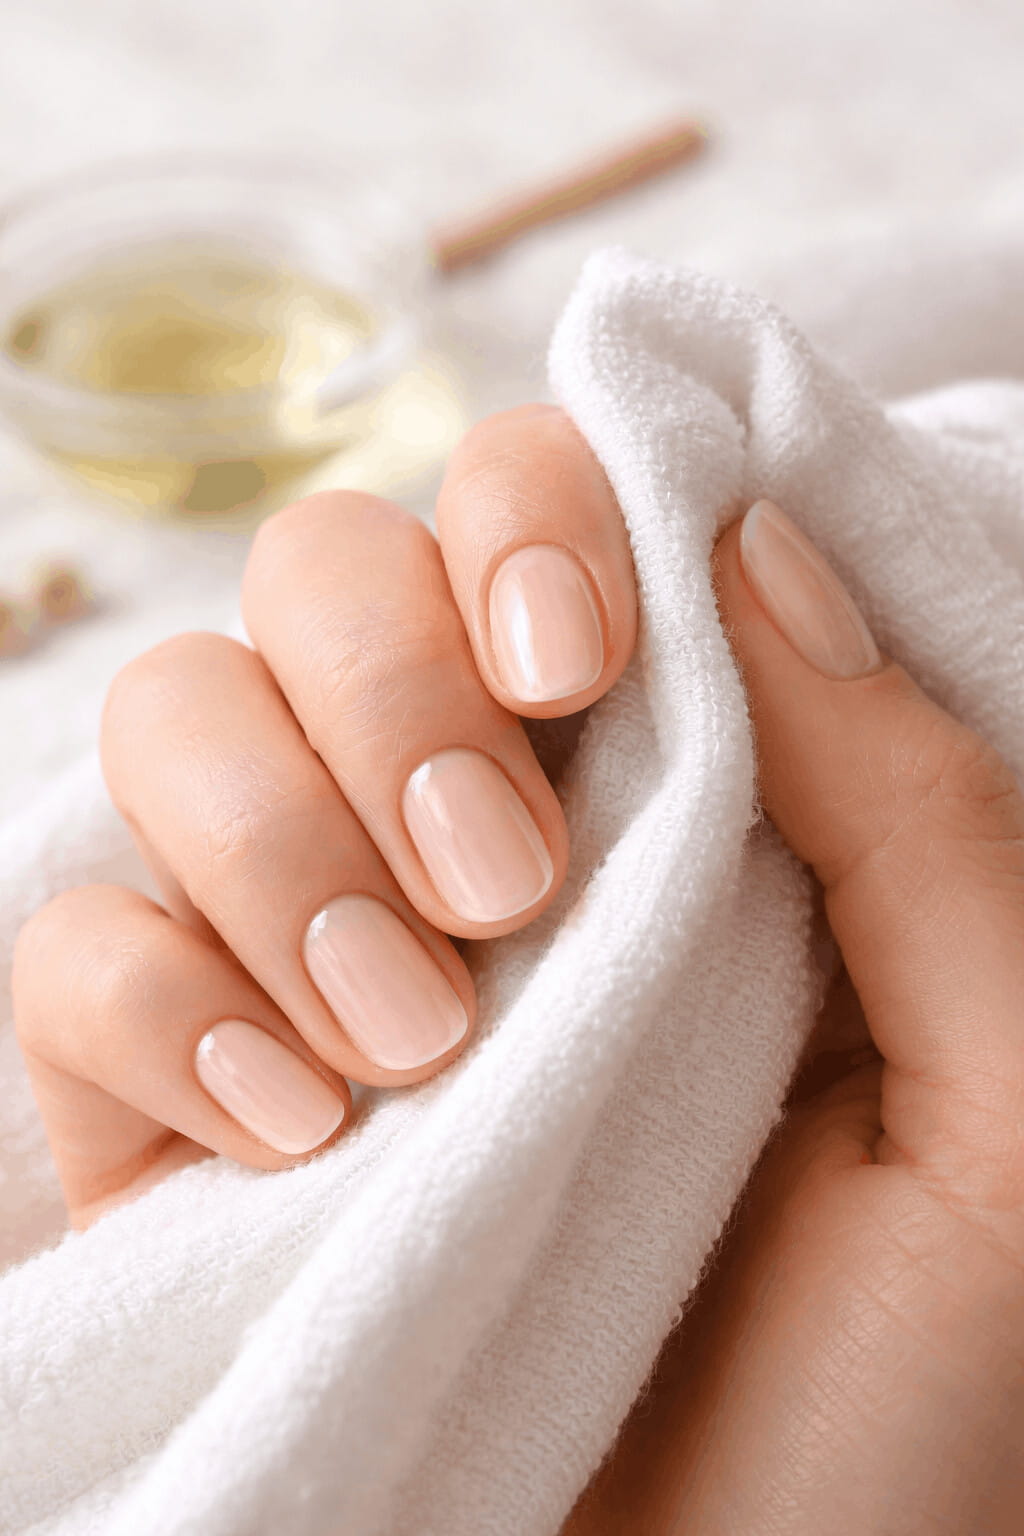
2. Buff Nails With a Soft Cotton Cloth (Safest Method)
This is the best and safest alternative to a nail buffer.
What You’ll Need:
- A soft cotton cloth
- Microfiber cloth
- Or an old, clean cotton T-shirt
How to Do It:
- Start with clean, dry nails
- Rub the cloth over each nail using small circular motions
- Continue for 30–60 seconds per nail
Why It Works:
The fabric gently smooths ridges and boosts natural shine without removing layers of your nail.
✨ Best for regular upkeep and weak or thin nails.
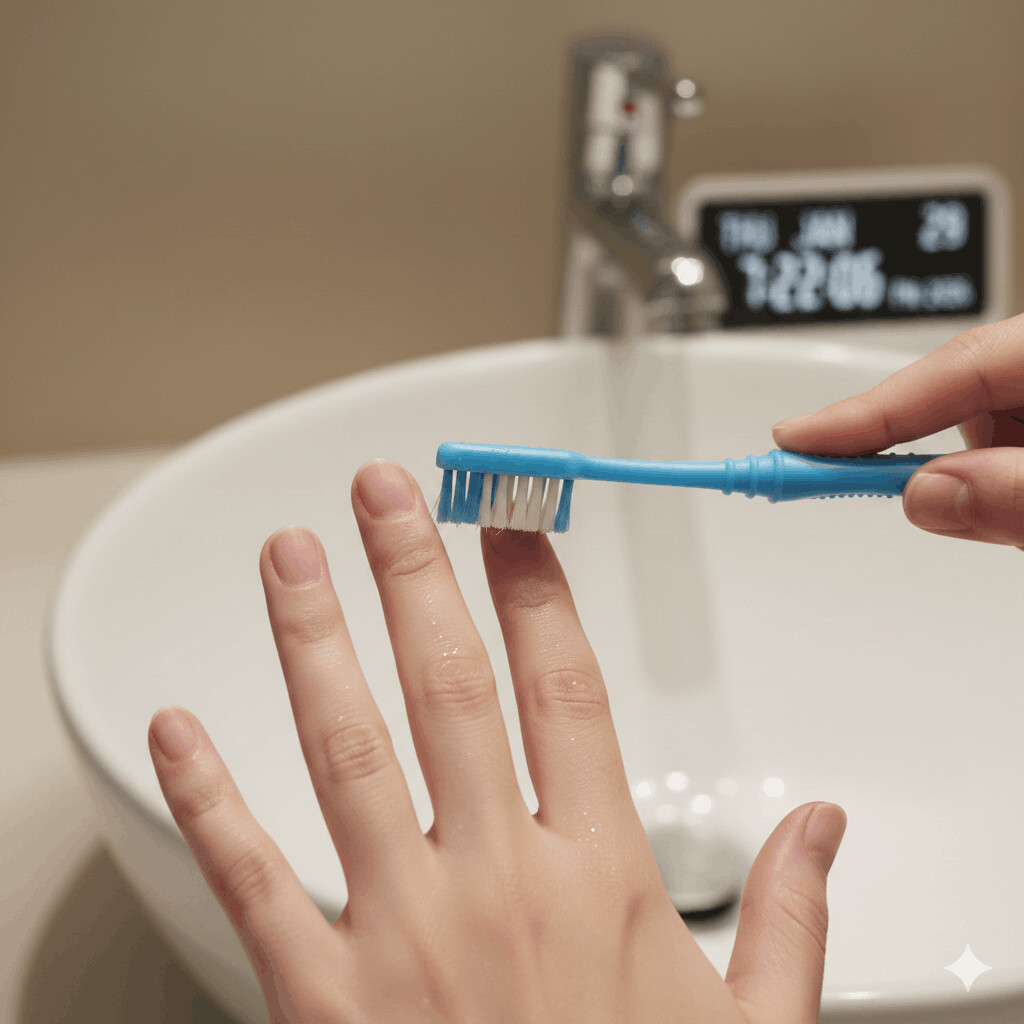
3. The Toothpaste Trick (Instant Brightening)
Yes—toothpaste can buff nails. The mild abrasives used to polish teeth also help smooth nail surfaces.
What You’ll Need:
- Plain white toothpaste (no gel formulas)
- Cotton pad or soft cloth
Steps:
- Apply a pea-sized amount of toothpaste to each nail
- Gently rub in circular motions for about 30 seconds
- Rinse thoroughly and dry
- Finish with cuticle oil or hand cream
Result:
Brighter, smoother nails with a soft, natural sheen.
⚠️ Use this method no more than once a week.
4. Baking Soda + Water Paste (For Dull or Stained Nails)
If your nails look yellow or dull, this method works wonders—but moderation is key.
What You’ll Need:
- Baking soda
- A few drops of water
- Soft cloth or cotton pad
How to Use:
- Mix baking soda and water into a smooth paste
- Gently rub onto nails using light pressure
- Rinse completely
- Apply nail oil immediately
Good to Know:
Baking soda is slightly abrasive, so limit this to once every 2–3 weeks.
5. The Brown Paper Bag Trick
Brown paper (like a grocery bag or a packing slip) has a very fine grit that acts like a high-number polishing paper.
- How to do it: Cut a small strip of the paper. Rub it firmly across your nails using circular motions.
- The Result: This is excellent for removing that “chalky” look after filing and giving the nail a smooth, satin appearance.
6. The “Oil and Cotton” Cheat Code
If you can’t get the shine you want through friction alone, you can supplement with a tiny bit of oil.
Best Oils:
- Cuticle oil
- Coconut oil
- Jojoba oil
- Olive oil
Apply a tiny drop of olive oil, coconut oil, or even lip balm to your nail. Use a tightly woven cotton T-shirt or a microfiber cloth to buff the oil into the nail plate.
The Result: Immediate shine and hydration, though it will eventually wash off.
7. A Smooth Leather Scrap
If you have an old leather belt or a scrap of leather, it works exactly like a “strop” used for sharpening razors. It doesn’t “sand” the nail so much as it “burnishes” it.
- How to do it: Rub the smooth side of the leather against your nail quickly.
- The Result: A very professional, deep glow.
What NOT to Use to Buff Nails 🚫
Avoid these at all costs:
- Metal nail files
- Sandpaper
- Rough cardboard
- Over-buffing with any method
These can cause thin nails, cause peeling, and lead to breakage.
How Often Should You Buff Nails Without a Buffer?
- Gentle cloth or oil methods: 1–2 times a week
- Toothpaste method: once a week max
- Baking soda method: once every 2–3 weeks
Overdoing it = weaker nails. Less is more.
Pro Tips for Long-Lasting Natural Shine ✨
After buffing:
- Apply cuticle oil
- Seal with a clear nail strengthener (optional)
- Avoid water exposure for at least 1 hour
This helps maintain shine and keeps nails healthy.
⚠️ A Quick Reality Check
While these methods are great for shine, they aren’t quite as effective at leveling deep ridges as a 180-grit buffer would be.
- Don’t over-rub: Even with fabric, you are creating friction heat. If your nail bed starts to feel hot, stop immediately to avoid thinning the nail.
- Stay clean: Ensure whatever material you use is clean to avoid rubbing dust or oils from other surfaces into your nail bed.
Final Thoughts
Buffing your nails without a buffer is not only possible—it can be safer and more nail-friendly when done correctly. With the right technique and a gentle touch, you can achieve smooth, shiny, polish-free nails right at home.
Minimal tools. Maximum glow 💅✨