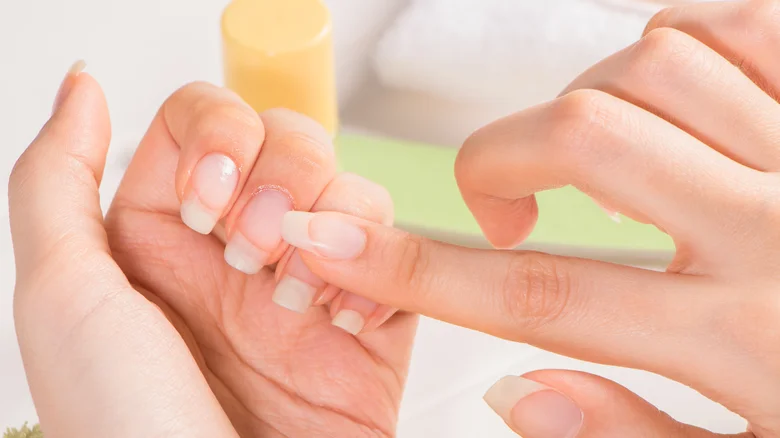
How to exfoliate your nails? The BEST WAY
When we think about exfoliation, our mind usually jumps to glowing skin and smooth lips, but guess what? Your nails need exfoliating, too! If your nails are looking dull, feel rough, or have built-up polish residue, exfoliation can seriously revive them. It’s a small step that makes a huge difference in how your hands look and feel.

So, if you want smoother, healthier nails that are manicure-ready, here’s exactly how to exfoliate your nails the right way, plus the best tools and tricks to make it super effective.
Disclosure: This article contains Amazon affiliate links. As an Amazon Associate, I earn from qualifying purchases. If you click on a link and make a purchase, I may earn a small commission at no extra cost to you.
Why Should You Exfoliate Your Nails?
Think of exfoliation as a reset button for your nails. Over time, dead skin, leftover polish, and cuticle overgrowth can cling to the nail surface and surrounding skin. This leads to:
- Dull, rough nails
- Peeling or brittle nail beds
- Stains from polish or daily wear
- Overgrown or dry cuticles
Regular exfoliation boosts blood circulation, smooths the nail plate, and preps your nails for the next manicure.
It’s best to avoid exfoliating if your nails are cracked, torn, or severely damaged—let them heal first so you don’t cause further irritation.
What You’ll Need for Nail Exfoliation
You don’t need a fancy setup. Here’s a checklist of simple tools and ingredients:
Tools:
These tools, which you probably already have at home, can help you with the exfoliation process of nails.
- Soft nail brush or toothbrush
- Nail buffer (fine grit only)
- Warm water bowl
- Clean towel
Exfoliant:
Choose an exfoliant that is easily available to you:
- DIY: Mix 1 tsp brown sugar + 1 tsp olive or coconut oil
- Baking soda paste: Baking soda + water (gentle stain remover)
- Product pick: Sally Hansen Instant Cuticle Remover (melts away dry cuticle buildup in minutes!)
- Advanced option: AHA/BHA exfoliating liquid (for serious nail revival)
Step-by-Step: How to Exfoliate Your Nails (Safely!)
Step 1: Soak Your Hands
Start by soaking your hands in warm (not hot) water for 5 to 7 minutes. You can add a few drops of lemon juice (great for brightening stains) or a mild soap to help soften the nails and skin. This step is crucial. It loosens dry skin and makes everything easier to remove later.
If you want to level up your soak, adding a teaspoon of olive oil to the water can help hydrate your cuticles while softening dead skin.
Step 2: Apply Your Exfoliant
Apply your scrub of choice to each nail.
- Massage the mixture over each nail, especially around the cuticles.
- Focus on the nail surface, edges, and base.
- Massage in small circular motions for about 1–2 minutes.
If you’re using a product like Deborah Lippmann Cuticle Remover, follow the directions and let it sit before brushing off.
👉 Product pick: Baking soda paste is great if your nails are stained from dark polish.
Step 3: Brush It Out
Take a soft nail brush or a clean toothbrush and gently brush around each nail and over the surface. This helps loosen dead skin and improves circulation to the nail bed, which can promote stronger nail growth.
Also Read: How to Make Your Nail Bed Look Longer Naturally.
Quick tip: Don’t use hard bristles. This can cause micro-damage and leave the nail vulnerable. Light pressure is all you need.
Step 4: Rinse & Pat Dry
Rinse your hands with lukewarm water and gently pat them dry with a towel. At this point, your nails should already feel smoother and look brighter.
If you notice any ridges or uneven texture, now’s a good time to lightly buff the nail surface using a very fine-grit buffer. Don’t go overboard here. A few soft strokes are enough to smooth things out without thinning your nails. And if your nails are already weak or peeling, it’s better to skip the buffing altogether.
Step 5: Lock in Moisture
After exfoliating, your nails and cuticles will be extra absorbent; perfect for soaking in hydration. Massage in a nourishing oil like vitamin E, jojoba, or a specialty blend like Tenoverten’s Celery Oil, which is packed with nutrients to strengthen and hydrate nails.
Follow with a thick, rich hand cream, focusing on the nail area. One crowd-favorite is Burt’s Bees Lemon Butter Cuticle Cream as it smells amazing and gives intense moisture without feeling greasy.
If you’re doing this at night, you can even slip on a pair of cotton gloves to help seal in the hydration and wake up with extra-soft hands.
How Often Should You Exfoliate Your Nails?
For most people, once a week is ideal. If your nails tend to be on the dry or flaky side, every 10 to 14 days works better. If you wear acrylics or gels, it’s smart to exfoliate between sets to keep the natural nails underneath healthy.
What if you exfoliate your nails a lot?
Over-exfoliating can make nails thin and sensitive. If you already buff your nails regularly or use strong nail products, keep exfoliation light and infrequent.
Final Thoughts
Nail exfoliation might not be the first thing you think of when doing self-care, but once you add it to your routine, you’ll see (and feel) the difference. It’s an easy, satisfying way to keep your nails clean, smooth, and strong for both nail polish and simple look lovers.
So go ahead, give your nails a little spa moment. They work hard for you—this is their glow-up time.
