
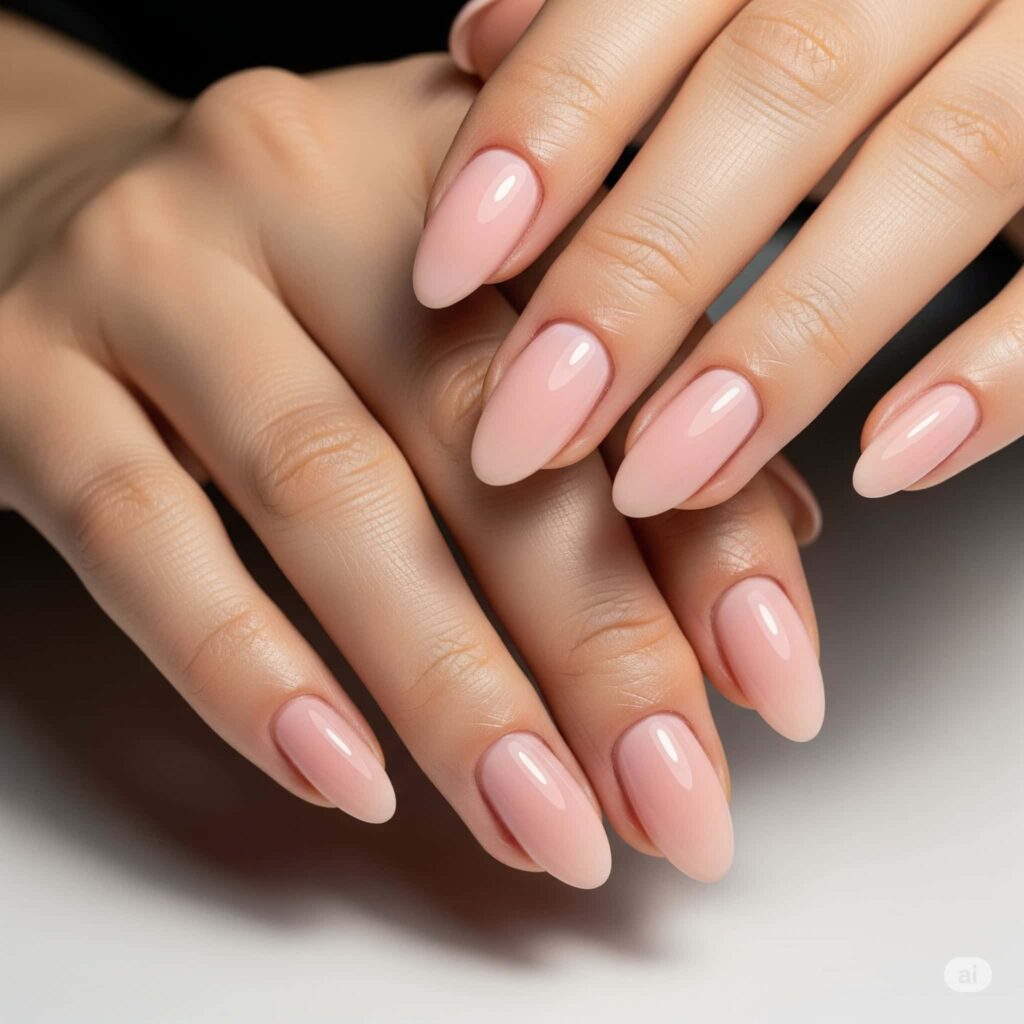
How to shape almond nails – At home step by step guide
Almond nails are a timeless classic for a reason. This elegant shape elongates the fingers and complements most hand shapes. Learn how to achieve this look at home with our easy step-by-step guide.
Disclosure: This article contains Amazon affiliate links. As an Amazon Associate, I earn from qualifying purchases. If you click on a link and make a purchase, I may earn a small commission at no extra cost to you.
What you’ll need:
- Nail file:
- Look for a medium-grit file (around 180-240 grit).
- These files are gentle on your natural nails and help prevent breakage.
- Avoid using emery boards, as they can be too harsh.
- Nail buffer:
- Optional, but highly recommended.
- A buffer helps smooth out any rough edges left behind by filing.
- Look for a 4-sided buffer with different grit levels.
- Cuticle pusher:
- A wooden or metal cuticle pusher is ideal.
- This tool gently pushes back your cuticles, helping to clean up the base of your nails.
- Avoid using sharp metal tools, as these can damage your cuticles.
Shape your nails into almonds!
Almond nails are classy, feminine, and super flattering on most finger shapes. But achieving that perfect almond shape requires more than just a good nail file—it starts with proper nail prep. Here’s a complete guide to shaping almond nails like a pro, from prepping your hands to moisturizing and protecting your hard work.
Step 1: Prep Your Nails
Before anything else, make sure your hands are squeaky clean. Wash them thoroughly with warm water and gentle soap. Rinse well and dry completely with a clean towel.
Pro Tip: Any leftover moisture can interfere with filing and weaken your nails—make sure they’re completely dry before you move on.
Step 2: Push Back Your Cuticles
Be Gentle—Don’t Cut! Healthy cuticles are essential for healthy nails, so treat them with care.
- Use the rounded end of a cuticle pusher to gently nudge your cuticles back.
- Never cut your cuticles. Doing so increases the risk of infection and irritation.
💧 Moisturize Your Cuticles
After pushing them back, apply a nourishing cuticle oil or cream to soften and hydrate the area.
Extra Tip: Do this regularly—even when you’re not shaping your nails—to maintain healthy growth.
Step 3: File Your Nails into the Almond Shape
Find the centre first. Imagine a straight line running vertically down the center of each nail. This line will guide your shaping and keep things symmetrical.
↔️ File in One Direction
- Always file in one direction—from the outer edge toward the center.
- Avoid sawing back and forth, which can cause splitting and peeling.
💅 Shape into an Almond
To create the almond silhouette:
- File the sides of your nails gradually inward, tapering them to the center line.
- Round off the tip for a smooth, elegant look—avoid sharp points, as they can snag and break easily.
Pro Tip: If you’re unsure, start slowly. You can always file more, but you can’t add nail back!
Step 4: Smooth the Edges
Use a fine-grit nail buffer to:
- Gently smooth any rough edges or ridges.
- Create a clean, polished finish.
Caution: Don’t over-buff! Excessive buffing can thin out your nails and make them prone to breakage.
Step 5: Moisturize & Protect
Apply a rich hand cream to lock in moisture and keep nails from becoming dry or brittle. When doing chores like washing dishes or gardening, slip on rubber or protective gloves to shield your nails from harsh chemicals and physical wear.
Tips for Success:
- Take your time: Don’t rush the process. Filing too aggressively can weaken your nails.
- File in small strokes: Avoid sawing back and forth, as this can damage your nails.
- Check your progress: Frequently check your nails to ensure they are symmetrical and evenly shaped.
- Use a good-quality file: A high-quality nail file will help you achieve a smoother, more professional-looking result.
By following these simple steps, you can easily achieve beautiful almond-shaped nails at home.