
Manicure at Home Without Tools: Step-by-Step Guide
Missing manicure tools? No worries! You can still get great-looking nails using stuff you already have at home. Doing a manicure at home not only saves you money but also a ton of time. All you need to know are a few simple techniques of buffing, shaping, and polishing nails.
Also read: 10 At-Home Remedies for Stronger and Healthier Nails
Table of Contents
Step 1: Remove Old Nail Polish
To make our nails look fresh, it’s important to remove any old, dull, faded, and chipped nail polish. Sure, you can use nail polish remover, but there are other ways, too. Let’s head to the kitchen!
Lemon Juice and Vinegar.

According to Nordstrom, “Additives in traditional polish removers—such as isopropyl acetone, methyl ethyl ketone, and n-methyl-pyrrolidone … damage your nails and cuticles“.
A mixture of lemon juice and vinegar is a great alternative. The acidity in these ingredients helps break down the polish formulae. Here’s how:
- Mix Equal Parts of lemon juice and white vinegar in a small bowl.
- Soak a cotton ball in the mixture and start pressing it against your nail (for about 10-20 seconds).
- Rub gently to wipe the polish off.
Repeat this process for stubborn spots. When done removing, wash your hands.
Hand sanitizer is also another easy alternative to nail polish remover. It can also easily dissolve nail polish due to its high alcohol content. Pour hand sanitizer onto a cotton ball. Press and rub the soaked cotton ball onto your nail.
Step 2. Clean your Hands
After removing old polish, it’s essential to wash/clean your hands thoroughly. This step ensures there’s no residue left on your nails and gets them ready for the next steps.
When washing, use warm water with a gentle soap to open up pores and clean more effectively. Never miss cleaning between your fingers and under your nails, where residue usually hides. If you have long nails, a good idea is to scrub a toothbrush for cleaning under your nails.
To give your hands an extra clean, exfoliate to remove dead skin cells. Here’s how:
- Take 1 teaspoon of sugar and coffee and mix them. Make sure the sugar granules are not too big to cause rashes on your skin.
- Rub the mixture onto your hands in circular motions, but only for two minutes.
- Wash off with warm water and pat dry.
The sugar acts as an exfoliant, and the coffee makes your skin glow. While scrubbing, the only thing to keep in mind is to “BE GENTLE“. Overdoing it might irritate your skin, especially if it’s sensitive.
Step 3: Trim Your Nails
Now that your nails are softer, it’s easier to trim them without splitting. Here’s how to get it done, even without a proper manicure kit.
Use a Nail Clipper
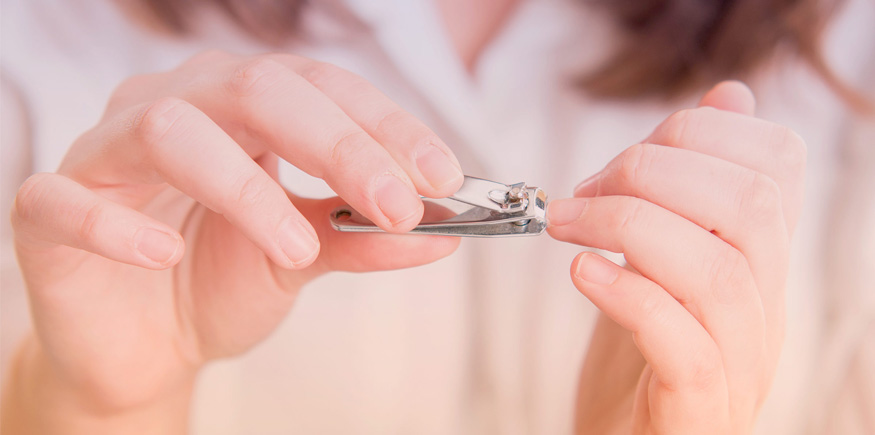
To trim your nails, the best option is to use a nail clipper. Sure, it’s technically a tool, but it’s a pretty common household item. For fingernails, a smaller clipper with a curved edge is ideal since it nicely follows the natural nail curve.
- Clip in Small Sections: Cut your nails in small sections rather than all at once to avoid splitting.
- Avoid Cutting Too Short: Leave a small white edge to protect the nail bed.
- Use Sharp Clippers: Dull clippers can cause nails to split and break.
No nail clippers? No problem. Scissors or a small knife can work too. To prevent any kind of infection, sterilize the scissor/knife with alcohol before and after use. Also, Make sure they are sharp. Dull blades can cause jagged edges and increase the risk of slipping.
For Even Trimming, make small and straight cuts across your nails instead of trying to cut the whole nail in one go. This helps you avoid jagged edges and potential injury. Carefully handle these tools, as any mishandling can cause injury.
Step 4: File Your Nails
Without a nail file, you can use several household items to smooth and shape your nails like emery boards or fine-grit sandpaper.
Emery Boards
Emery boards are often found in craft or sewing kits. They are a good alternative to traditional nail files. For proper filing, use the coarse side for initial shaping and the finer side for smoothing.
Fine-Grit Sandpaper
Fine-grit sandpaper (around 180-240 grit) works well too. Cut the sandpaper into small, manageable pieces. Wrap a piece around a pencil or stick. Use gentle, one-directional strokes to shape your nails.
The key is to avoid back-and-forth motion, which can seriously weaken your nails.
Filing Techniques
Different shapes need different filling techniques.
For Square Nails
Hold the file perpendicular to your nail and file straight across. Lightly round the corners to prevent snagging.
For Round Nails
File in a gentle curve that follows the natural shape of your fingertip. Use small, circular motions to achieve a smooth curve.
For Oval Nails
File the sides of the nails at an angle. File the tip into a gentle oval shape, following the curve of your fingertip.
Step 5: Soften Cuticles
An easy, fuss-free solution to soften your cuticles is to soak them in warm, soapy water. If you’ve already soaked them enough and they feel soft now, SKIP THIS STEP. Oversoaking can make your nails weaker, and nobody wants that.
For extra nourishment, try mixing olive oil with warm water. Olive oil, being rich in vitamins and antioxidants, is hydrating in nature, but it can be a bit greasy on your fingers. Use a towel to wipe out greasy residue or wash them gently with soap afterward.
Soaking softens your cuticles and makes them really easy to push back. Additionally, it totally reduces the risk of tearing or damaging them.
Step 6: Push Back Cuticles
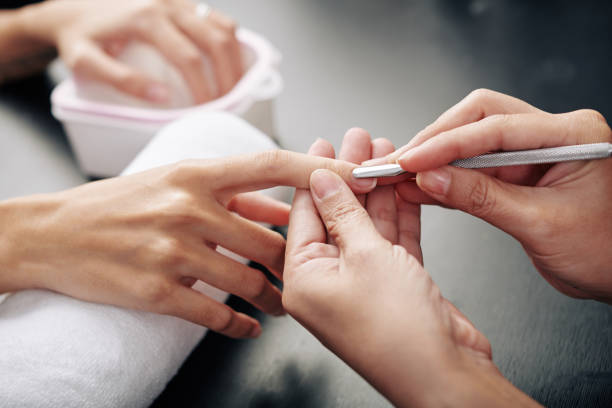
Head back to the kitchen. Grab a teaspoon and use its rounded edge to slowly push your cuticles back. If you’re in a pinch, use your own thumbnails of the opposite hand(Hands should be clean to avoid introducing bacteria to your cuticles).
Pushing too hard can lead to painful injuries. Hold your tool at a slight angle to apply gentle pressure, and if your cuticles are tough or resistant, don’t force them. Soak them again or apply a cuticle oil to soften them further before trying again.
Don’t cut your cuticles
Cuticles act as a barrier, protecting the base of your nails from infections and bacteria. “Cutting them can expose you to potential infections. If you remove the cuticle, that space is wide open, and anything can get in there,” says Richard Scher, MD, a Cornell University dermatology professor (Source).
Step 7: Nail Buffing
Nail buffing is like giving your nails a little polish without using actual nail polish. It’s when you use a special tool, called a nail buffer, to smooth out the surface of your nails, and get rid of any ridges or uneven spots, and all of this helps make them look shinier and neater.
If you don’t have a traditional nail buffer, a piece of cloth can work surprisingly well. Use a soft, clean, and lint-free cloth, such as an old t-shirt or microfiber cloth.
Wrap the cloth around your finger and gently rub it over the surface of your nails. Use a back-and-forth motion to smooth out any ridges and bring out a natural shine.
Buffing pads, often used for cleaning and polishing, can also be repurposed for your nails.
- Select a Soft Pad: Choose a buffing pad with a fine texture to avoid scratching your nails.
- Buff Your Nails: Gently rub the pad over the nail surface in a circular motion. This helps to smooth the nail and enhance its shine.
Buffing Techniques
- Ensure your nails are clean and dry before buffing.
- Start with the edges and work your way to the center.
- Use gentle, consistent strokes to avoid weakening your nails.
- Limit buffing to once a month to prevent nail thinning.
Avoid buffing if your nails are brittle. “Avoid if you are currently suffering, or have suffered in the past from hypertension, as this can lead to increased blood pressure“; Stylecraze.
Step 8: Moisturize Your Hands and Nails
After buffing, apply a few drops of any natural oil and rub it into your nails for a natural shine.
Olive oil
Olive oil is a fantastic natural moisturizer that can help nourish your hands and nails. It is rich in vitamins E and K, which can help strengthen nails and moisturize the skin.
Coconut oil
Coconut oil is another excellent moisturizer with antimicrobial properties. Coconut oil can help soften cuticles, strengthen nails, and hydrate the skin.
Almond Oil
Almond oil is lightweight and packed with vitamins, making it perfect for moisturizing. Be cautious if you have nut allergies, as almond oil can cause reactions in sensitive individuals.
Find the right oils that work best for you. Warm it and massage it into your hands and nails, focusing on the cuticles.
Oils and moisturizing masks provide essential nutrients that can help strengthen and fortify nails
Step 9: Apply Nail Polish
The stage is set, and now, it is time to add a beautiful finish to your manicure. This step is optional but who does not want colors?
Grab your favorite nail polish bottle and start by applying a thin coat of polish to your nails. Avoid thick coats as they take longer to dry and are more likely to smudge.
Let’s discuss different tools already at your home, with the help of which you can create patterns.
- You can create beautiful polka dot patterns with the help of a bobby pin. Open the bobby pin and use the rounded end to dot polish onto your nails.
- Tape can help create clean, sharp lines and geometric designs on your nails. Cut small pieces of tape and apply them to your nails in the desired pattern. Paint over the tape with your desired nail polish color, and then peel off the tape before the polish dries out to reveal clean, crisp lines. Remove the tape while the polish is still wet for the best results.
- Ombre designs are great for giving your nails a natural, subtle look. Use a makeup sponge to apply gradient or ombre effects with nail polish.
Conclusion
Now you can easily achieve a salon-worthy manicure at home. From removing old nail polish and cleaning your hands to shaping, buffing, and moisturizing your nails, you have the knowledge to create beautiful, healthy nails without tools.
Enjoy the process, experiment with different items and techniques, and see what works best.