
Nail Patches for Broken Fingernails (Save a Cracked Nail!)
Few beauty disasters feel as tragic as a broken nail.
You spend weeks growing them out, shaping them perfectly, maybe even painting the cutest manicure — and then snap. One small crack appears, and suddenly the whole nail feels like it’s about to tear in half.
The usual solution?
Cut the nail short and start over.
But here’s the good news: you don’t actually have to sacrifice your length anymore.
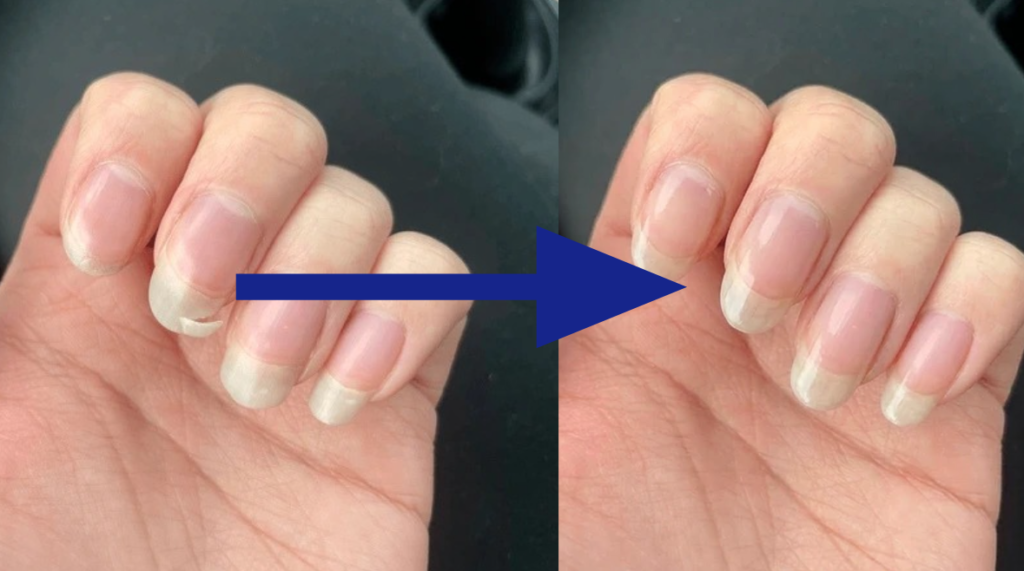
Nail patches are one of the easiest and most effective ways to repair a cracked nail at home. With the right patch and a few minutes of work, you can stabilize the break, protect the nail, and keep your manicure looking flawless.
Think of it as a tiny reinforcement bandage for your nail.
If you’ve never used a nail patch before, this guide will walk you through what they are, how they work, what their types are, which one is best for you, and exactly how to apply one to save a cracked nail.
Disclosure: This article contains Amazon affiliate links. As an Amazon Associate, I earn from qualifying purchases. If you click on a link and make a purchase, I may earn a small commission at no extra cost to you.
What Are Nail Patches?
Nail patches are thin reinforcing materials designed to repair cracks, splits, or breaks in natural nails.
They work by creating a small protective layer over the damaged area, preventing the crack from spreading while your nail grows out naturally.
Most nail patches are made from materials like:
- Silk
- Fiberglass
- Fabric mesh
- Pre-cut adhesive strips
Once applied with nail glue or resin, the patch becomes almost invisible and strengthens the nail enough to survive everyday activities.
A good nail patch can make your nail feel nearly as strong as it did before the break.
Why Nail Patches Work So Well?
When a nail cracks, the structure of the nail plate becomes weak and flexible. Every time the nail bends, the crack gets worse.
Nail patches solve this problem by adding structural support.
They essentially:
- Hold the crack together
- Prevent the split from spreading
- Add thickness and strength
- Allow the nail to grow out safely
Without reinforcement, a small crack often turns into a full break within a few days.
With a nail patch, you can buy yourself several weeks of growth until the damaged part reaches the free edge and can be trimmed away.
Signs Your Nail Needs a Patch
Not every tiny chip needs a repair, but nail patches are perfect for situations like:
1. Small cracks in the nail
A thin split running across or along the nail.
2. Sidewall cracks
These are common and painful because the crack sits near the skin.
3. Nail tears that haven’t fully broken off
If part of the nail is still attached, a patch can hold it in place.
4. Stress cracks under gel polish
Sometimes cracks appear under the polished layers and need reinforcement.
Basically, if your nail is cracked but not completely gone, a patch can save it.
Types of Nail Patches
Not all nail patches are the same. Some materials offer stronger reinforcement than others.
Here are the most common types.
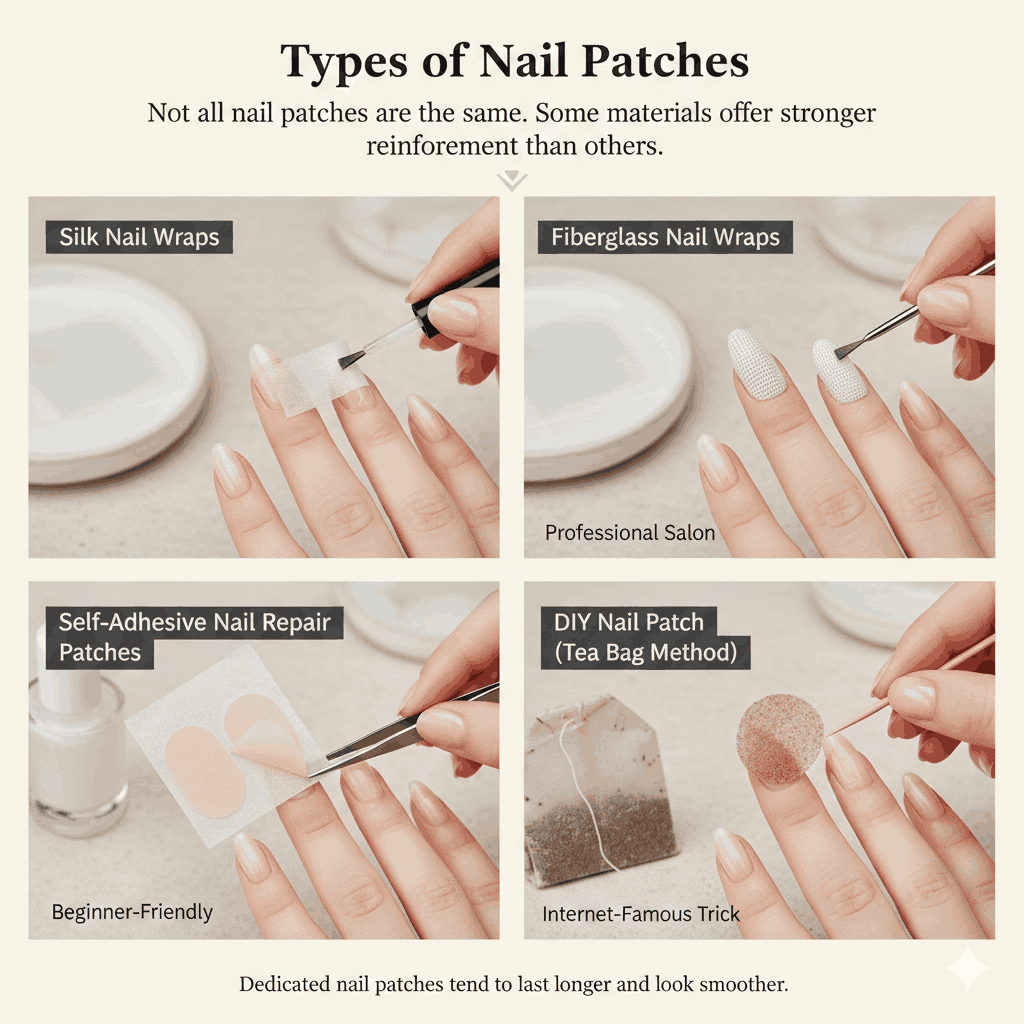
1. Silk Nail Wraps
Silk wraps are ultra-thin fabric patches that blend seamlessly into the nail. They are lightweight, flexible, and perfect for small cracks. Once sealed with glue and buffed, they become almost invisible.
2. Fiberglass Nail Wraps
Fiberglass patches are slightly stronger than silk. They create a sturdier repair and are often used in professional salons.
3. Self-Adhesive Nail Repair Patches
These are beginner-friendly patches that come pre-cut with adhesive backing. You simply stick them on and seal them with clear polish or glue.
4. DIY Nail Patch (Tea Bag Method)
Yes, the internet-famous tea bag trick actually works.
The thin mesh in tea bags behaves similarly to a silk wrap and can temporarily reinforce a cracked nail. However, dedicated nail patches tend to last longer and look smoother.
Best Nail Patch Kits for Broken Fingernails
If you deal with cracked nails often, keeping a nail repair kit in your manicure drawer is a lifesaver. Most kits include silk or fiberglass wraps, nail glue, and small tools to reinforce damaged nails.
Below are some of the most popular nail patch kits that make fixing a broken nail quick and easy.
1. Orly Nail Rescue Kit
This cult-favorite repair kit is one of the fastest ways to fix a broken nail at home.
Instead of a traditional silk wrap, it uses nail glue and repair powder to seal cracks and reinforce the nail surface. The powder hardens with glue, creating a protective layer that keeps the nail from splitting further.
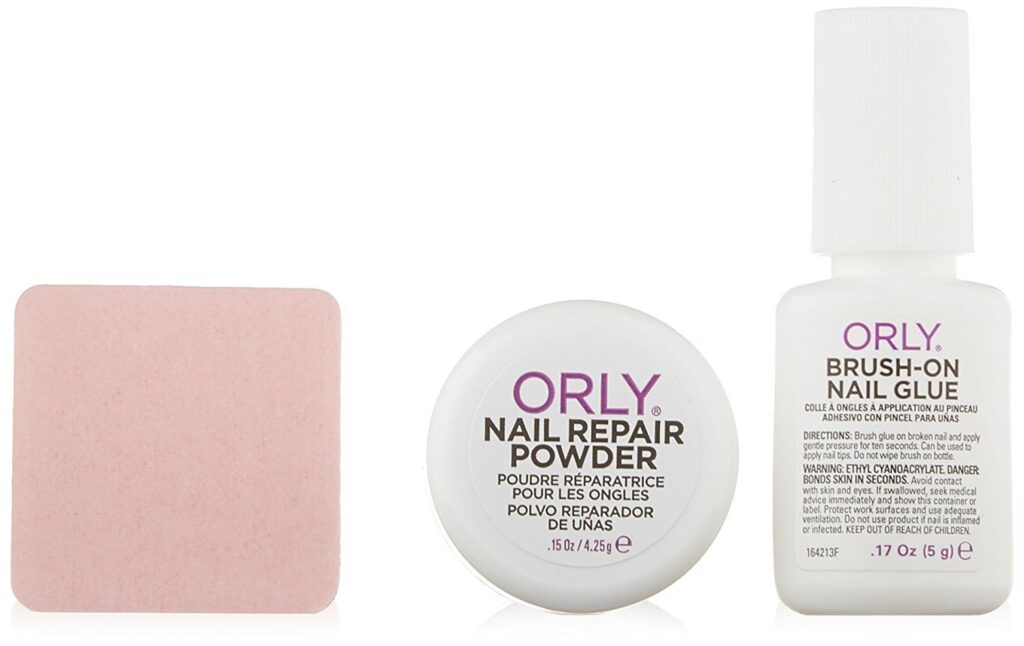
Why do people love it
- Very quick repair (under 2 minutes)
- Strong reinforcement for cracked nails
- Smooth finish under nail polish
This kit is especially useful if you want a fast emergency repair before a manicure.
2. KISS Silk Wrap Nail Repair Kit
The KISS Silk Wrap kit is a beginner-friendly option that comes with real silk patches designed to reinforce cracked nails.
Silk wraps act like tiny casts for your nails, adding strength without making the nail look bulky. Once applied and sealed with glue, the repair becomes nearly invisible under polish.
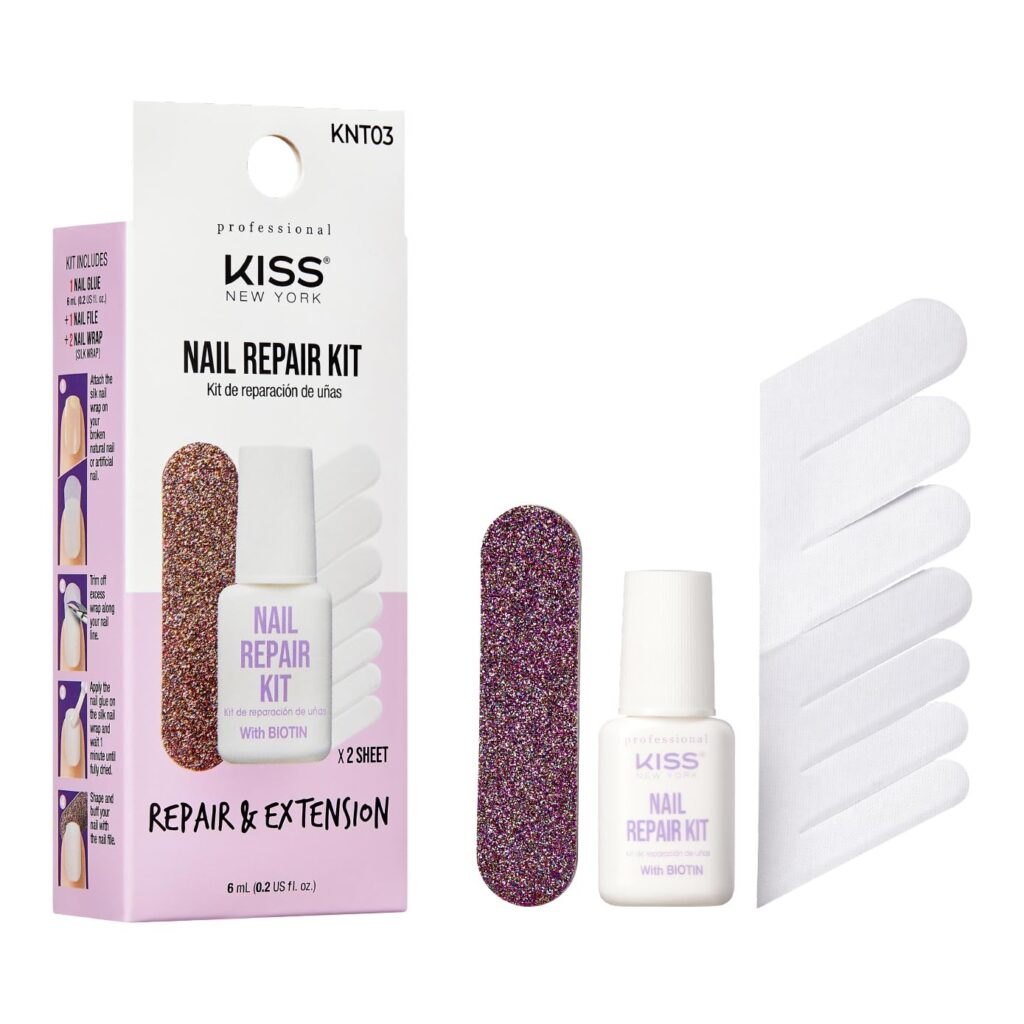
What’s inside
- Silk wrap strips
- Nail glue
- Mini file and buffer
This kit is great for small cracks and splits that haven’t fully broken off yet.
3. IBD 5 Second Nail Wrap Repair Kit
If you want a salon-style nail repair, this kit is a great option.
It uses fiberglass or silk wrap combined with fast-drying resin glue. The result is a strong, professional repair that can last weeks with proper care.
Best for
- Long natural nails
- Reinforcing weak nails
- Preventing cracks from spreading
Many nail technicians prefer fiberglass wraps because they’re slightly stronger than silk wraps.
4. SuperNail Swiss Silk Wrap Tabs
These pre-cut silk tabs are designed for quick nail repairs without trimming fabric wraps. Each wrap has adhesive backing, making application easier for beginners. They’re lightweight and flexible while still reinforcing weak nails with natural-looking results.
Why they’re convenient
- Pre-shaped tabs
- Easy DIY application
- Natural, clear finish
If you’re new to nail patches, these are one of the simplest repair options to start with.
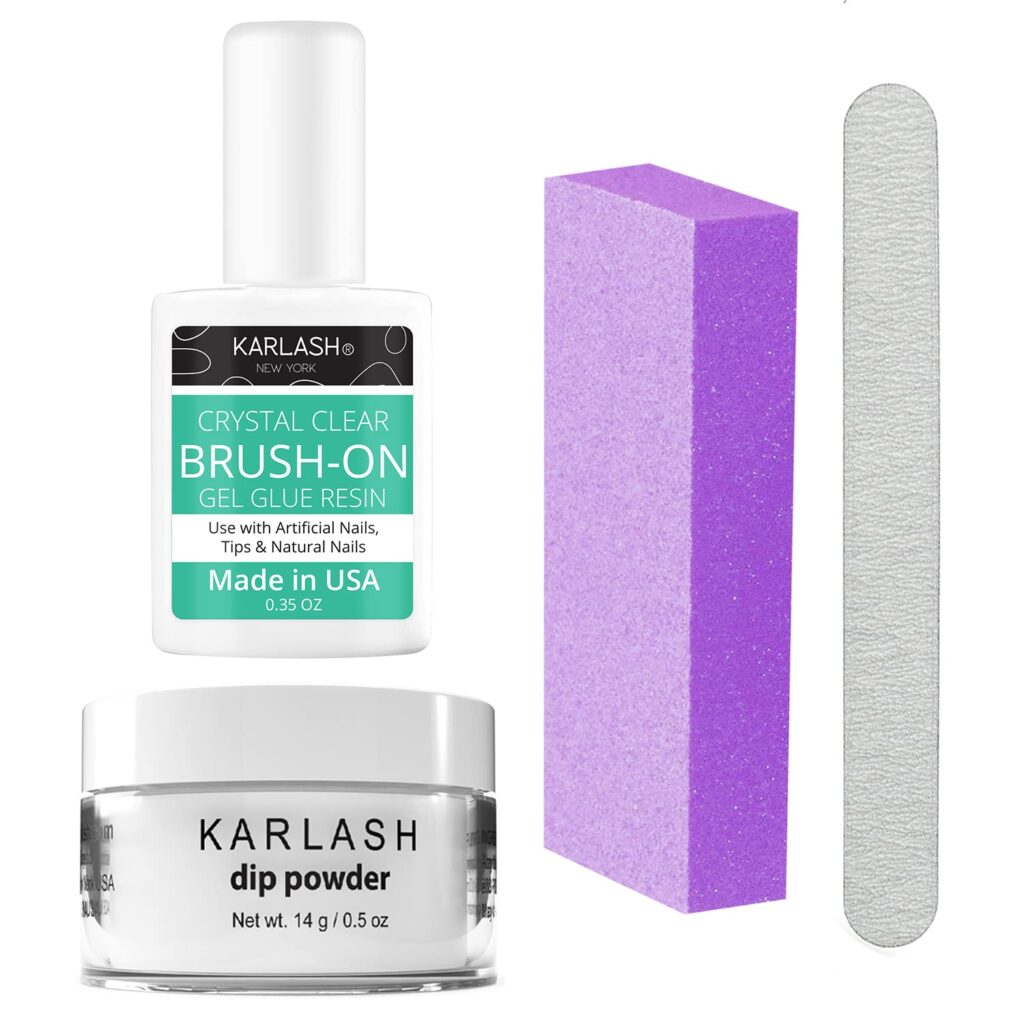
5. Karlash Silk Nail Wrap Repair Kit
This kit is popular among people who regularly grow long natural nails.
It includes silk wrap fabric that can be cut to size and applied with nail glue for targeted reinforcement. The thin silk material strengthens cracked nails while still blending smoothly into the nail surface.
Why it works well
- Thin but durable silk material
- Custom-cut patches for precise repairs
- Works with gel, acrylic, or natural nails
It’s a good option if you want a long-lasting repair that looks natural.
QUICK TIP
For best results, apply nail patches before your base coat when doing a manicure. This allows the repair to blend seamlessly into the nail so the patch becomes almost invisible under polish.
How to Apply a Nail Patch (Step-by-Step)
Applying a nail patch at home is surprisingly easy. The whole process usually takes less than 10 minutes.
Step 1: Clean the Nail
Start with clean, dry nails.
Remove any polish and wash your hands to remove oils or residue. This helps the patch adhere properly.
Step 2: Gently Buff the Nail
Lightly buff the surface of the nail around the crack.
This roughens the surface slightly so the glue and patch stick better.
Avoid buffing too aggressively — the goal is just to remove shine.
Step 3: Cut the Patch
If you’re using silk or fiberglass wrap, cut a small piece slightly larger than the crack.
The patch should fully cover the damaged area but not extend too far beyond the nail.
Step 4: Apply Nail Glue
Add a thin layer of nail glue directly over the crack.
Then place the patch on top while the glue is still wet.
Use tweezers if needed to position the patch carefully.
Step 5: Seal the Patch
Apply another thin layer of glue over the patch.
Make sure the material becomes fully saturated and lies flat against the nail.
Let it dry completely.
Step 6: Buff Smooth
Once the glue has dried, gently buff the surface to smooth any texture.
The patch should now blend into the nail.
Step 7: Apply Polish or Top Coat
Finish with:
- Clear top coat
- Regular nail polish
- Gel polish
After polishing, the patch becomes nearly invisible. Your manicure is officially saved.
Common Mistakes to Avoid
Even though nail patches are simple to use, a few mistakes can shorten their lifespan.
I. Applying patches to oily nails
Natural oils prevent glue from sticking.
ii. Using too much glue
Excess glue creates bumps and uneven texture.
iii. Cutting patches too large
Oversized patches are more likely to lift at the edges.
iv. Skipping the buffing step
Buffing helps the patch blend seamlessly.
Fix these mistakes, and your nail repair will last much longer.
How Long Do Nail Patches Last?
A well-applied nail patch can last one to two weeks, depending on your lifestyle.
Factors that affect longevity include:
- Water exposure
- Nail length
- Daily activities
- Quality of the patch
If the repair starts lifting, you can simply reapply a new patch.
Most people keep the patch on until the cracked section grows out and can be trimmed away.
Nail Patch vs Tea Bag Nail Repair
The tea bag hack is a popular DIY solution, but how does it compare to real nail patches?
Tea Bag Method
| PROS | CONS |
| Free and easy | Not as durable |
| Works in emergencies | Harder to blend smoothly |
Nail Patches
| PROS | CONS |
| Stronger material | Requires buying a kit |
| Longer lasting | |
| More professional finish |
If you regularly grow long nails, investing in proper nail patches is definitely worth it.
Final Thoughts
Broken nails happen to everyone — especially when you’re trying to grow them long.
But instead of cutting everything short and starting over, a simple nail patch can rescue your manicure in minutes.
With the right technique, these tiny reinforcements can stabilize cracks, prevent painful splits, and give your nail enough strength to grow out naturally.
In other words, nail patches are basically the unsung heroes of DIY nail care.
Keep a small repair kit in your beauty drawer, and the next time a nail cracks, you’ll know exactly how to fix it.