
How to Take Off Shellac Nail Polish at Home Safely
Shellac manicures look gorgeous, but we’ve all been there: the glossy shine starts to chip, and suddenly you’re tempted to pick it off. Don’t do it! Peeling shellac can actually strip away the top layers of your natural nail, leaving them weak, ridged, and prone to breakage.
The good news? You can absolutely remove shellac at home—without wrecking your nails—if you do it the right way. In this guide, I’ll walk you through a step-by-step process to take off shellac safely, plus give you pro tips, common mistakes to avoid, aftercare, and product recommendations to keep your nails healthy and strong.
Disclosure: This article contains Amazon affiliate links. As an Amazon Associate, I earn from qualifying purchases. If you click on a link and make a purchase, I may earn a small commission at no extra cost to you.
Materials needed
Here’s your shellac removal starter pack. You probably already have some of these at home, and others are worth investing in for a smoother process.
- 100% Pure Acetone – the only remover strong enough for shellac. (Tip: I love this salon-grade acetone on Amazon because it works faster and comes in a spill-proof bottle.)
- Cotton pads or balls – cut into small squares so they sit neatly on your nails.
- Aluminum foil strips – to wrap the cotton in place. (Or use pre-made nail soak off clips if you want reusable, less messy tools.)
- Nail file or buffer – to break the shiny top coat.
- Cuticle pusher / orange stick – for gently scraping softened polish.
- Cuticle oil (optional but so worth it!)
- Lotion (to rehydrate your skin after)
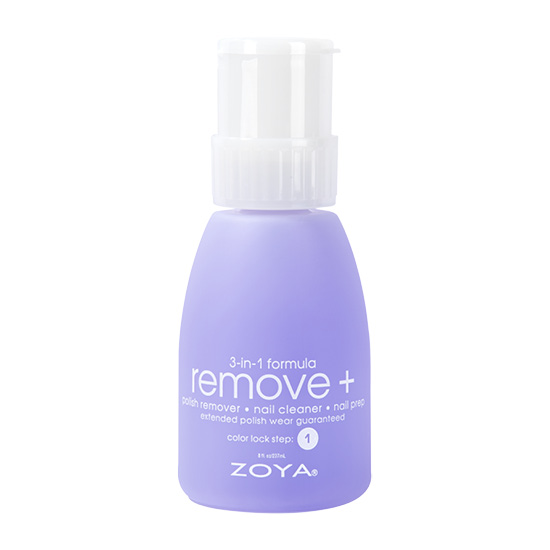
Zoya Remove+ (100% Pure Acetone)
Salon-grade acetone that breaks down shellac fast. Works best with foil wraps or soak-off clips; minimizes scrubbing and reduces damage from over-filing.
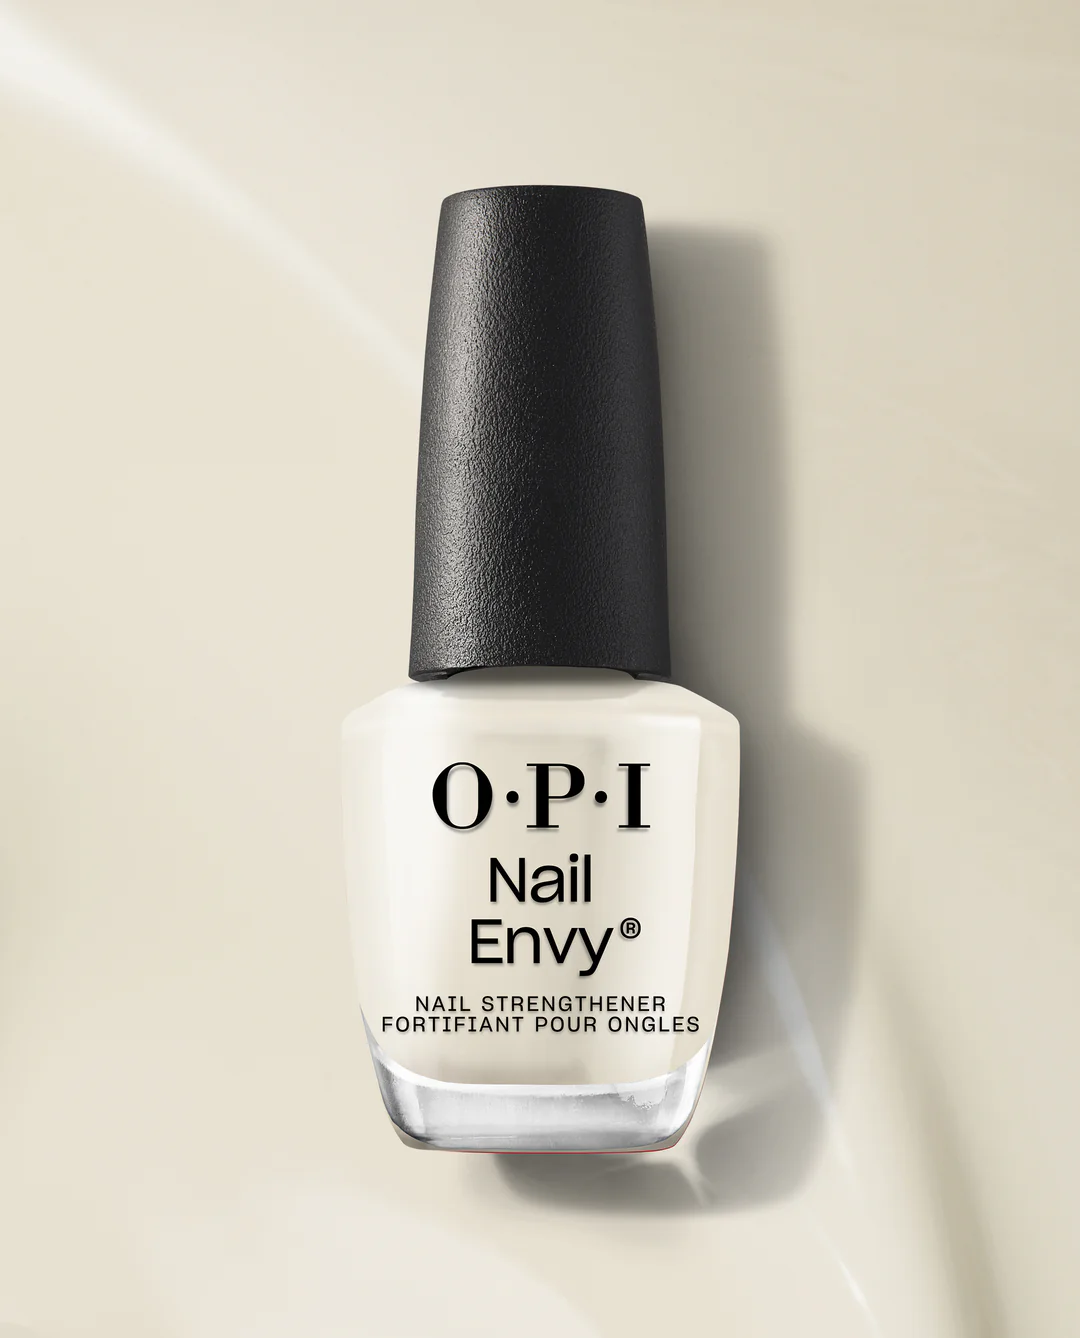
OPI Nail Envy Strengthener
Go-to strengthening treatment for post-acetone recovery. Use 2–3× weekly between manis to reinforce weak, peeling nails and improve resilience.
Links above are affiliate links; I earn a commission at no extra cost to you if you buy something.
Image Credit: Brand Courtesy( of ZOYA and OPI)
Step-by-step guide for removing shellac nail polish
With these easy steps, you can ditch your polish like a pro and keep your nails looking and feeling great.
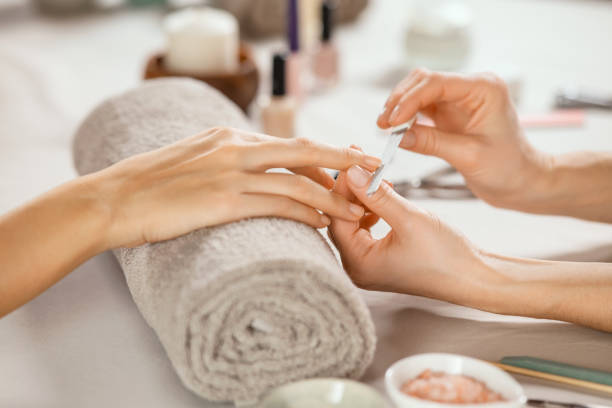
Step 1: Prep Your Nails
Grab a nail file and start by gently filing the top layer of your shellac. This makes it easier for the acetone to soak through and break down the polish.
You don’t need to go wild here. Only buff off the shiny topcoat and not your natural nails
Step 2: Apply Acetone and Wrap
Soak a cotton ball or pad in acetone. Then, place it right on top of your nail, making sure it covers the entire nail surface.
Wrap each fingertip with a small square of aluminum foil to hold the cotton in place. Ensure the foil is snug to create a bit of warmth, which helps speed up the process, and then repeat for all your nails.
If you don’t want to use aluminum foil, soak your fingertips directly in acetone instead (but this method can be more drying).
Step 3: Wait It Out
Patience is key here! Let your nails soak for 10-15 minutes. The acetone needs time to work its magic and break down the shellac.
Pro Tip: If you’re feeling fancy, you can wrap your hands in a warm towel while you wait. The warmth helps speed things up!
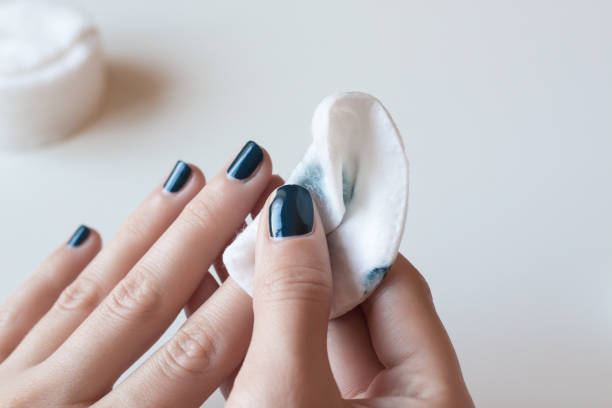
Step 4: Remove and Scrape
Unwrap one nail and check your progress. Most of the polish should look soft and crumbly. Gently press down and wipe the polish away as you remove the foil and cotton.
If some polish is still clinging on for dear life, don’t force it! Just rewrap the nail with a fresh cotton ball and acetone for a few more minutes.
Step 5: Buff and Hydrate
Once all the polish is gone, give your nails a gentle buff to smooth out the surface. Then, show your nails some love with cuticle oil and a good hand lotion. Acetone can be super drying, so this step is a must!
You can also use a nail strengthening polish, like OPI Nail Envy, to protect and repair nails.
Helpful Tips to Keep in Mind
- Don’t peel or pick! It’s tempting, but peeling off shellac can seriously damage your natural nails.
- Be patient. Rushing the process can do more harm than good. If some polish remains stubborn, repeat the acetone soak for another 5 minutes.
- Take nail breaks. After removing the shellac, let your nails breathe before applying another manicure.
Find out: 5 Easy Ways to Remove Nail Polish Stains from Nails at Home