
5 EASY Gel Nail Polishes to Apply for Beginners (NO PANIC)
Let’s be honest: not all gel polishes are beginner-friendly.
Some are thick, streaky, and flood your cuticles the second the brush touches your nail. Others require three coats just to look decent. When you’re new to gel manicures, that can make the whole process feel frustrating fast.
The good news? There are plenty of gel polishes designed to be smooth, easy to control, and beginner-proof. These formulas self-level, apply evenly, and give you rich color in just a couple of coats.
If you’re just starting your DIY gel nail journey, these are the easiest gel nail polishes to apply—and the ones most beginners have the best results with.
Quick Picks: Best Beginner Gel Polishes
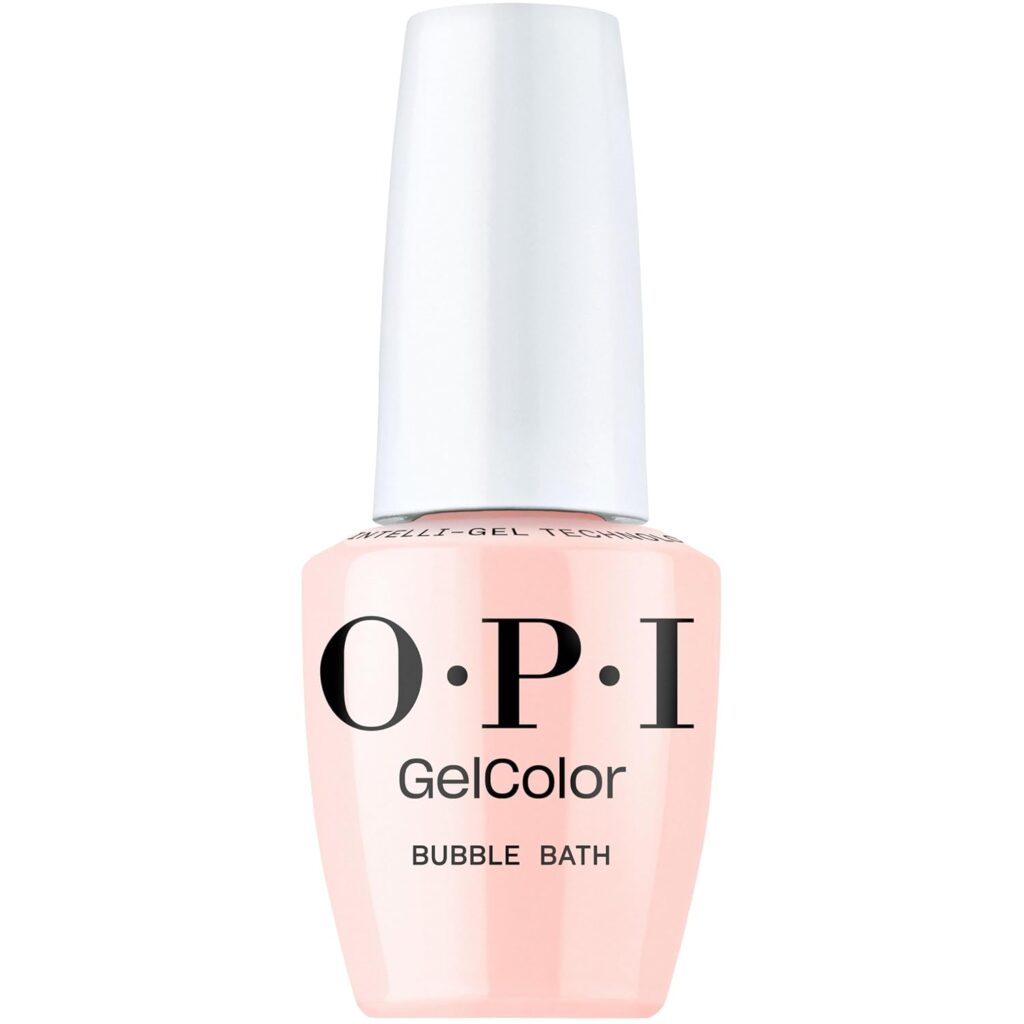
OPI GelColor
The Salon Gold Standard
- ✓ Consistent Pro Formula
- ✓ High-Control Brush
- ✓ 3+ Weeks Wear
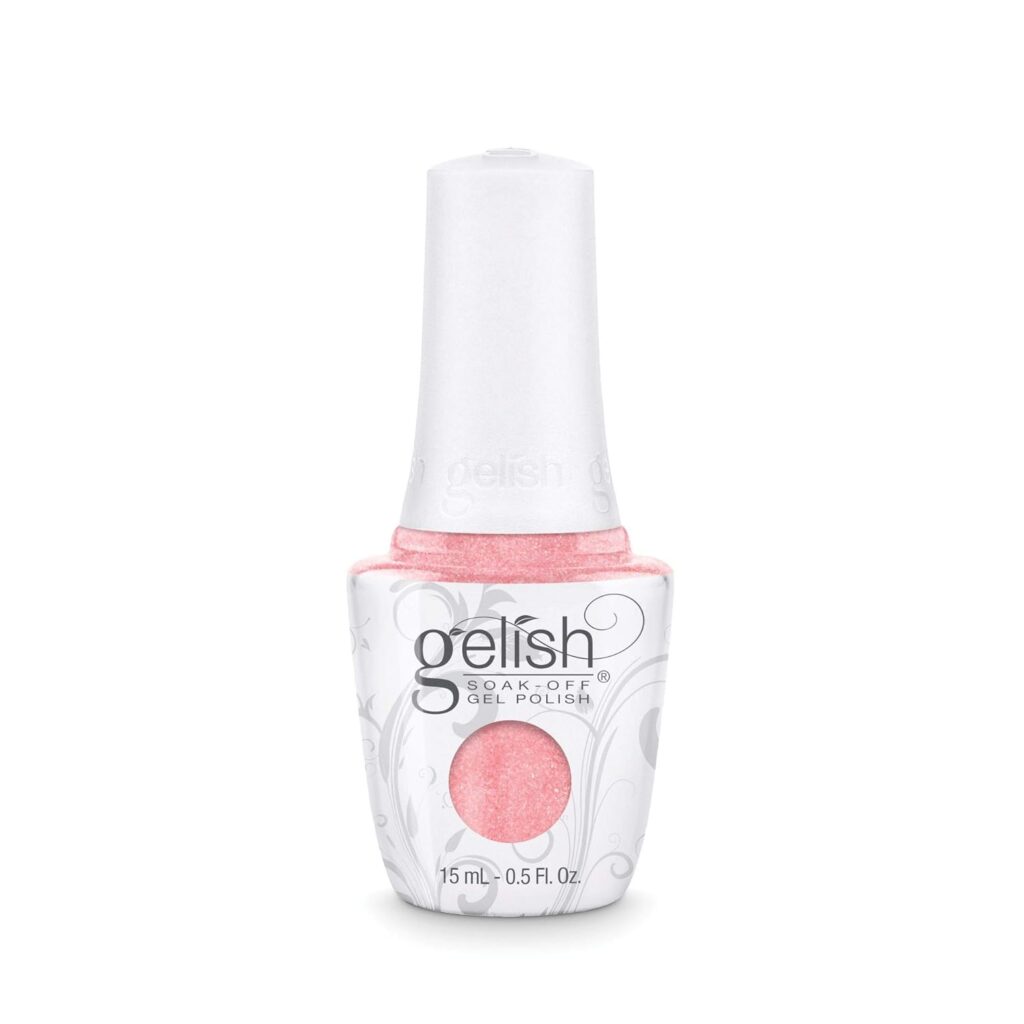
Gelish Soak-Off
Self-Leveling Magic
- ✓ No Brush Strokes
- ✓ Settles Smoothly
- ✓ Great for Weak Nails
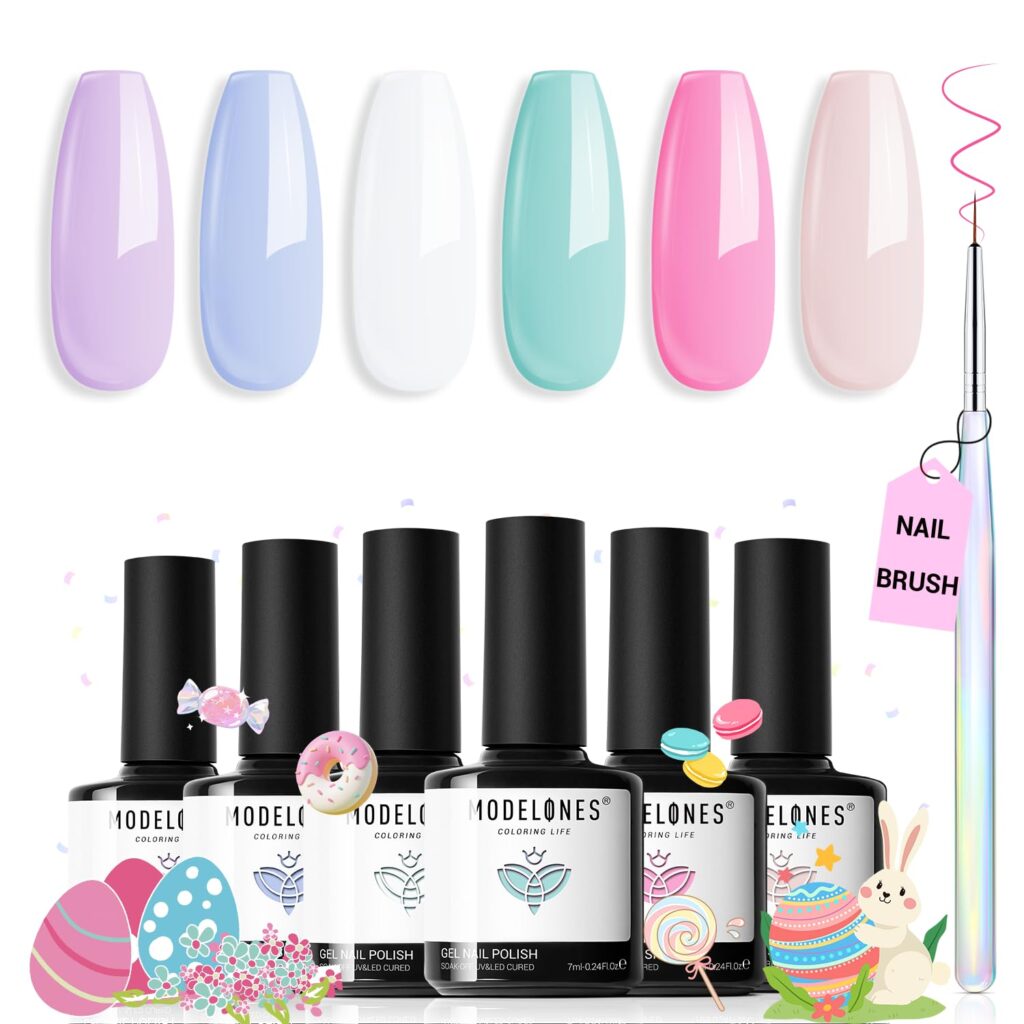
Modelones Set
Maximum Color Variety
- ✓ Affordable 20-Pack
- ✓ Toxin-Free Formula
- ✓ Perfect for Practice
DND Duo Set
Gel + Matching Lacquer
- ✓ Full Opacity in 2 Coats
- ✓ Includes Regular Polish
- ✓ Ultra-Durable Finish
Why gel polish can feel intimidating (and why it doesn’t have to)
If you tried a gel once and ended up with streaks, bubbling, or polish on your cuticles that refused to move — that’s normal. Gel behaves differently from regular polish. It’s thicker, needs a lamp to cure, and reacts to oils and moisture. A lot of beginner frustration comes not from your skill level but from using the wrong formula or applying too much product.
The good news: some gel polishes are basically made for people who don’t want to do thirty tiny, precise brush strokes per nail. They self-level, have forgiving brushes, and show rich color in 1–2 thin coats. Those are the ones you want.
What actually makes a gel polish “easy” for beginners?
Before we talk products, here’s the short checklist of what to look for. Think of this as your shopping cheat sheet.
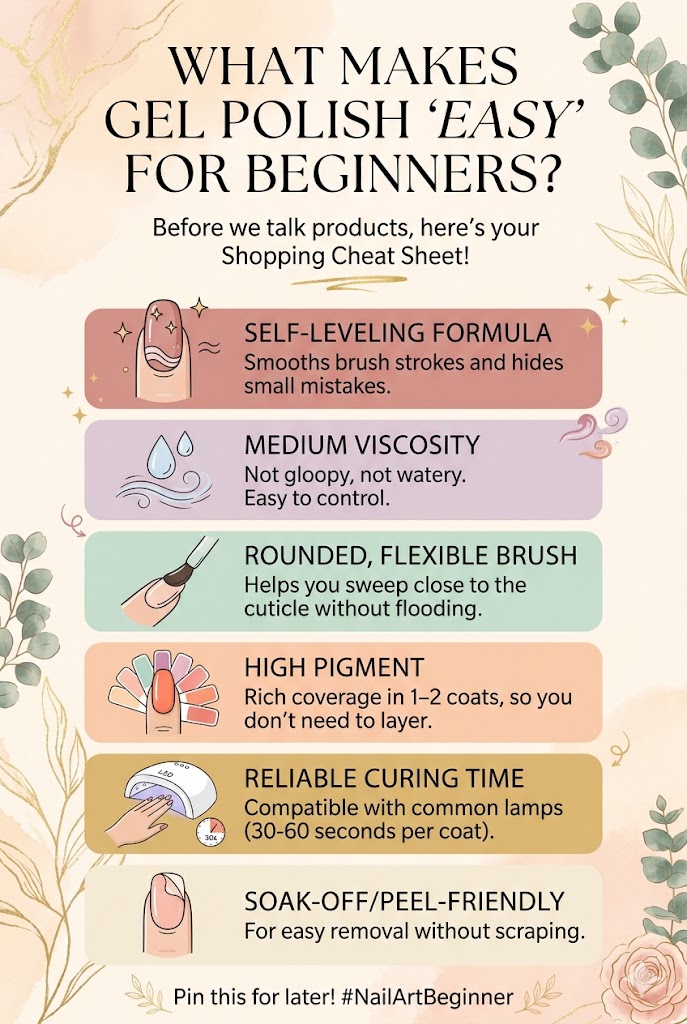
- Self-leveling formula — smooths brush strokes and hides small mistakes.
- Medium viscosity — not gloopy, not watery. Easy to control.
- Rounded, flexible brush — helps you sweep the polish close to the cuticle without flooding.
- High pigment — rich coverage in 1–2 coats, so you don’t need to layer like crazy.
- Reliable curing time — compatible with common LED/UV lamps (30–60 seconds per coat).
- Soak-off/peel-friendly — for easy removal without scraping.
If a polish ticks most of those boxes, it’s beginner-friendly. Now for the fun part…
Best easy gel polishes for beginners (my tried-and-true picks)
1. OPI — classic, forgiving, salon staple
OPI’s gel line is a salon go-to for a reason: consistent formulas, great pigmentation, and a brush that’s easy to control. If you want a solid all-rounder that behaves predictably, OPI is the safe first investment. Colors are plentiful, and the finish is typically smooth without tons of layering.
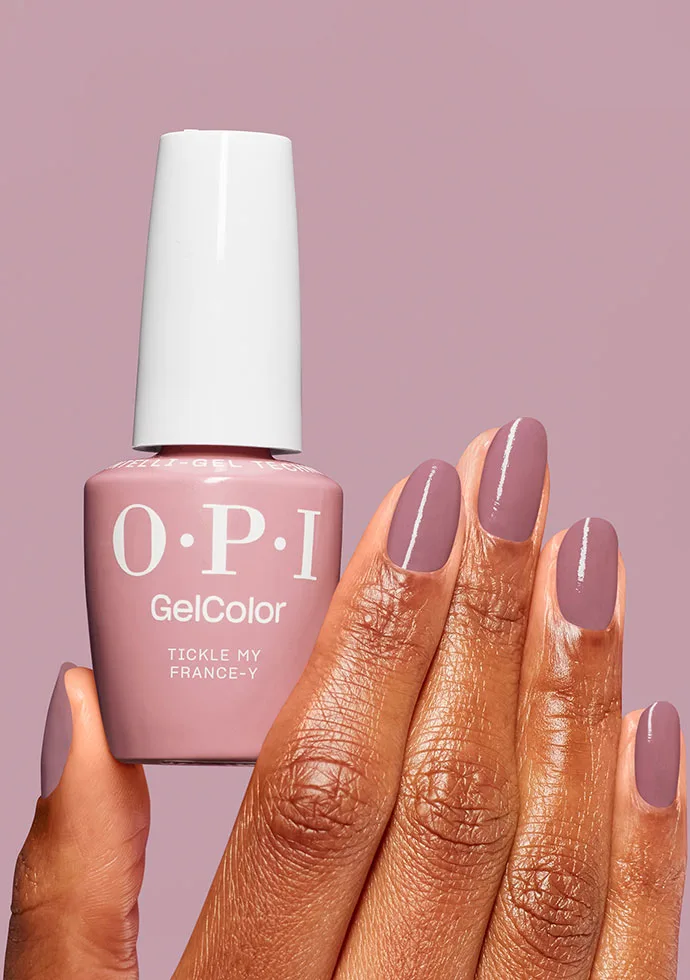
Best for
Those who want a predictable, high-end experience and iconic color names that match their regular lacquer counterparts.
Pro Tip: Since the formula is professional-grade, ensure you cap the free edge (the tip of your nail) to prevent the “shrinkage” sometimes seen with high-pigment gels.
2. Gelish — self-leveling and long-wearing
Best for: Beginners who struggle with brush strokes or uneven texture, as the formula settles beautifully before curing.
Gelish was one of the early leaders in soak-off gels, and their polish tends to be nicely self-leveling. It’s a great match for beginners who want their polish to “do the work” for them. Cures well under LED lamps and is forgiving during application.
Application Note:
The formula is slightly thinner than some others, so focus on applying two very thin coats rather than one thick one to avoid pooling in the cuticles.
3. Modelones — wallet-friendly with surprisingly good performance
If you’re price-conscious but want decent performance, Modelones is a crowd pleaser. Not every color is perfect, but many shades are pigmented, and the polish applies thinly enough that beginners don’t end up with thick, wrinkled layers.
Value Factor: These often come in sets of 6 to 20 mini bottles, making it the most cost-effective way to practice different application techniques.
Best for: Building a massive color library on a budget without sacrificing too much on the ease of application.
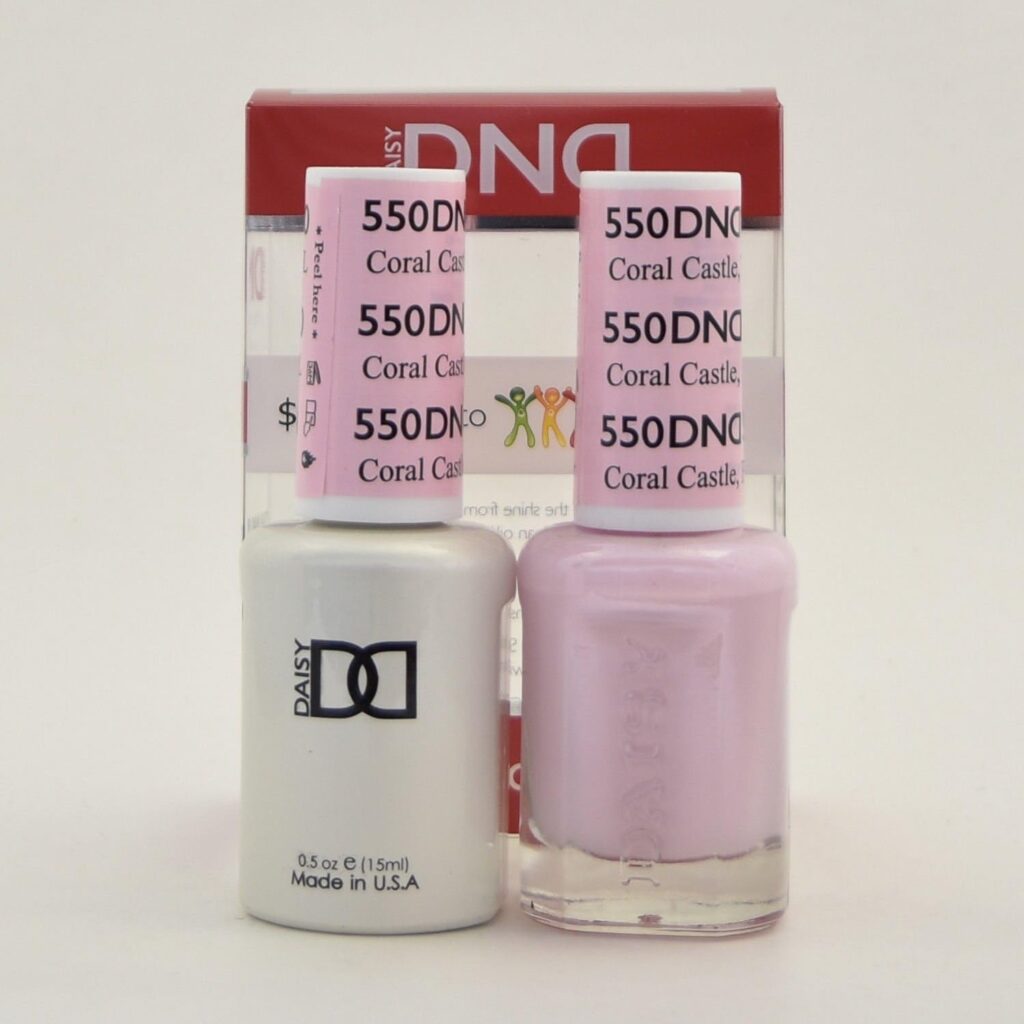
4. DND — pro salon quality for home enthusiasts
DND’s gel polishes have a reputation for durability and smooth coverage. The brush is user-friendly, and many shades deliver full opacity in two coats. Great if you want something a little more pro-level without stepping into salon pricing.
Matching Sets
DND is famous for including a matching regular lacquer with the gel bottle, which is perfect for practicing your toes with regular polish while keeping your manicure gel.
Best for: Those looking for maximum pigment and a “one-and-done” feel that lasts through heavy daily wear.
5. Beetles — good starter option for casual experiments
Best for: Nail art hobbyists who want to play with dozens of seasonal shades and trendy sets without a major investment.
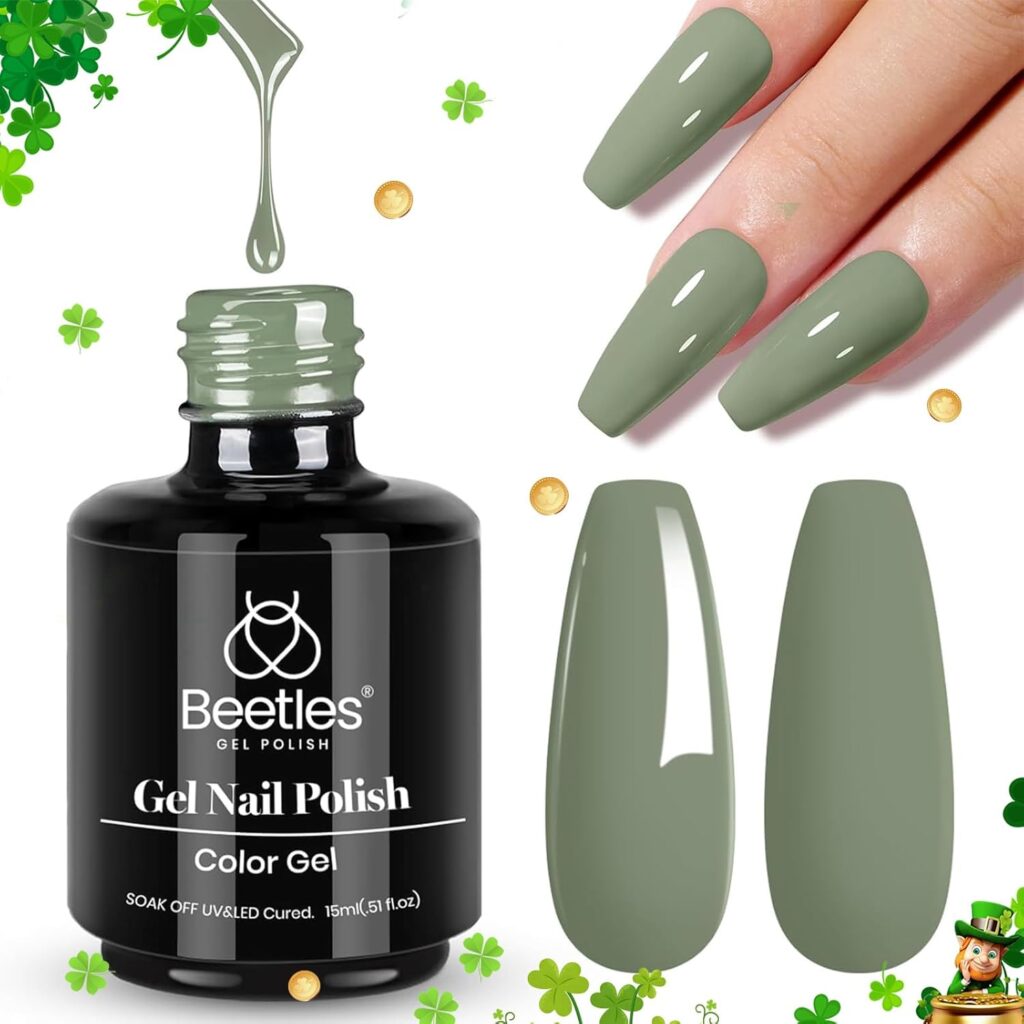
Beetles offers a lot of colors and tends to be forgiving for at-home use. Ideal if you’re experimenting with gel for the first time and don’t want to commit to higher-priced bottles just yet.
Safety Tip: Because Beetles are highly accessible, always be careful to avoid skin contact and cure for the full recommended time to ensure a safe, hard finish.
Step-by-step: How to Apply these?
You don’t need to overcomplicate this. Follow these steps, and you’ll be surprised by how salon-like your results look.

- Clean with isopropyl alcohol (70–90%) on a lint-free wipe to remove dust and oils. Let it air dry.
- Apply a thin base coat (gel base). Cure under lamp according to instructions (typically 30–60 seconds for LED).
- Wipe excess polish from the brush on the bottle neck. You want a thin, controlled bead of product.
- One thin stroke down the middle, then a left and right stroke — three strokes per nail is the simplified move.
- Cap the free edge (run the brush horizontally along the tip) to seal and help prevent chipping.
- Cure under lamp (again, follow the polish lamp recommendations — usually 30–60s for LED).
- If needed, apply a second thin coat. Most beginner-friendly gels are pigmented enough for 1–2 coats. Cure again.
Top coat & finish
- Apply a thin gel top coat, and cap the edge. Cure.
- If the top coat is a no-wipe formula, you’re done. If it’s a wipe-off top coat, use a lint-free wipe with isopropyl alcohol to remove the tacky layer.
Quick troubleshooting while you work
- Flooded cuticles? Use a small, angled brush dipped in acetone to clean edges before curing. Cure will lock mistakes.
- Bubbles during curing? You probably shook the bottle; roll it between your palms next time instead. Thin coats reduce bubbling.
- Wrinkled top coat? That’s usually curing too quickly because of thick layers; sand back gently and reapply thinly.
- Sticky tacky layer left after curing? Wipe with isopropyl alcohol if the top coat is a wipe-type; if it’s no-wipe, that tack is normal.
Styling & color tips for beginners
- Start with neutral colors — they’re forgiving of tiny mistakes and still look polished (literally).
- Try French or half-moon — two-tone looks are easy with a steady hand or a guide sticker.
- Use thin glitter top coats for sparkle without bulk.
- Experiment with negative space — easiest to do with striping tape or stickers.
And because you’re here for the fun: name your mani. It makes it feel official. (“Midweek mauve,” anyone?)
Final tips from your friendly nail nerd
- Practice makes perfect — but practice smart: thin coats, cap the edge, and clean before curing.
- Invest in one great brush polish (one of the brands above) rather than five cheap ones — you’ll learn technique faster that way.
- Keep a cleanup brush and acetone handy, so tiny mistakes don’t become permanent.
- Celebrate tiny wins — a clean edge, a shiny top coat, a solid cure — they all add up.
Wrap up (and a tiny nail pun because I can’t help myself)
Gel nails don’t have to be a high-maintenance mystery. With the right beginner-friendly polish, a little practice, and a calm, methodical approach, you’ll be turning out salon-worthy manis that last. So grab your lamp, pick a forgiving formula, and go paint the town (or at least your fingertips). Nail it. 💅