
Heal Damaged Acrylic Nails (NO Salon Trip)
So, you’ve been rocking acrylic nails for weeks, feeling like a glam queen… until disaster strikes. Maybe you snapped one while texting, noticed peeling layers, or your nails are thinner than a potato chip after removal. Acrylic damage is real, and it’s not pretty. But don’t panic—you don’t need to sprint to the salon or drop cash on a fix. With some TLC and household hacks, you can nurse those nails back to health. Let’s break it down.
Why Do Acrylics Damage Natural Nails?
First, know your enemy. Acrylics aren’t inherently evil, but the process (and our habits) can wreak havoc:
- Over-Filing: Salons often buff your natural nail aggressively to help acrylic adhere. Too much filing = weak, thin nails.
- Harsh Chemicals: Acetone removers or cheap primers can dry out your nail bed.
- Trauma: Snagging, hitting, or using nails as “tools” (we’ve all pried open a soda can with them, no judgment).
- Moisture Trapping: If water gets trapped under the acrylic, it softens the nail, leading to splits or fungal issues.
- Peeling/Pulling Off: Ripping acrylics off takes layers of your natural nail with them. Cringe.
Fun fact: Your nails are made of keratin, the same stuff as your hair! That’s why over-filing or harsh chemicals can leave them looking like a bad hair day—dry, split, and sad. Cool, right? Now let’s fix ‘em.
Step 1: Damage Control (Immediate First Aid)
Before diving into long-term healing, stabilize the situation.
1. Trim & Smooth Rough Edges
Got a jagged tear or crack? Grab a fine-grit nail file (180+ grit) and gently shape the damaged nail. Avoid cutting with clippers—this can worsen splits. If the nail is lifting, trim it as short as possible to prevent snagging.
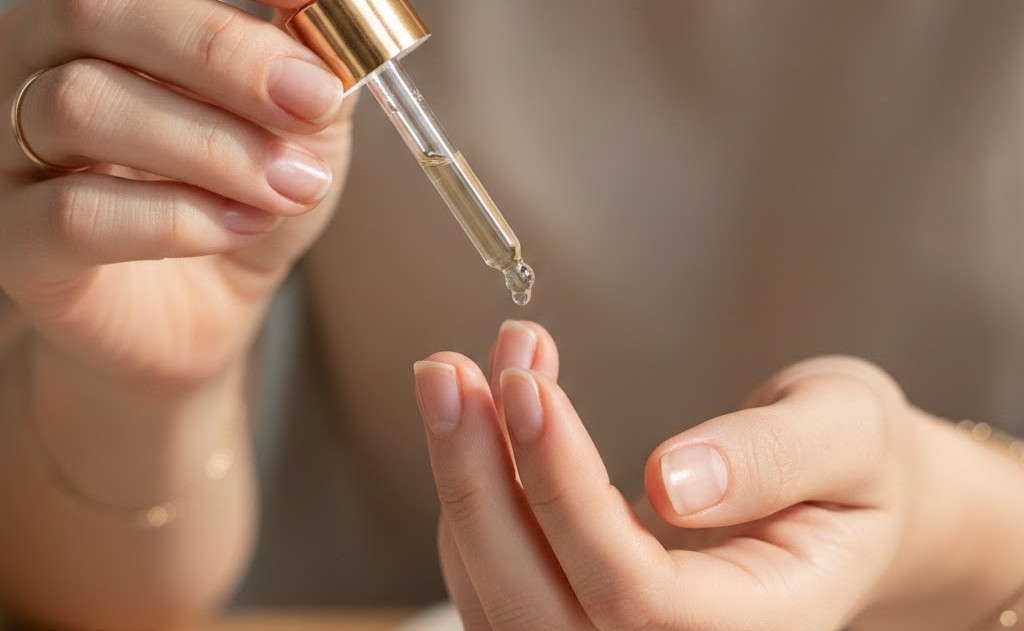
2. Hydrate Like Your Nails Are Thirsty
Dryness is a major culprit. Soak nails in a DIY oil bath:
- Mix 1 tbsp jojoba oil (mimics natural skin oils) + 1 tbsp coconut oil (deep moisture).
- Warm it slightly, soak for 10-15 minutes. Pat dry, then apply a thick hand cream.
USDA Organic Jojoba Oil
A 100% pure, cold-pressed golden jojoba oil. Unrefined and fast-absorbing, it’s the perfect natural moisturizer for face, hair, and body.
View on Amazon
Organic Virgin Coconut Oil
Cold-pressed from fresh coconuts to preserve nutrients. Ideal for intensive skin hydration, hair conditioning, and natural beauty DIYs.
View on Amazon
Norwegian Formula Hand Cream
A dermatologist-recommended, glycerin-rich formula that provides immediate relief for dry or chapped hands, even in harsh weather.
View on Amazon3. Skip the Acrylics (For Now)
I know, it hurts. But continuing to pile on acrylics or gel polish traps your nails in a cycle of damage. Let them breathe for 2-4 weeks.
4. Use a Nail Strengthener
Look for products with keratin, calcium, or hydrolyzed wheat protein. OPI Nail Envy ↗ or Sally Hansen Hard as Nails ↗ are cult favorites. Apply as a base coat daily.
Read More: 7 Nail Strengtheners to Fix Split Nails Fast
Step 2: The Long-Term Healing Game
Repairing nails takes patience—they grow ~3mm/month. Here’s how to speed things up:
1. Oil, Oil, Oil
Keep cuticles and nails moisturized 24/7. Invest in a cuticle oil pen (easy to carry) and apply 3-4x daily.
Simply Pure™ Cuticle Oil Pen
The gold standard for acrylic recovery. This pen delivers a specialized blend of Jojoba oil and Vitamin E directly to the nail matrix to stop peeling and repair brittle, damaged edges instantly.
Check PriceVitamin E Nail & Cuticle Oil Pen
A convenient, mess-free applicator that deeply conditions parched cuticles. Perfect for maintaining nail health between sets or as a restorative treatment after removing enhancements.
Check PriceKey ingredients:
- Jojoba oil: Penetrates the nail plate.
- Vitamin E: Repairs cracks.
- Argan oil: Adds shine and softness.
2. Buff Gently (But Don’t Overdo It!)
If your nails are ridged or uneven, use a buffer block to smooth the surface. Lightly buff in one direction—no back-and-forth sanding! Over-buffing thins nails further. Get to know: How to Buff Your Nails Without a Buffer
3. Nail Supplements
What you eat matters. Boost your diet with:
- Biotin: A B-vitamin that strengthens nails (found in eggs, almonds, supplements). Shop Now ↗
- Collagen peptides: Improves nail thickness. Shop Now ↗
- Omega-3s: Reduce brittleness (try fish oil or flaxseed). Shop Now ↗
4. Protect During Chores
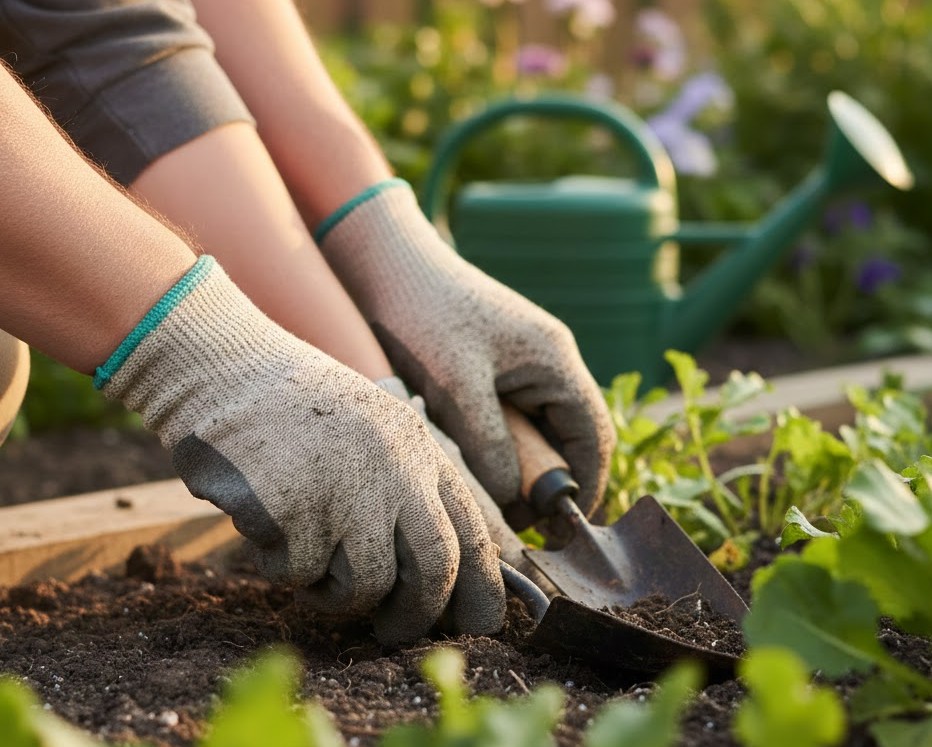
Water and chemicals are murder on weak nails. Wear gloves when:
- Washing dishes
- Cleaning with sprays
- Gardening
5. DIY Nail Masks
Treat your nails like your face. Try these weekly:
- Honey & Egg Mask: 1 egg yolk + 1 tsp honey + 1 tsp olive oil. Slather on nails, wait 20 mins, rinse.
- Vaseline Overnight Treatment: Coat nails in petroleum jelly, wear cotton gloves to bed.
Extra Hacks to Save the Day
- Quick Fix for a Split Nail (No Tea Bag Needed)
If you’ve got a split in your natural nail and no tea bags handy, grab some clear Scotch tape. Trim a tiny piece, press it over the split, and seal it with a layer of clear polish. It’s not glamorous, but it’ll hold things together until the nail grows out. File the edges so it doesn’t snag. - Boost Healing with Garlic
This one’s quirky but legit—garlic’s sulfur compounds can strengthen nails. Crush a clove, mix with a teaspoon of olive oil, and rub it into your nails for 5-10 minutes before rinsing. It’s stinky, so maybe save it for a solo night in!
What NOT to Do
To keep your nails on the mend, avoid these rookie mistakes:
- Don’t Pick at Lifting Acrylics: It’s tempting, but you’ll rip off layers of your natural nail.
- Don’t Skip Gloves: Even for quick dishwashing—water is sneaky.
- Don’t Use Super Glue: Nail glue’s made for nails; household super glue can dry them out or cause weird reactions.
Step 3: Prevent Future Damage
Once your nails recover, keep them strong to avoid repeat disasters.
- Ditch Acetone Removers
Switch to acetone-free removers for regular polish. If you must use acetone (for stubborn glitter), moisturize immediately after. - Apply a Base Coat Religiously
Even if you’re just wearing regular polish, a base coat shields nails from staining and peeling. - Opt for Dip Powder or Press-Ons Next Time
Dip powder is gentler than acrylics, and press-ons have come a LONG way (check out Static Nails or Olive & June). Both are less damaging for frequent use. - Learn to Remove Acrylics Safely
If you DIY removal:
- File off the top layer of acrylic.
- Soak cotton balls in 100% acetone, place on nails, wrap in foil for 15-20 mins.
- Gently scrape off residue with a wooden cuticle stick. Never force it!
When to See a Pro
Most damage can be healed at home, but see a dermatologist if:
- Nails are painful, red, or swollen (a sign of infection).
- You see green/black discoloration (fungus alert).
- Nails won’t grow despite months of care.
FAQs
Q: How long until my nails recover?
A: 4-8 weeks, depending on the damage. Be consistent with oil and supplements!
Q: Can I wear regular polish while healing?
A: Yes, but avoid dark colors (they can stain porous nails). Use a protective base coat.
Q: Are gel nails safer than acrylics?
A: Not really—gels still require filing and acetone soaks. Stick to regular polish or press-ons during recovery.
Final Takeaway
Healing damaged acrylic nails is totally doable at home—no salon magic required. It’s all about moisture, patience, and resisting the urge to slap on a new set too soon. Your natural nails are tougher than they look; give them time to bounce back. And next time? Maybe give your tips a breather between manicures. Your future self will thank you. 💅
Got a nail horror story or a miracle remedy? Drop it in the comments!