6 Best Types of Nail Extensions for Short Nails
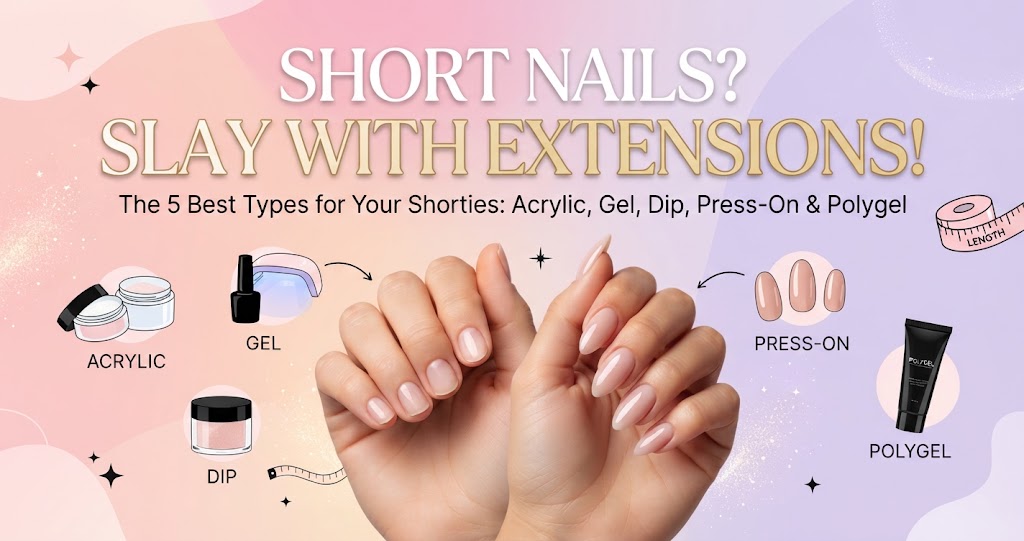
Short nails? Don’t despair! Achieving the long, glamorous nails of your dreams is totally possible, even if you’re starting with a shorter canvas. Nail extensions are a fantastic way to add length and create stunning manicures. But with so many options available, how do you choose the right type for your shorties? This post breaks down the best nail extension types for short nails, their application, and their pros and cons.
No time to read the whole thing? For most short nails, go with Gel-X if you want a bit of length, or BIAB if you just want your natural nails stronger. Both are lightweight, low-damage, and beginner-friendly. Skip long acrylics — they’re the heaviest option and the hardest on a short nail bed.
Before you jump in, though, here are a few things to keep in mind when choosing your extension.
- Weight: We don’t want extensions that are too heavy or bulky for short nails.
- Natural Nail Health: Got any damage already? If yes, then we want an extension that supports and strengthens without causing further harm.
- Desired Look: Are you going for something subtle or a look that really makes a statement?
Types of Nail Extensions for Short Nails
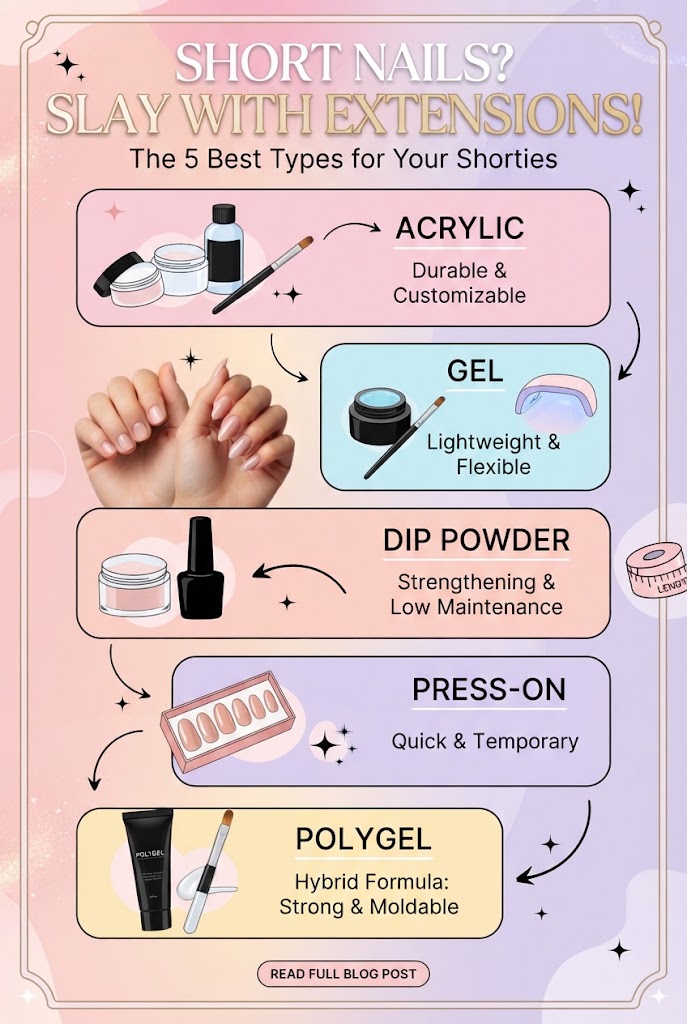
Let’s break down the most popular extension types and see what’s what. Here is the short summary.
| Type | Best Length for Short Nails | Damage Risk | Avg. Cost |
|---|---|---|---|
| Gel-X | Short–Medium | Low | $$ |
| BIAB / Builder Gel | None–Minimal | Very Low | $$ |
| Polygel | Short–Medium | Low | $$ |
| Dip Powder | Short–Medium | Low–Medium | $ |
| Press-Ons | Customizable | Very Low | $ |
| Acrylic | Short–Medium (avoid long) | Medium* | $ |
Note: Click on these colorful links to jump to full details.
1. Acrylic Extensions
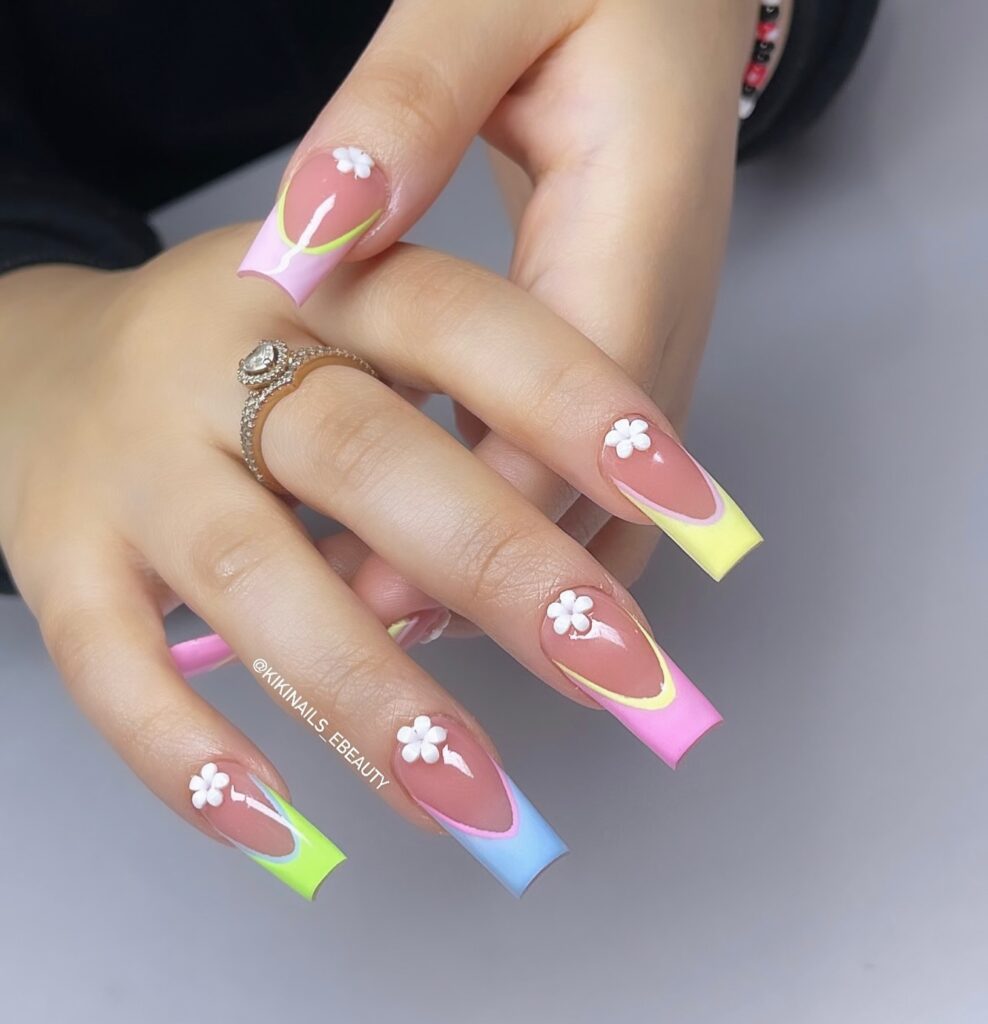
Acrylics are a classic choice. They’re known for their durability and the fact that you can shape them into almost any design you want.
⭐Pros:
- Durability: They’re super sturdy and can last about 3-4 weeks with proper care.
- Customizable: Whether you’re into bold, edgy designs or a more refined look, acrylics let you tailor the shape and length to your taste.
❌Cons:
- Monomer matters: Acrylics are made by mixing a liquid monomer with a powder. Reputable salons use EMA (ethyl methacrylate), which is the professional industry standard and safe for the nail plate. The older MMA (methyl methacrylate) monomer is a different story — it was flagged by the FDA back in the 1970s after reports of nail damage and allergic reactions, and it’s now banned or restricted in most U.S. states. If a set feels rock-hard, won’t soak off in acetone, or has a strange chemical smell, that’s a red flag it may contain MMA — ask your tech what they use.
- Filing Issues: Over-filing during the shaping process might weaken your natural nails.
If you’re all about strong, bold designs and don’t mind a bit of extra upkeep, acrylics (with EMA!) are great for short-to-medium lengths.
2. Gel-X (Soft Gel Tips)
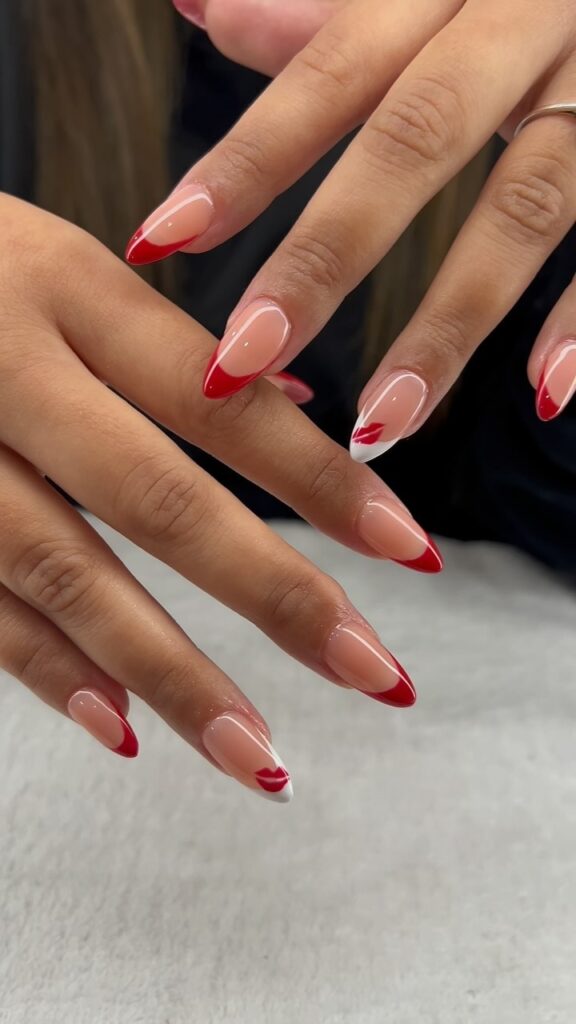
Gel-X and similar soft-gel tip systems are one of the best options out there for short nails right now. Instead of sculpting product freehand, your tech glues a pre-shaped, full-cover soft gel tip over your natural nail, then cures it under an LED lamp. Think of it as a salon-grade press-on that’s bonded and shaped to look completely natural.
⭐Pros:
- Lightweight & Flexible: Soft gel tips feel much lighter than acrylic and flex slightly with your natural nail instead of fighting it.
- Fast & Consistent: Because the tips are pre-shaped, a full set can be applied faster than sculpted extensions, with very even length and shape across all ten nails.
- Natural-Looking: Gives a sleek, glossy finish that reads as your own nail, just longer.
❌Cons:
- Fit is everything: A tip that’s too narrow feels tight; one that’s too wide can lift more easily, so proper sizing matters a lot.
- Special Equipment Needed: You’ll need a UV or LED lamp for curing.
- Careful Removal Required: The tips should be soaked off, never peeled, or you risk damaging the nail plate underneath.
Best For: Short natural nails that need a confidence boost with minimal length — ideal if you want that “your nails but better” look without much bulk.
3. BIAB / Builder Gel (Strengthening Overlay)
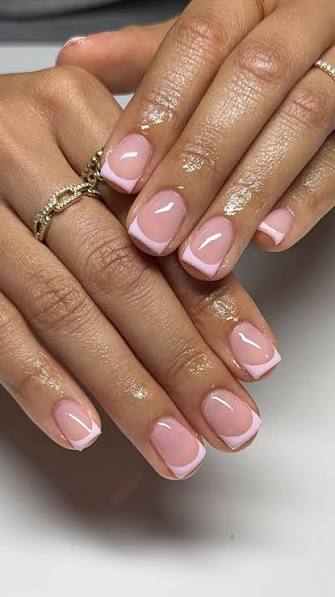
BIAB (Builder In A Bottle) and other builder gels are technically an overlay rather than a true extension, but they’ve become one of the most popular choices for short nails, so they deserve a spot on this list. Instead of adding a tip, your tech paints a thick, self-leveling builder gel directly over your natural nail to reinforce it, building a slight structural “apex” for strength.
⭐Pros:
- Strengthens From Within: Great if your short nails are weak, thin, or breakage-prone and you want them to actually grow out healthier.
- Minimal Length, Maximum Support: Adds little to no length beyond your natural free edge, so it stays practical for everyday short nails.
- Low Damage: No harsh filing or drilling required when applied and removed correctly.
❌Cons:
- Not for Dramatic Length: If you want real length, this isn’t the category for you — pair it with a Gel-X tip instead, or size up.
- Skill-Dependent: A skilled tech is needed to build an even apex; a lumpy application can look bulky.
- Removal Takes Patience: BIAB bonds tightly to the nail, so peeling it off (instead of soaking) can strip layers of your natural nail with it.
Best For: Anyone with short, damaged, or bitten nails who wants strength and a polished look while they grow their natural nails out.
4. Dip Powder Extensions
Dip powder nails have become a hit for their ability to strengthen your natural nails with minimal fuss. They’re perfect if you want something low-maintenance without sacrificing durability.
Also Read: Shellac vs Gel vs Dip Powder Nails
⭐Pros:
- Strengthening: They help fortify your natural nails, so you get both the look of an extension and the benefit of added strength.
- Less Filing: You don’t have to worry about excessive filing, which is great if you’re prone to nail damage.
❌Cons:
- Thicker Appearance: They can look a bit bulkier compared to other options.
- Limited Customization: There’s less room to play with unique shapes or styles.
Best For: Great for beginners or anyone looking for a low-maintenance option that still packs a punch in terms of durability and support.
5. Press-On Nails
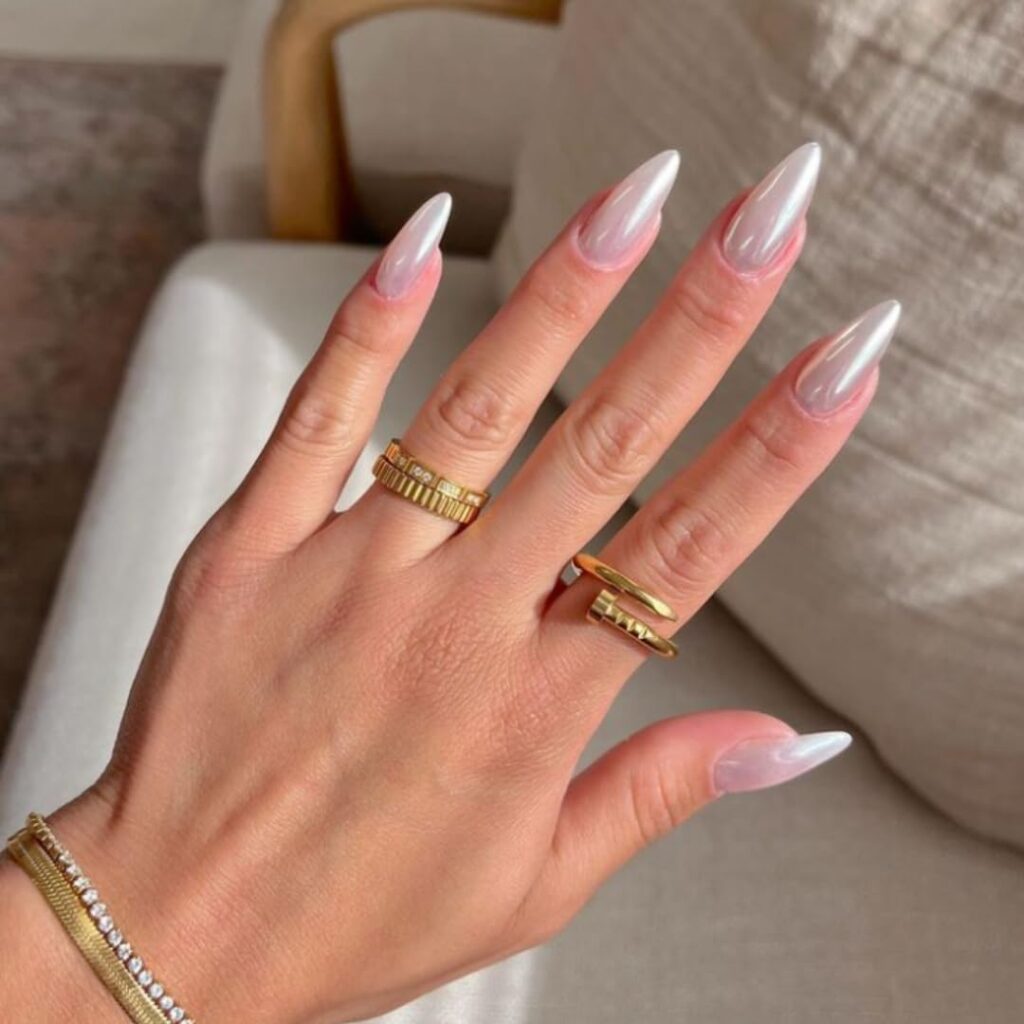
Press-on nails are a great option if you’re looking for a quick and affordable way to experiment with different styles.
⭐Pros:
- Affordable & Temporary: They’re super budget-friendly and perfect if you only need nails for a special event or want to test out a new look without committing long-term.
- Zero Damage: Since they’re non-permanent, you won’t be stressing your natural nails with harsh chemicals or extensive filing.
❌Cons:
- Shorter Lifespan (with glue tabs): Sticky-tab press-ons typically last 3-7 days, though modern nail-glue application can extend wear to 1-2 weeks.
- Limited Reuse: Once you take them off, they’re not always ideal for reusing, meaning you’ll likely need a fresh set more often.
Best For: Special occasions, quick style changes, or if you’re just curious about nail art without the long-term commitment.
6. Polygel Extensions
Polygel offers a nice middle ground between traditional acrylics and gels, and remains a favorite among DIY enthusiasts.
⭐Pros:
- Lightweight & Moldable: Polygel is really light on your nails and can be molded into beautiful, soft curves that feel natural.
- Easier Removal: Unlike acrylics, removing polygel extensions is less of a headache, which means less potential damage to your natural nails.
❌Cons:
- Skill Required: Getting an even, flawless finish with polygel takes a bit of practice. It’s trickier to apply evenly than some other options, so a steady hand and some experience really help.
Best For: DIY enthusiasts who are up for a little practice and want a natural, flexible extension that’s easier on the nails.
Application Process for Each Extension Type
Before you start applying your nail extensions, a little prep work goes a long way. Here’s how to get your nails ready, no matter what type of extension you choose.
Universal Prep Work
Trim, File, and Buff: Begin by trimming your natural nails to your desired length, then file and buff them to create a smooth surface. This helps the extensions stick better and gives you a cleaner finish.
Push Back Cuticles: Gently push back your cuticles using a cuticle pusher or a soft orangewood stick. This step ensures the extension has enough space to adhere properly.
Cleanse with Alcohol: Wipe your nails down with alcohol to remove any oils or residue. This is key for a strong bond between your natural nail and the extension.
Dehydrate Nails: For acrylic, gel-based, and BIAB extensions, apply a nail primer to dehydrate the nail surface. This step boosts adhesion and helps your extensions last longer.
Step-by-Step Application Guides
Acrylic Extensions
- Mix the Product: Combine the acrylic liquid (EMA-based) and powder as instructed.
- Sculpt: Use a specialized brush to apply the mixture onto your nail or a nail form, shaping it as you go.
- File and Shape: Once the acrylic hardens, file and shape your nail to achieve a smooth, even finish.
Tips: Work quickly, as acrylic tends to set fast. Ensure good ventilation due to the chemicals involved.
Gel-X / Soft Gel Tips
- Select the Tip: Size each tip to your nail for a snug, edge-to-edge fit.
- Bond: Apply gel adhesive to your natural nail and the underside of the tip, then press together.
- Cure: Cure under an LED lamp.
- Shape: File the tip to your desired length and shape, then finish with top coat.
Tips: Take your time on sizing — a good fit prevents lifting and discomfort later.
BIAB / Builder Gel
- Apply a Base Coat: Start with a thin bonding base on your natural nail.
- Build the Apex: Self-level thin coats of builder gel over the nail, focusing on the center to create structural support.
- Cure Each Layer: Use a UV or LED lamp to cure each layer completely before adding the next.
- Shape: Once cured, file and shape the nail to your desired style.
Tips: Thin, even layers cure better and look less bulky than one thick coat.
Dip Powder Extensions
- Apply Glue: Start by applying a thin layer of nail glue to your prepped nail.
- Dip: Dip your nail into the powder (or use a brush to apply it) to coat evenly.
- Activator: Brush on the activator to harden the powder.
- Seal: Finish with a top coat to seal in the powder and add shine.
Tips: Work one nail at a time to ensure each is evenly coated.
Press-On Nails
- Size Your Nails: Pick the right size for each finger to ensure a snug fit.
- Apply Adhesive: Use the provided nail glue or sticky tabs on your natural nail.
- Press Firmly: Align the press-on nail, then press down firmly for a few seconds to secure it in place.
Tips: Clean your nails thoroughly before application for better adhesion.
Polygel Extensions
- Mold with Forms: Use nail forms or dual forms to shape your polygel.
- Apply the Polygel: Scoop out the right amount and work it onto your nail using a dedicated polygel brush or spatula.
- Cure: Use a UV or LED lamp to cure the gel and set your new nail shape.
Tips: Using the correct brush helps achieve a smooth and even finish.
Shaping Short Nail Extensions
When it comes to short nails, choosing the right shape can make all the difference.
Almond, Oval, Square, or Coffin: These shapes work great for short nails because they offer a balanced, flattering look. They provide just enough extension to add elegance without looking too overdone.
Avoid Overly Long or Sharp Styles: Styles like stiletto nails can look too extreme on short nails, making them appear awkward or fragile. Stick to softer, more natural shapes that enhance your nail’s natural beauty.
Safe Removal Methods
Acrylic/Gel/BIAB Removal: Soak your nails in acetone using the foil method. This gentle soak helps loosen the product without causing damage. BIAB especially should always be soaked, not peeled — peeling can strip layers off your natural nail.
Dip/Press-On Removal: Gently pry them off using oil — never rip them off, as that can lead to nail thinning or splits.
Be Cautious: Improper removal methods can cause serious damage like nail thinning or splits. Always take your time and be gentle.
FAQs
Can extensions damage short nails? Yes, if they’re applied or removed improperly. Always prep your nails well and use gentle removal techniques to avoid damage.
How long do extensions last on short nails? Typically, they last anywhere from 2-4 weeks, depending on the type and how well you care for them.
Can I apply extensions on bitten nails? Absolutely, but make sure your nails are clean and dry. BIAB or silk wraps can be particularly helpful for damaged or bitten nails since they build strength rather than adding stress.
What’s the cheapest option for short nails? Press-ons and dip powder extensions are generally the most budget-friendly choices.
Is MMA acrylic ever safe to use? No — stick with EMA-based acrylic systems. MMA is banned or restricted in most U.S. states for a reason, and it’s much harder on your natural nail plate.
