
How to Unclump Nail Polish: 9 Easy Ways to Restore Thick, Goopy Polish
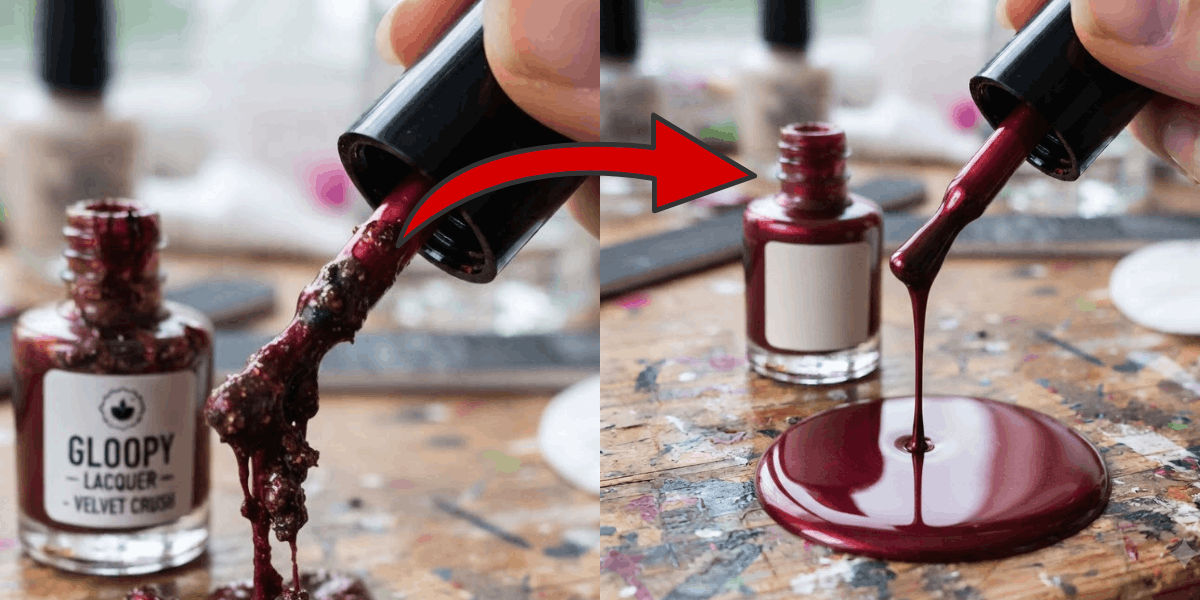
We’ve all been there—you reach for your favorite nail polish, twist open the cap, and instead of a smooth, glossy formula, you’re greeted with a thick, stringy mess. Before you toss that bottle in the trash, here’s some good news: clumpy nail polish can often be saved.
In most cases, nail polish becomes thick because the solvents inside the formula slowly evaporate over time. The pigments and resins are usually still perfectly usable—you just need to restore the right consistency.
Whether you’re trying to revive an expensive salon polish or your favorite drugstore shade, these proven tips will help you unclump nail polish and make it smooth again.
Why Does Nail Polish Get Clumpy?
Contrary to popular belief, nail polish doesn’t usually “expire” overnight. Instead, it thickens as the liquid solvents evaporate every time you open the bottle. Even leaving the cap loose for a few minutes during a manicure can allow some of those solvents to escape.
Several factors can speed up the process, including:
- Frequently opening the bottle
- Storing polish in direct sunlight
- Keeping it in a warm room or bathroom
- Forgetting to tighten the cap completely
- Letting dried polish build up around the bottle opening
When this happens, the polish becomes more difficult to apply and may no longer level itself smoothly on the nail.
Signs Your Nail Polish Needs Restoring
Your polish may be too thick if you notice:
- It feels sticky or stringy when pulling out the brush.
- The brush drags instead of gliding over the nail.
- The polish applies unevenly or leaves streaks.
- Small clumps appear in the formula.
- It takes much longer to dry than usual.
Fortunately, most bottles can be revived with the right method.
1. Use a Nail Polish Thinner (The Best Solution)
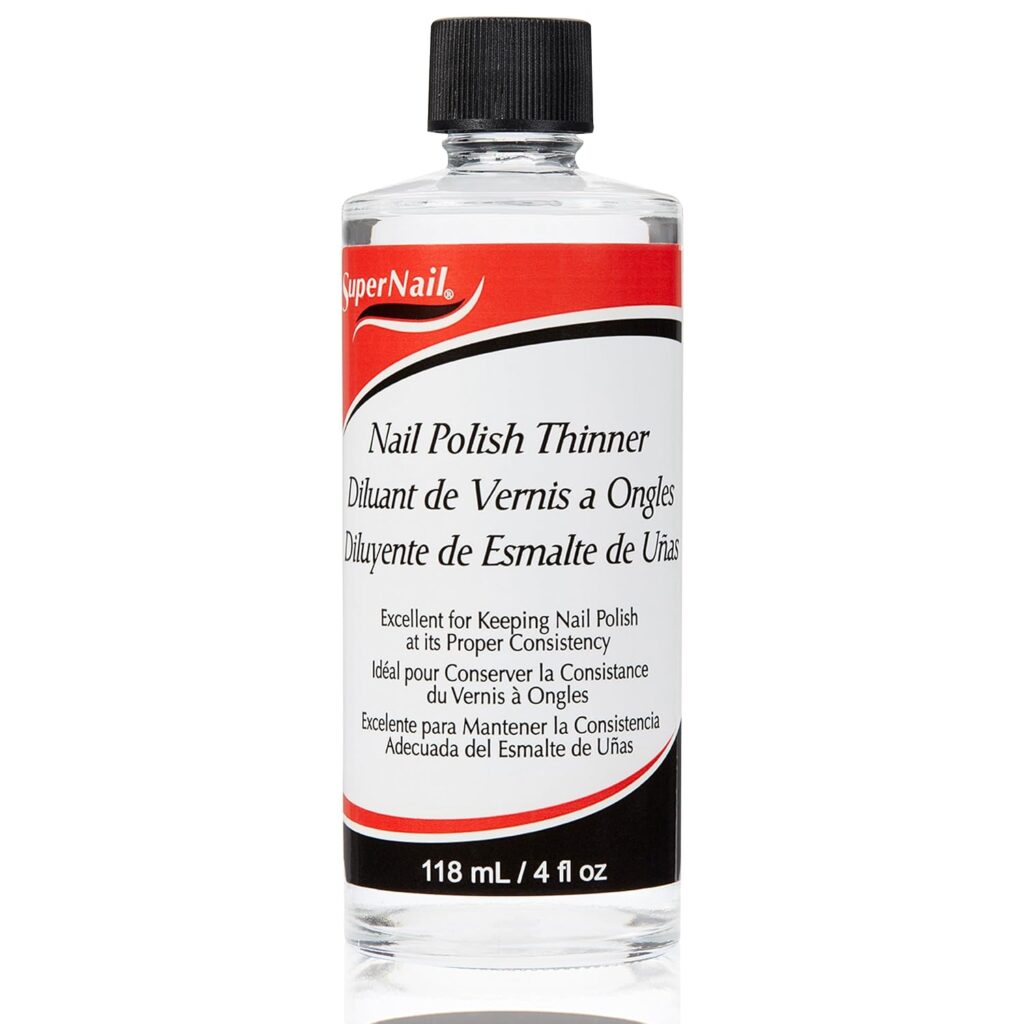
If there’s one method that nail professionals consistently recommend, it’s using a nail polish thinner.
Unlike nail polish remover, a thinner replaces the solvents that naturally evaporate from the polish. This restores the original consistency without damaging the formula, making it the safest and most effective way to fix thick nail polish.
How to Use Nail Polish Thinner
- Open the polish bottle.
- Add 2–3 drops of nail polish thinner.
- Screw the cap on tightly.
- Roll the bottle gently between your palms for about 30 to 60 seconds.
- Test the consistency.
- Repeat with another couple of drops if needed.
It’s always better to add thinner gradually. Once you’ve added too much, there’s no easy way to reverse it.
Pro Tip: Extremely old nail polish may require anywhere from 8 to 15 drops, but add them slowly over several rounds instead of all at once.
2. Clean the Nail Polish Brush
Sometimes the polish itself isn’t actually the problem—the brush is.
After repeated use, dried polish can build up around the bristles, making application feel thick and uneven even if the formula inside the bottle is still in good condition.
How to Clean the Brush
- Remove the brush from the bottle.
- Dip only the bristles into a small amount of pure acetone.
- Swirl gently until the dried polish dissolves.
- Wipe the brush with a lint-free cloth or paper towel.
- Return it to the bottle.
A clean brush often makes your polish apply much more smoothly.
3. Warm the Bottle in Water
Cold temperatures naturally make nail polish thicker.
If your polish has been sitting in a cool room or during winter months, warming it slightly can temporarily improve the consistency.
Here’s How
- Fill a small bowl with warm—not boiling—water.
- Stand the bottle upright in the bowl.
- Let it sit for about 5 to 10 minutes.
- Remove it and gently roll it between your hands before using.
This won’t permanently fix thick nail polish, but it can make application much easier during your manicure.
4. Roll the Bottle Instead of Shaking It
Many people instinctively shake nail polish before using it.
While shaking does mix the formula, it also creates tiny air bubbles that can show up on your nails and affect the finish.
Instead, place the bottle between your palms and gently roll it back and forth for 20 to 30 seconds. Rolling mixes the pigments just as effectively while keeping the polish smooth and bubble-free.
5. Clean the Bottle Neck
One of the easiest maintenance tips is also one of the most overlooked.
As polish dries around the neck of the bottle, it prevents the cap from sealing properly. Even tiny gaps allow air to enter, causing the polish inside to thicken much faster.
How to Do It
- Dampen a lint-free pad with acetone.
- Wipe the bottle threads thoroughly.
- Clean the inside of the cap as well.
- Close the bottle tightly.
Doing this every few uses can significantly extend the life of your favorite nail polish.
6. Store Your Nail Polish Properly
How you store your polish has a major impact on how long it stays usable.
The ideal storage location is a cool, dry drawer or cabinet away from direct sunlight and heat.
Best Storage Practices
✔ Store bottles upright.
✔ Keep lids tightly closed.
✔ Choose a cool, dark location.
✔ Avoid frequent temperature changes.
Avoid These Storage Mistakes
❌ Leaving polish near a sunny window.
❌ Keeping it in a humid bathroom.
❌ Storing bottles next to heaters or radiators.
❌ Leaving the cap loose after use.
Proper storage alone can add months—or even years—to the life of your nail polish collection.
7. Close the Bottle Between Nails
Many people leave the polish bottle open throughout the entire manicure.
The longer it’s exposed to air, the more solvents evaporate.
Instead, try this habit:
- Paint one hand.
- Close the bottle.
- Paint the other hand.
- Close it again while waiting between coats.
It only takes a few extra seconds and helps preserve the polish for future manicures.
8. Turn the Bottle Upside Down Before Mixing
If your nail polish has been sitting unused for months, the pigments may settle at the bottom of the bottle.
Before rolling it, simply turn the bottle upside down for about a minute.
This allows the settled pigments to move through the formula naturally, making it easier to remix everything evenly without vigorous shaking.
9. Use a Vortex Mixer for Large Collections
ONiLAB Mini Vortex Mixer
Features a maintenance-free brushless DC motor, sturdy aluminum casting base, and vacuum suction feet to keep the unit firmly in place without “dancing” across your desk.
Uses a simple touch-activation operation—just press the polish bottle down onto the silicone cap, and it mixes thoroughly in about 3 seconds.
If you’re a nail enthusiast with dozens (or even hundreds) of bottles, investing in a small vortex mixer can save a lot of time.
These devices rapidly spin the bottle to remix pigments and restore consistency far more efficiently than hand rolling.
While not necessary for casual users, they’re popular among professional nail technicians and serious nail polish collectors.
Can You Use Acetone to Thin Nail Polish?
Technically, yes—but it’s not the best idea.
Pure acetone may temporarily make thick polish easier to use, but it also changes the chemical formula. Over time, this can affect durability, finish, and overall performance.
If you absolutely have no nail polish thinner available, use only one drop of acetone at a time and test the consistency before adding more.
Never use regular nail polish remover, especially formulas that contain water, oils, conditioners, or fragrances. These ingredients can permanently ruin your polish.
What You Should Never Add to Nail Polish
When trying to fix clumpy nail polish, avoid these common DIY hacks:
- Water
- Rubbing alcohol
- Hand sanitizer
- Baby oil
- Essential oils
- Cooking oils
- Regular nail polish remover
These ingredients don’t replace the missing solvents and can separate or damage the formula beyond repair.
When Is Nail Polish Beyond Saving?
Unfortunately, not every bottle can be revived.
It’s time to replace your nail polish if:
- The polish has hardened into a solid mass.
- It refuses to mix even after adding thinner.
- It has developed an unusual or unpleasant smell.
- The pigments remain permanently separated.
- It still applies in clumps after multiple restoration attempts.
If you’ve tried several methods and the polish still doesn’t spread smoothly, buying a new bottle will usually give you better results.
How to Prevent Nail Polish From Getting Clumpy
A few simple habits can dramatically extend the life of your favorite shades.
- Always tighten the cap immediately after use.
- Store bottles in a cool, dark place.
- Clean the bottle neck regularly.
- Roll the bottle instead of shaking it.
- Avoid leaving polish open during your manicure.
- Add a few drops of nail polish thinner as soon as you notice the formula beginning to thicken.
Taking these preventative steps can keep your nail polish smooth and easy to apply for much longer.
Final Thoughts
Learning how to unclump nail polish can save you money and help you get more life out of your favorite colors. In most cases, a bottle that’s become thick or stringy isn’t ruined—it simply needs its lost solvents replaced.
A dedicated nail polish thinner remains the safest and most effective solution, while proper storage and regular maintenance can prevent your polish from becoming clumpy in the first place. With just a little care, you’ll enjoy smoother applications, fewer streaks, and longer-lasting manicures every time
